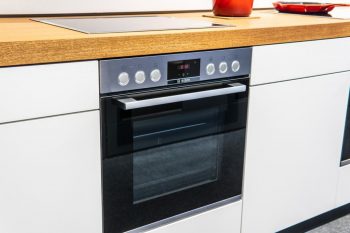
Are you tired of constantly replacing the light bulb in your oven? It can be frustrating and expensive to have to change the bulb frequently.
However, there are several common reasons why your oven light may keep blowing, and understanding these causes can help you prevent the issue from happening in the future.
In this article, we’ll walk you through some of the most common reasons for oven light failure and provide easy-to-implement solutions to keep your oven light shining bright for longer.
Here are the key takeaways from this article:
- Using the wrong bulb type is a common cause of oven light failure. Make sure to use a bulb rated for oven use with the correct wattage, connectors, and dimensions for your oven.
- Electrical arcing and voltage spikes can cause a bulb to blow prematurely. Keep the electrical connections and wiring in good condition to avoid these issues.
- Cheap bulbs may not last as long as more expensive, high-quality bulbs. Invest in a good-quality bulb to ensure longevity.
- High temperatures can cause a bulb to fail faster. Consider using a lower-wattage bulb to generate less heat.
- To change an oven light bulb, turn off the oven, remove the bulb cover, unscrew the old bulb, screw in the new bulb, replace the cover, and test the bulb to ensure it’s working properly.
By following these tips and taking proper care of your oven, you can keep your oven light shining bright and avoid the hassle of a blowing light.
From issues with the bulb itself to problems with the oven’s wiring, we’ll cover everything you need to know to keep your oven light shining bright for longer. So, let’s dive in!
Common Causes of Oven Light Bulb Failure and Solutions
You know how frustrating it can be if you’ve ever had to replace the light bulb in your oven multiple times. Fortunately, there are several common causes of oven lightbulb failure, many of which have easy solutions.
Let’s look at some of the common causes and what you can do to fix them:
1. Using the Wrong Type of Bulb
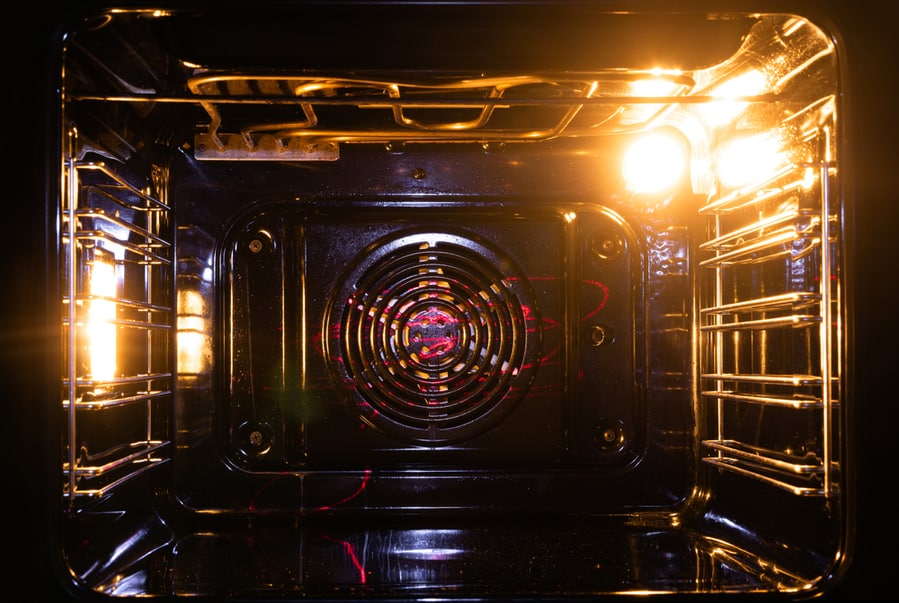
One of the most common reasons for oven light failure is using the wrong bulb type. Oven light bulbs are designed to withstand high temperatures, and using a regular bulb can cause it to blow out quickly.
Solution
To avoid this, ensure you use the correct wattage, connectors, and dimensions for your oven. Additionally, look for a bulb that’s specifically designated for ovens.
Using a regular bulb that isn’t rated for oven use won’t last long in an oven.
2. Loose or Corroded Wiring
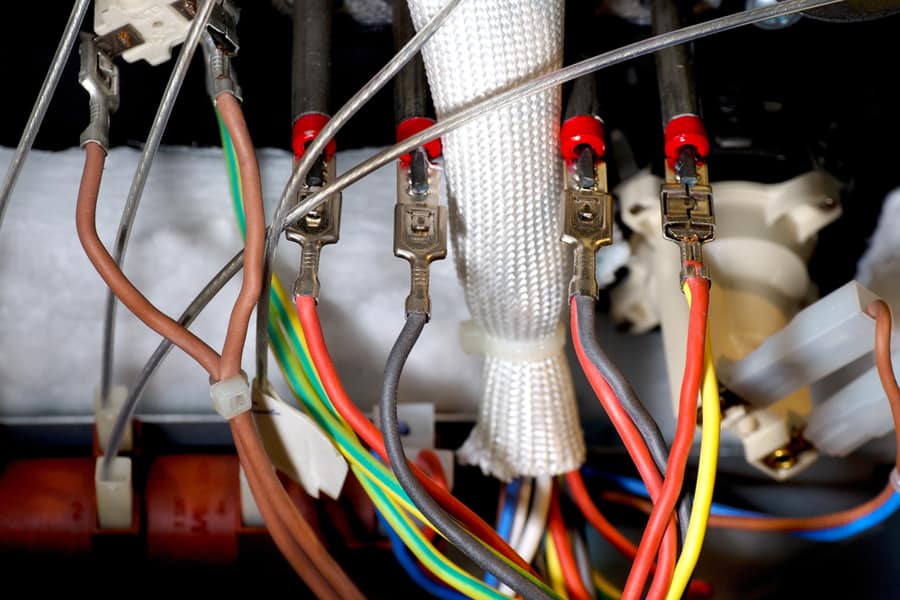
If your oven lightbulb keeps blowing out, there may be an issue with the wiring. Over time, the wiring in your oven can become loose or corroded, which can cause electrical issues and lead to light bulb failure.
Solution
To fix this, you’ll need to inspect the wiring and ensure it’s properly connected and corrosion-free. If you’re uncomfortable doing this yourself, it’s best to call a professional.
3. High Temperatures
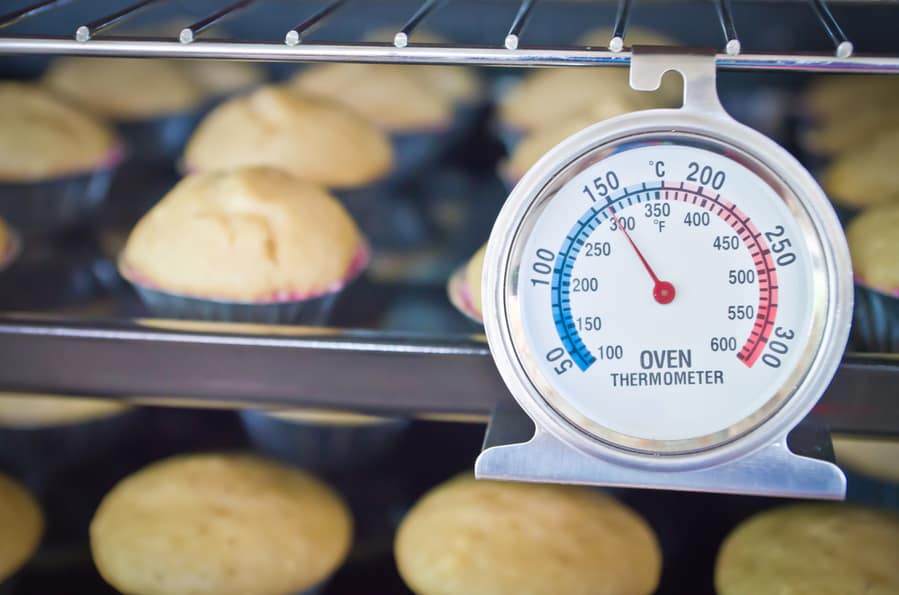
Ovens can get very hot, and the intense heat can cause light bulbs to fail prematurely. When a bulb is exposed to high temperatures, it can cause the filament inside to burn out faster than usual.
Solution
To avoid premature bulb failure due to high temperatures, consider using a lower-wattage bulb that generates less heat.
The lower the wattage, the less heat the bulb will produce, which can help to extend its lifespan.
4. Door Switch Issues
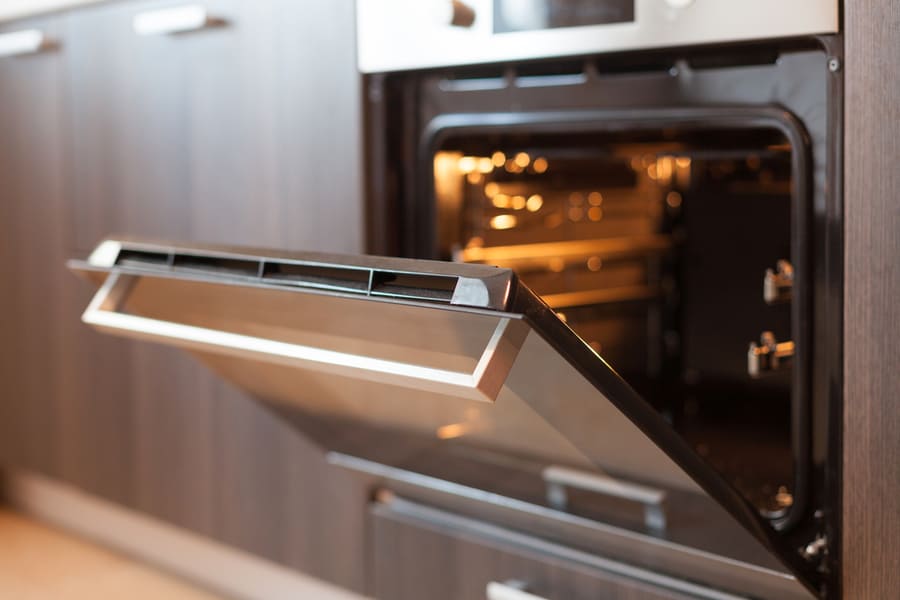
Most ovens have a switch that turns the light on and off when you open and closes the door. If there’s an issue with this switch, it can cause your oven light bulb to blow out.
Solution
To fix this, you must check the switch to ensure it functions properly. If it’s not, you’ll need to replace it.
5. Vibrations
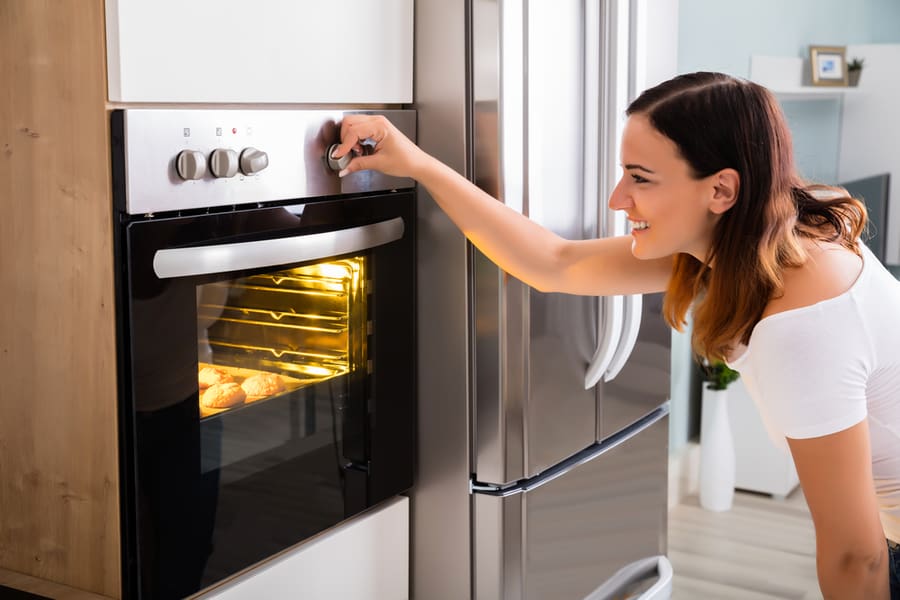
Oven vibrates when they’re in use, and those vibrations can cause light bulbs to fail prematurely.
Solution
To avoid this, avoid slamming the oven door or moving it around too much when cleaning it. Additionally, you can use a shock-resistant bulb designed to withstand vibrations and last longer.
6. Electrical Arcing

Electrical arcing occurs when electricity jumps across a gap between two conductive surfaces, such as the contacts inside your oven’s light socket.
This can cause a short circuit that can damage the bulb and cause it to fail.
Solution
To avoid this, ensure the contacts in the light socket are clean and corrosion free.
7. Voltage Spikes
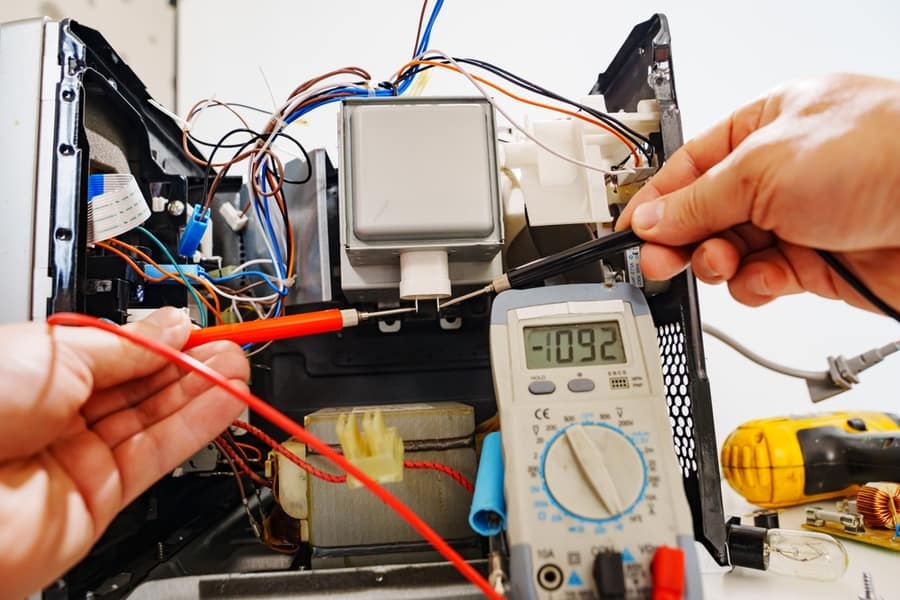
Voltage spikes, also known as power surges, can cause damage to electronic devices, including oven lightbulbs.
A voltage spike occurs when a sudden increase in the electrical current flows through your home’s electrical system.
Solution
Consider using a surge protector to protect your oven light bulb from voltage spikes. This device will absorb any excess voltage and help protect the bulb from burning out.
8. Loose or Damaged Light Socket
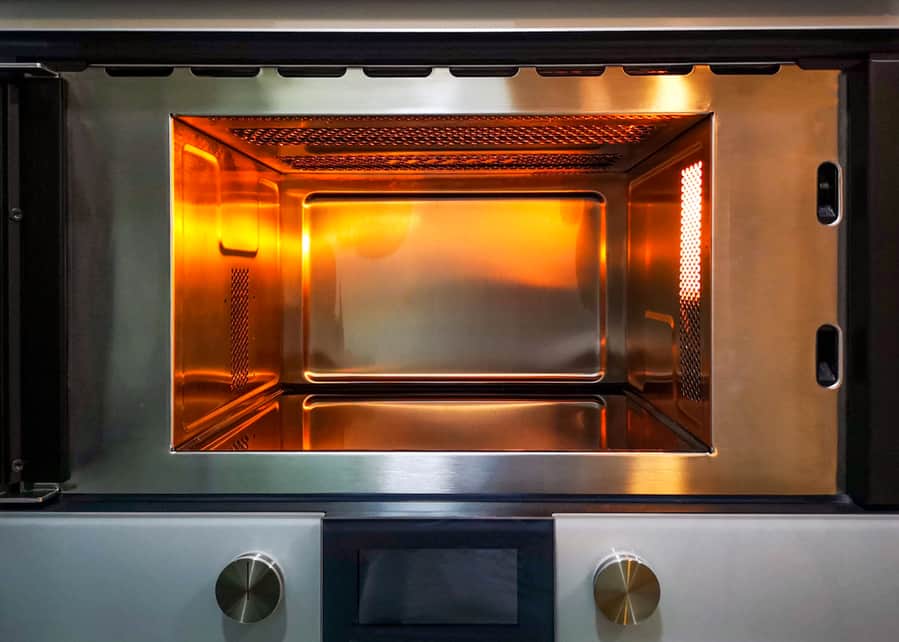
A loose or damaged light socket can also cause your oven bulb to fail. If the socket isn’t properly secured or the contacts are damaged, it can cause the bulb to lose power or even break.
Solution
To fix this, you’ll need to inspect the light socket and make sure it’s properly secured and free of damage.
9. Poor Quality Bulbs

Lastly, poor-quality bulbs can also be a factor in premature bulb failure. Cheap bulbs may not be designed to withstand the heat and vibration of the oven, which can cause them to burn out quickly.
Solution
Choose a high-quality bulb that’s specifically designed for use in ovens. Look for bulbs that are made from high-quality materials and are rated for high temperatures and vibration.
By understanding these common causes of oven light bulb failure and taking steps to prevent them, you can keep your oven light shining bright for longer.
How To Change an Oven Light Bulb Step-by-Step Guide
Now that you know the common causes of oven light failure, let’s look at how to change a bulb. Here are the steps you’ll need to follow:
Step 1: Turn Off the Oven
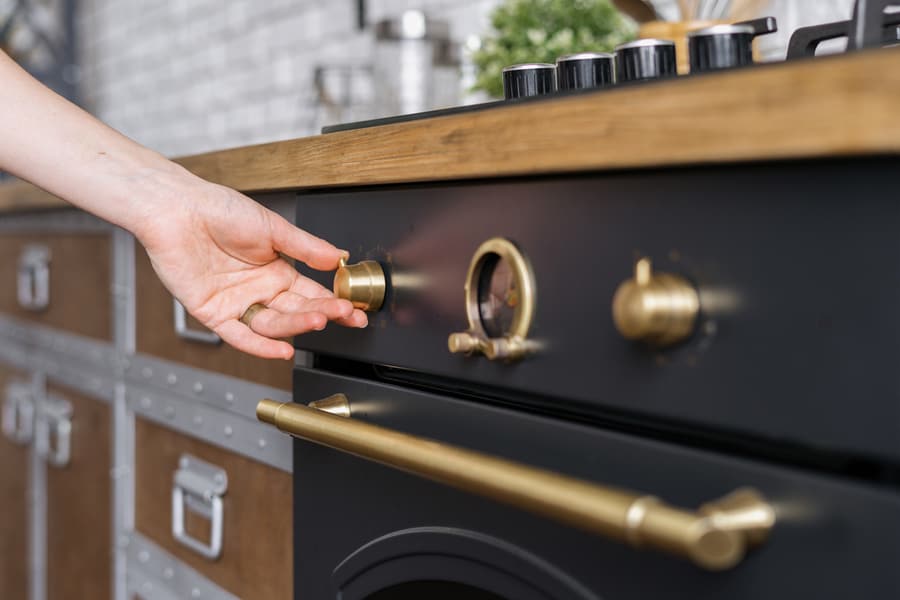
Before replacing the bulb, make sure the oven is turned off and cool to the touch. This is important for your safety and to prevent damage to the oven.
It’s best to wait for at least 30 minutes after turning off the oven to allow it to cool down completely.
It’s important to note that some ovens may still have residual heat even after they are turned off. Use caution when handling the oven, and wear oven mitts if necessary to avoid burns or injuries.
Step 2: Locate the Light Bulb
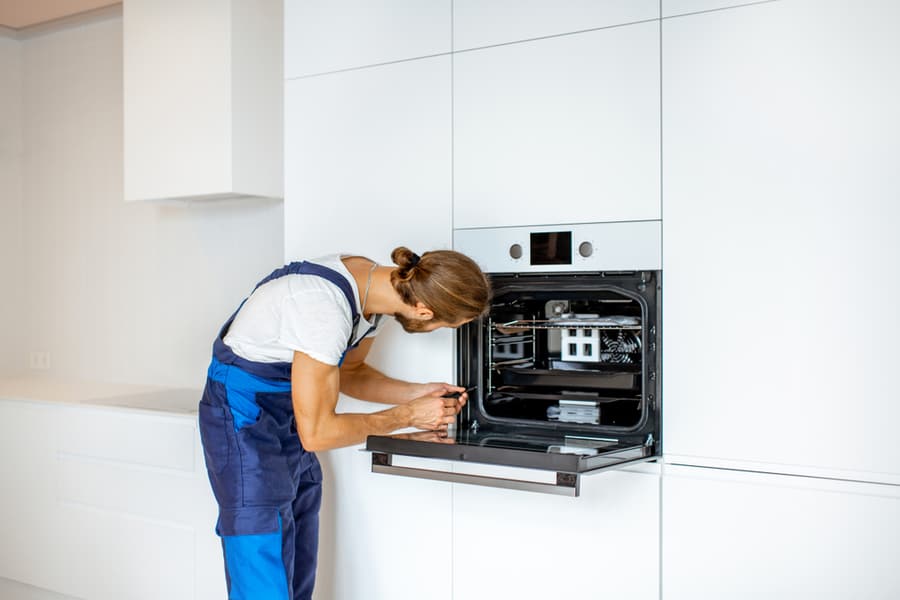
The location of the lightbulb in your oven may vary depending on the make and model of your oven. Generally, it is located at the back of the oven or on the side.
Step 3: Remove the Bulb Cover (if Applicable)
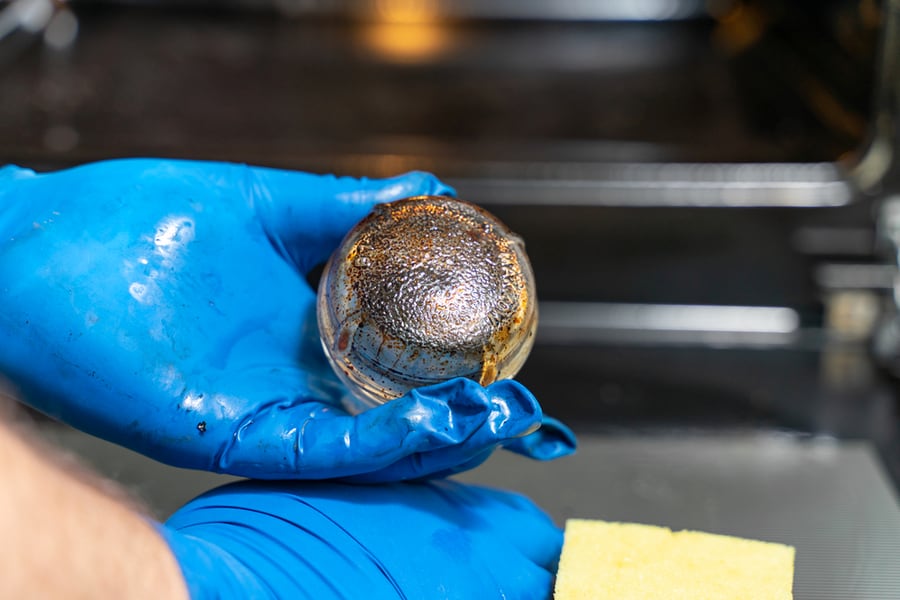
Some ovens have a bulb cover that needs to be removed before accessing the bulb. A metal clip or screw usually holds the bulb cover in place.
To remove the bulb cover, turn it counterclockwise and gently pull it out. If it’s held in place by a screw, use a screwdriver to remove the screw and then remove the bulb cover.
Step 4: Remove the Old Bulb
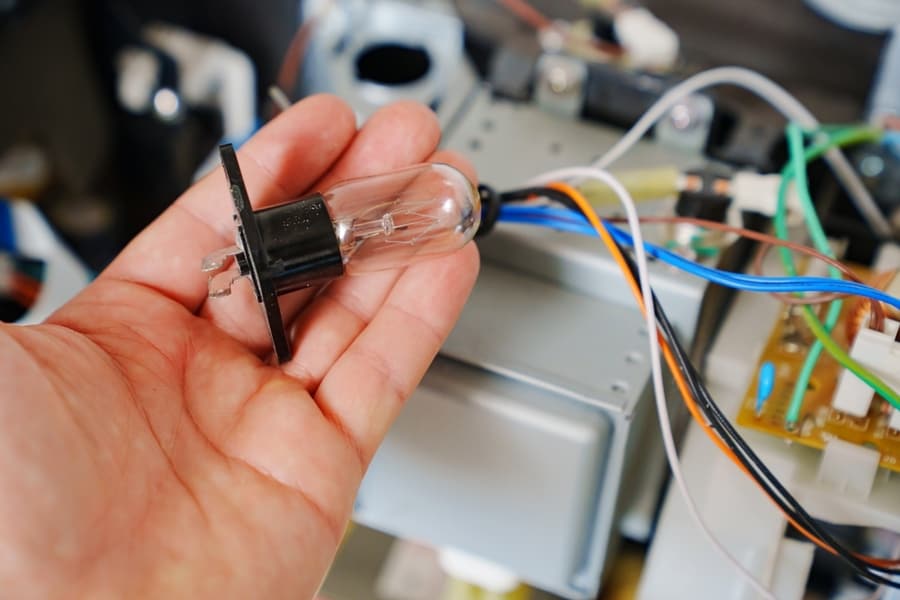
Once you have access to the bulb, you can now remove the old bulb. Carefully grip the bulb and turn it counterclockwise to release it from the socket.
If the bulb is stuck, try using a pair of rubber gloves or a cloth to get a better grip.
Be careful not to apply too much force or twist the bulb too hard, as it could break and leave shards inside the socket.
Step 5: Insert the New Light Bulb
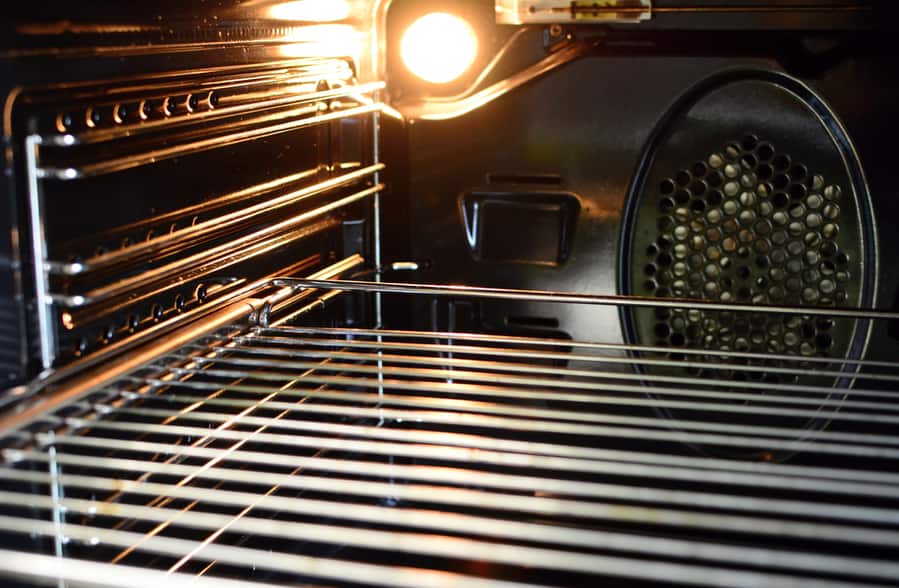
Take the new bulb and align it with the socket. Carefully insert the bulb into the socket and turn it clockwise until it’s securely in place.
Be sure not to touch the glass part of the bulb with your bare hands. If you do accidentally touch the glass, use a cloth or tissue to clean it before installing it in the socket.
If your oven has a bulb cover, replace it by turning it clockwise or by using the screwdriver to secure it in place.
Step 6: Test the Bulb

Once you’ve replaced the light bulb and reassembled any parts, it’s time to test it out. Turn the oven on to check that the bulb is functioning properly.
Double-check if the bulb doesn’t turn on to ensure it’s inserted correctly and securely. If it still doesn’t work, you may need to check the wiring or consult a professional.
If the new bulb is working correctly, congratulations! You’ve successfully replaced the oven light bulb.
Conclusion
A blown oven light bulb can be frustrating, but it’s a common problem with several potential causes.
By understanding the common reasons for oven light bulb failure, you can take steps to prevent it from happening in the future.
Always remember to use the correct type of bulb for your oven, keep electrical connections and wiring in good condition, and take steps to reduce excessive heat buildup in the oven.
And, of course, follow the simple steps outlined in our guide to change the light bulb safely and easily.
By following these tips, you can help to keep your oven light burning brightly for a long time. We hope this guide has helped find the root cause of your oven light bulb issues- and how to fix them!
If you have any further questions, feel free to contact us. We’re here to help!
Frequently Asked Questions
Is It Safe To Use the Oven Without a Light Bulb?
While using the oven without a lightbulb is possible, it’s not recommended. The lightbulb is an important safety feature that allows you to monitor your food while cooking.
Without a bulb, it isn’t easy to see what’s happening inside the oven, leading to overcooking or burning.
How Long Should the Oven Light Bulb Last?
The lifespan of an oven lightbulb can vary depending on several factors, such as the type of bulb and the frequency of use.
Generally, a high-quality oven lightbulb rated for oven use can last 800-900 hours. However, if the bulb is exposed to high temperatures or experiences electrical issues, it may fail prematurely.
What Happens if My Oven Light Bulb Gets Too Hot?
If the oven lightbulb gets too hot, it can cause the bulb to fail prematurely, produce a burning smell, and even pose a fire hazard.
It’s essential to use the correct wattage bulb and take steps to reduce excessive heat buildup to avoid these issues.
Is There a Difference Between an Oven Light Bulb and a Regular Bulb?
Yes, oven lightbulbs are designed to withstand higher temperatures than regular bulbs. Regular bulbs are not suitable for use in the oven as the heat will cause them to burn out quickly.
Using the correct oven lightbulb can help ensure your light bulb lasts longer and performs better.
Additionally, oven light bulbs have various wattages and sizes to fit your specific oven. Read the manufacturer’s instructions before selecting the right bulb for your oven.

