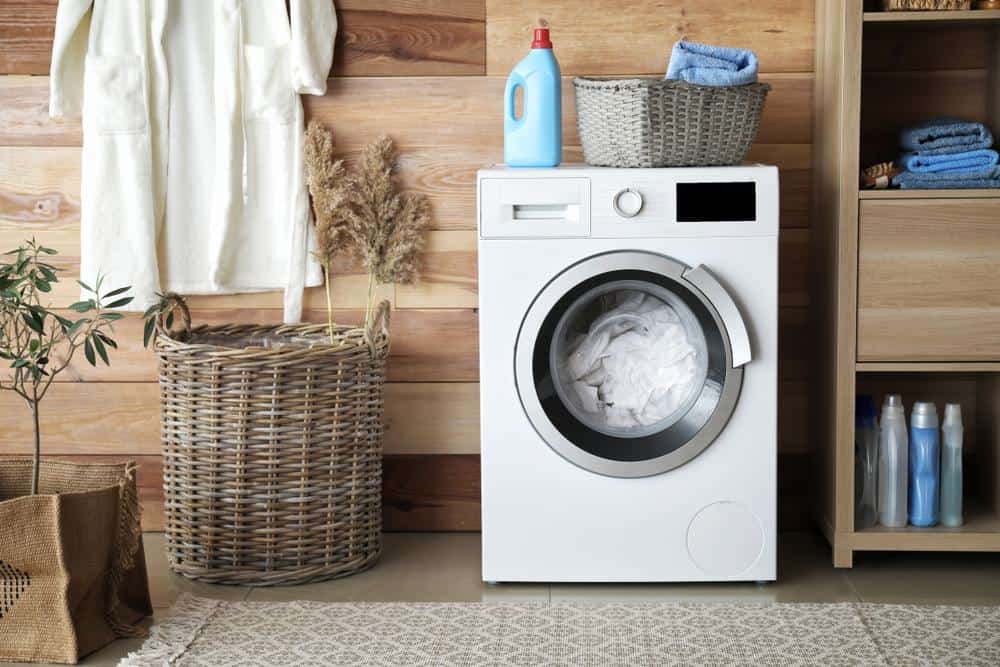
In the age of Do-It-Yourself (DIY) enthusiasts and home improvement projects, learning how to remove a washing machine drum from its plastic casing can be a valuable skill. Whether you’re dealing with a malfunctioning drum or performing routine maintenance, this article will guide you through the process step-by-step.
To get a washing machine drum out of its plastic casing, first disconnect the power and water supply. Empty the drum and disconnect the hoses. Refer to the manufacturer’s instructions for specific procedures. Gather your tools, remove the top and front panels of the machine, and then lift the drum carefully out of the casing. Be sure to avoid common mistakes like not disconnecting power or not using the correct tools. Always consult a professional if unsure.
Disconnect the Power Supply
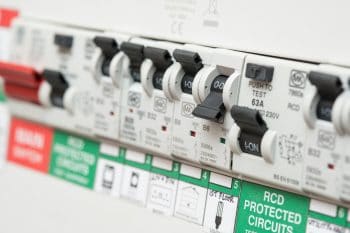
Safety is paramount when dealing with electrical appliances. Before you start, make sure to disconnect the washing machine from the power source. This will eliminate the risk of electric shock and ensure a safe working environment.
Turn Off the Water Supply
Next, shut off the water supply to the washing machine. This is a crucial step to avoid water leakage or flooding. Some washing machines have internal shut-off valves, while others may require you to turn off the main water supply.
Empty the Drum and Disconnect Hoses
Before you start with the drum removal, make sure to remove any clothes or water left in the drum. Disconnect the inlet and outlet hoses connected to the drum. This step also helps to avoid any potential water spills.
Follow the Manufacturer’s Instructions
Each washing machine model is unique. Therefore, referring to the manufacturer’s manual or online resources for the correct procedure for your specific model is essential. This will ensure you’re following the correct steps and not damaging any components.
Gather Your Tools
You will need a screwdriver, pliers, a socket wrench, and optionally a hammer. You may also need a drop cloth or plastic sheeting to protect your floor while working on the washing machine.
Remove the Top and Front Panels
Most washing machine models require the removal of the top and front panels to access the drum. This process usually involves removing screws and spring clips that hold the panels in place.
Remove the Drum
Now, gently lift the drum out of the washing machine, taking care not to damage the surrounding components. This step may require a bit of maneuvering, so take your time and be careful.
Common Mistakes to Avoid
There are a few common mistakes that you should avoid when removing the washing machine drum from its plastic casing. These include not disconnecting the appliance from the electricity supply, not draining the remaining water, not supporting the drum properly, not paying attention to the motor plug, not checking for hidden clips or screws, not using the correct tools, and not keeping track of removed parts.
Reinstallation
If you wish to reinstall the drum, the process is essentially the reverse of removal. However, it’s crucial to ensure the drum is correctly aligned and all parts are securely fastened. Running a test cycle after reinstallation can help confirm everything is functioning correctly.
Disposal and Recycling
Proper disposal or recycling of the removed drum and plastic casing is important for environmental sustainability. Check with local recycling programs, consider repurposing, or contact a professional waste disposal service.
This article provides a comprehensive guide on how to remove a washing machine drum from its plastic casing. However, if you’re unsure about any step or feel uncomfortable performing the task, it’s best to consult a professional for assistance. Safety should always be your top priority.
Frequently Asked Questions
What tools do I need to remove the washing machine drum?
You will need a screwdriver, pliers, a socket wrench, and optionally a hammer. You may also need a drop cloth or plastic sheeting to protect your floor while working on the washing machine.
How can I avoid common mistakes when removing the washing machine drum?
Some common mistakes to avoid include not disconnecting the appliance from the electricity supply, not draining the remaining water, not supporting the drum properly, not paying attention to the motor plug, not checking for hidden clips or screws, not using the correct tools, and not keeping track of removed parts.
How do I reinstall the drum into the washing machine?
Reinstalling the drum is essentially the reverse of the removal process. Make sure the drum is correctly aligned and all parts are securely fastened. After reinstallation, run a test cycle to confirm everything is functioning correctly.
How should I dispose of the removed drum and plastic casing?
Proper disposal or recycling of the removed drum and plastic casing is important. You can check with local recycling programs, consider repurposing, or contact a professional waste disposal service.
What should I do if I’m unsure about any step of the process?
If you’re unsure about any step or feel uncomfortable performing the task, it’s best to consult a professional for assistance. Safety should always be your top priority.

