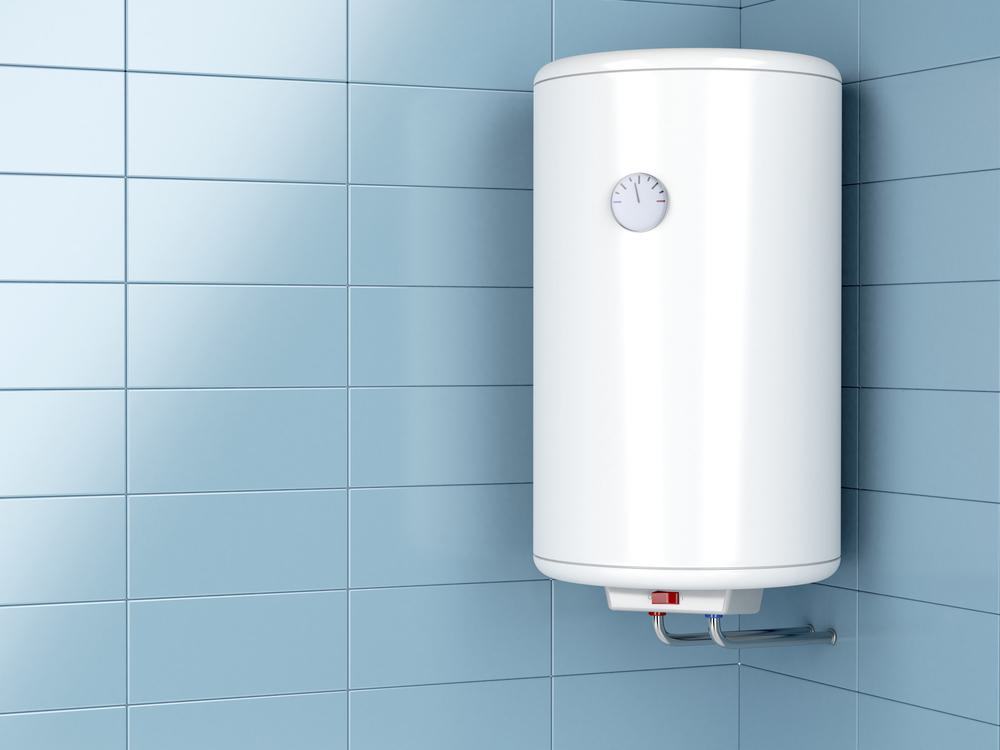
Replacing a water heater expansion tank is a task that many homeowners may encounter during the lifespan of their water heater. This component plays a crucial role in maintaining the performance and longevity of your water heater system, absorbing the excess pressure caused by the expansion of water as it heats up. In this comprehensive guide, we’ll walk you through the steps involved in replacing a water heater expansion tank, the signs indicating a need for replacement, safety precautions to observe, and potential challenges you might face during the process.
To replace a water heater expansion tank, first, turn off the power and water supply to your water heater. Drain some water from the heater to relieve pressure. Use a pipe wrench to unscrew the old expansion tank from the pipe. Wrap Teflon tape around the threads of the new tank and screw it onto the pipe. Refill the water heater, turn the power back on, and monitor for any leaks or issues. If you’re unsure about any part of the process, consider hiring a professional plumber.
Why Replace a Water Heater Expansion Tank?
There are several signs that your water heater expansion tank may need replacing. These include unusual noises coming from the tank, water leakage around the tank or its valve connections, inconsistent water pressure, rusty-colored water, poor heating performance, condensation build-up around the tank, and loss or excess of tank pressure. If you notice any of these signs, it’s strongly recommended to contact a professional plumber to inspect your expansion tank and replace it if necessary.
Tools and Materials Needed
Before you start the replacement process, ensure you have the following tools and materials:
- New Thermal expansion tank
- Pipe wrench
- Teflon tape
- Pipe joint compound
- Dielectric water heater union
- Two 3/4-inch copper female-threaded unions
- 3/4-inch copper tee-fitting
- 3/4-inch copper pipe
- Plumbing soldering equipment (if needed)
- Copper flex pipes (if needed)
Step-by-Step Replacement Process
Here is a detailed guide on how to replace a water heater expansion tank:
- Turn off the Power and Water Supply: The first step is to turn off the water supply to your water heater and switch off the power supply.
- Drain the Water Heater: Next, drain some water from the water heater to relieve pressure in the system.
- Remove the Old Expansion Tank: Using a pipe wrench, unscrew the old expansion tank from the pipe.
- Install the New Expansion Tank: Wrap Teflon tape around the threads of the new expansion tank and screw it onto the pipe.
- Refill the Water Heater: Close the drain valve and open the cold water supply valve to refill the water heater.
- Turn the Power Back On: Once you’ve refilled the water heater and ensured there are no leaks, turn the power supply back on.
- Check the System: Monitor the water heater and expansion tank for any leaks or issues over the next few days to ensure proper installation and operation.
Safety Precautions
Safety should always be your top priority when replacing a water heater expansion tank. Always turn off the water supply and power before starting, wear safety gear, and follow the manufacturer’s instructions. Ensure that the expansion tank is securely supported to prevent stress on the cold water pipe, and check the air charge in the tank to match the pressure of the home’s water supply.
Common Problems and Solutions
During the replacement process, you may encounter some common problems like a lack of standardization, lack of ownership and accountability, or lack of relevance in the process documentation. To solve these issues, follow an established format, assign ownership from the beginning, and ensure regular reviews and continuous updates to keep the process relevant and up-to-date.
Professional Help vs DIY
While a homeowner with moderate to expert plumbing knowledge can replace a water heater expansion tank, if you’re unsure about any part of the process, it’s recommended to hire a professional plumber. They can ensure the job is done correctly, safely, and in compliance with local codes and regulations.
We hope that this comprehensive guide has provided you with the knowledge and confidence to replace your water heater expansion tank. Remember, regular maintenance and inspection can help extend the life of your expansion tank and improve the efficiency of your water heater system.
Frequently Asked Questions
How often should a water heater expansion tank be replaced?
There’s no set timeframe for replacing a water heater expansion tank as its lifespan depends on several factors including water quality, the amount of usage, and maintenance practices. However, most manufacturers recommend inspecting the tank annually and replacing it every 5-10 years, or sooner if you notice any of the signs of failure mentioned in the blog post.
Can a faulty water heater expansion tank lead to higher energy bills?
Yes, a faulty expansion tank can cause the water heater to work harder to maintain the desired temperature, leading to increased energy usage and higher utility bills.
Is it necessary to use Teflon tape when installing a new water heater expansion tank?
Yes, using Teflon tape on the threads of the new expansion tank can help create a more secure, leak-free connection. It’s a best practice to wrap the tape in the direction of the thread to ensure a proper fit.
What is the purpose of a dielectric water heater union in the replacement process?
A dielectric union is used to connect two pipes of different materials (like copper and steel) to prevent a process known as galvanic corrosion, which can damage your pipes over time. This is crucial for the longevity of your water heater system.
What happens if the pressure in the expansion tank doesn’t match the pressure of the home’s water supply?
If the pressure in the expansion tank and the home’s water supply do not match, it can lead to issues like water hammer (a loud banging noise in the pipes), leaks, or even damage to the water heater and plumbing system. Therefore, it’s essential to check and adjust the pressure in the expansion tank during installation.


