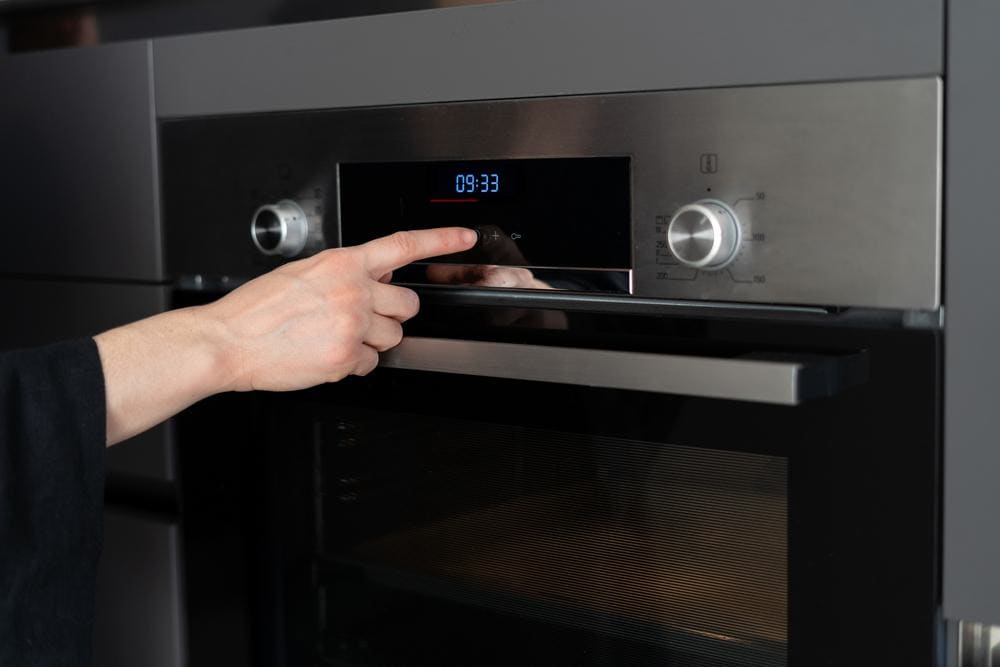
Learning how to operate your KitchenAid oven is key to unlocking its full potential. From turning it on to setting the temperature, to understanding its unique features, this guide will provide you with a comprehensive understanding of your KitchenAid oven and how to use it effectively.
Turning on a KitchenAid oven involves a few simple steps: First, select the oven function by pressing the “Bake,” “Convection Bake,” or another similar button. Next, set the desired temperature using the control buttons or knobs. Press the “Start” button to begin the oven function. Once the set temperature is reached, you can place your food inside the oven. If you want to set a specific cooking time, use the oven’s timer function. To cancel the function, press the “Cancel” button.
Turning on Your KitchenAid Oven
Turning on your KitchenAid oven is a straightforward process. The basic steps are:
- Select the oven function: Depending on your oven model, you may need to press the “Bake,” “Convection Bake,” or another similar button to choose the desired function.
- Set the temperature: Use the temperature control buttons or knobs to set the desired temperature for your cooking task. For example, if you want to bake at 350°F, press the appropriate buttons or turn the knob to reach that temperature.
- Press “Start”: This button begins the oven function you’ve selected. If you don’t press “Start” within a certain time after selecting the function and temperature, the oven may cancel the function and return to its default settings.
- Place food inside the oven once the set temperature is reached. Close the oven door to ensure proper cooking.
- (Optional) Enter the time to cook: If you want to set a specific cooking time, use the oven’s timer function to do so.
- To cancel the function during or after the cook time, press the “Cancel” button.
Remember, these steps are general guidelines and may vary depending on your specific KitchenAid oven model. Consult your oven’s user manual for more detailed instructions and information on its features.
Unique Features of KitchenAid Ovens
KitchenAid ovens have several unique features and controls that distinguish them from other ovens. Some of these features include:
- Even-Heat™ True Convection: Ensures consistent temperatures for better cooking results.
- EasyConvect™ Conversion System: Automatically adjusts conventional baking temperatures to their convection equivalents.
- Interchangeable Attachments (Smart Oven+ models): Expands the creative possibilities of a wall oven.
- Smart Capabilities: Offers precision timing and voice commands.
- AquaLift® Self-Cleaning Technology: Minimizes the time, temperature, and odors associated with traditional self-cleaning methods.
- Electronic Oven Controls: Provides various control options, such as touch-activated controls, custom knobs, and standard knobs.
Troubleshooting Your KitchenAid Oven
In case your KitchenAid oven refuses to turn on, here are some troubleshooting steps you can follow:
- Check the electrical supply: Ensure the appliance is plugged into a grounded outlet with a dedicated circuit and that the outlet is operational.
- Error code: If the appliance shows an error code, try resetting the appliance to clear the error code.
- Control Lock function: Make sure the Control Lock function is turned OFF.
- Reset power to the product: Power the unit down by turning off the circuit breaker(s) for one (1) minute, then power the unit up by turning on the circuit breaker(s).
- Heating element malfunction: Check if the heating element is malfunctioning.
- Circuit breaker or fuse issues: Check your home’s circuit breaker for a blown fuse. Reset the circuit breaker or replace the fuse if necessary.
- Control panel lock: Check your oven’s control panel for the “Control Lock” button and reset it by holding the button for three seconds.
- Temperature sensor issues: A faulty temperature sensor could cause the oven not to heat up.
If these troubleshooting steps do not resolve the issue, it is recommended to contact a professional technician for further assistance.
Conclusion
Understanding your KitchenAid oven and how to operate it can help you make the most of this versatile appliance. By following these instructions and guidelines, you’ll be able to get the best performance and longevity from your KitchenAid oven. Always remember to refer to your user manual for the most accurate and detailed information for your specific model.
Frequently Asked Questions
How long does it take for a KitchenAid oven to preheat?
Preheating times can vary based on the model and the set temperature, but generally, a KitchenAid oven takes about 10 to 15 minutes to preheat.
How do I set the clock on my KitchenAid oven?
To set the clock on your KitchenAid oven, press the “Clock Set/Start” button. Use the numerical keypad to enter the current time, then press “Clock Set/Start” again to confirm. Remember, this process may vary depending on your specific oven model.
Can I use aluminum foil in my KitchenAid oven?
Yes, you can use aluminum foil in your KitchenAid oven. However, you should avoid covering the entire oven rack or the oven bottom with aluminum foil as it could affect heat circulation or trap heat, which could result in poor cooking results or potential damage.
What is the capacity of a KitchenAid oven?
The capacity of KitchenAid ovens varies greatly depending on the model. They can range from about 3.1 cubic feet to 5.0 cubic feet for single ovens, and up to 10.0 cubic feet for double oven models.
How often should I clean my KitchenAid oven?
It’s recommended to clean your KitchenAid oven regularly to maintain its performance and appearance. The frequency of cleaning depends on how often you use the oven. If you use it daily, a monthly deep clean along with spot cleaning after each use would be ideal. If you use it less frequently, cleaning it every two to three months should be sufficient.


