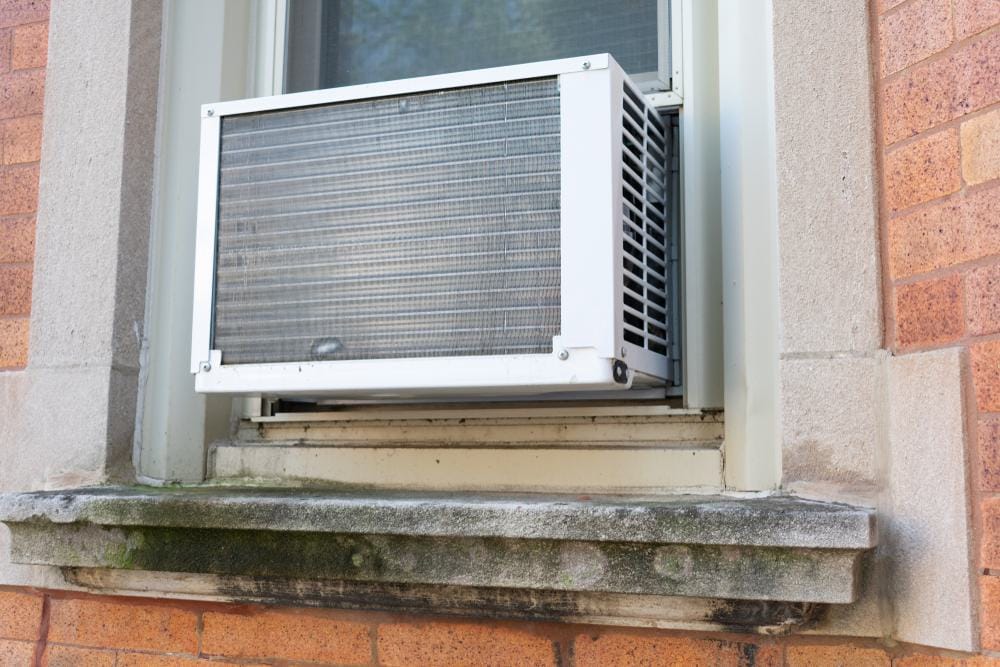
In this comprehensive guide, we will walk you through the process of removing vents from a window air conditioner (AC). Whether you’re looking to clean, repair, or replace the vents, this post has got you covered. So, let’s dive in!
To take vents off a window AC, first ensure the unit is turned off and unplugged. Remove the front panel and air filter to access the vents. Depending on the design of your AC, the vents may be held in place by screws or clips. Carefully unscrew or unclip the vents to remove them from the unit. After removing, you can clean the vents with a soft brush or cloth and warm, soapy water. Reattach the vents and reassemble the AC unit by reversing the steps you took to remove them.
Why Would You Need to Remove the Vents from Your Window AC?
There are several reasons why a homeowner might need to remove the vents from their window AC. These include mold removal, cleaning and maintenance, replacing damaged vents, air filter replacement, and repair or replacement of internal components. By removing the vents, you can ensure the proper functioning and longevity of your window AC unit.
Tools Needed for Vent Removal
Before you start the vent removal process, you’ll need a few tools:
- A 4-in-1 screwdriver to remove screws
- Leather gloves to protect your hands
- Rags or cleaning cloths for cleaning the vents
Always remember to turn off and disconnect the AC unit from the power source before starting any work on it.
Steps to Remove Vents from a Window AC
Here’s a step-by-step guide to removing vents from a window AC:
- Turn off and unplug the AC unit: Always ensure the unit is turned off and unplugged before starting any maintenance work to avoid electrical hazards.
- Remove the front panel: Depending on the model, you may need to remove the bottom vent where the filter is located first. Gently pull the panel away from the unit, being careful not to damage any attached components.
- Remove the air filter: Slide the air filter out of its housing. You may need to clean or replace the filter, depending on its condition.
- Access the vents: With the front panel and air filter removed, you should now have access to the vents.
- Unscrew or unclip the vents: Depending on the design of your AC unit, the vents may be held in place by screws or clips. Carefully unscrew or unclip the vents to remove them from the unit.
- Clean the vents: Once the vents are removed, clean them using a soft brush or cloth and warm, soapy water. Be gentle to avoid damaging the vents.
- Reassemble the AC unit: After cleaning the vents, reattach them to the unit by reversing the steps you took to remove them. Make sure all screws or clips are securely fastened, and the front panel and air filter are properly reinstalled.
Safety Precautions to Take When Removing Vents from Window AC
It’s important to take safety precautions when removing vents from a window AC. Here are some tips:
- Disconnect from power: Always turn off the AC unit and unplug it from the power source before starting any work on it.
- Read the manufacturer’s instructions: Different AC models have specific requirements for removing and cleaning vents. Always follow these recommendations to prevent damage to the unit or surrounding areas.
- Wear protective gear: Wear rubber gloves and safety goggles to prevent any dirty water, dust, or debris from splashing back into your eyes when cleaning or removing parts of the AC unit.
- Use proper tools: Use the appropriate tools for removing the vents. Using the wrong tools can damage the unit or cause injuries.
- Work in a well-ventilated area: Ensure that you are working in a well-ventilated area to avoid inhaling any dust or debris that may be released during the removal process.
Common Mistakes to Avoid When Removing Vents from a Window AC
When removing vents from a window AC, there are several common mistakes to avoid. These include not turning off the unit and disconnecting the power, using improper tools or excessive force, ignoring other parts of the AC unit, not reinstalling the vents correctly, and not following the manufacturer’s guidelines.
Conclusion
Removing vents from a window AC unit is an essential step for proper cleaning, maintenance, and repair of the unit. By following the steps and precautions outlined in this guide, you can ensure optimal performance and longevity of your window AC unit. Always remember to consult the user manual for your specific unit to ensure you are following the correct procedure. If you’re not confident in performing these tasks, always seek professional help.
Frequently Asked Questions
How often should I clean my window AC vents?
Cleaning frequency can vary depending on the usage and environment, but as a general rule, you should clean your window AC vents at least once every season or every three months.
What should I do if my AC vents are damaged?
If your AC vents are damaged, they may need to be replaced. You can buy replacement vents from the manufacturer or a reputable HVAC supplier. Always ensure the replacement part is compatible with your specific AC unit model.
Can I use any type of soap to clean the vents?
Generally, a mild dish soap mixed with warm water works well for cleaning AC vents. Avoid using harsh chemicals as they can damage the vents.
What should I do if I can’t remove the vents from my window AC?
If you’re having trouble removing the vents, refer to your AC unit’s user manual for specific instructions. If you’re still unable to remove the vents, it’s best to call a professional to avoid damaging the unit.
Can I run my window AC without the vents?
It’s not recommended to run your window AC without the vents as they guide the flow of air and help filter out dust and debris. Running your AC without the vents could lead to decreased performance and potential damage to the unit.


