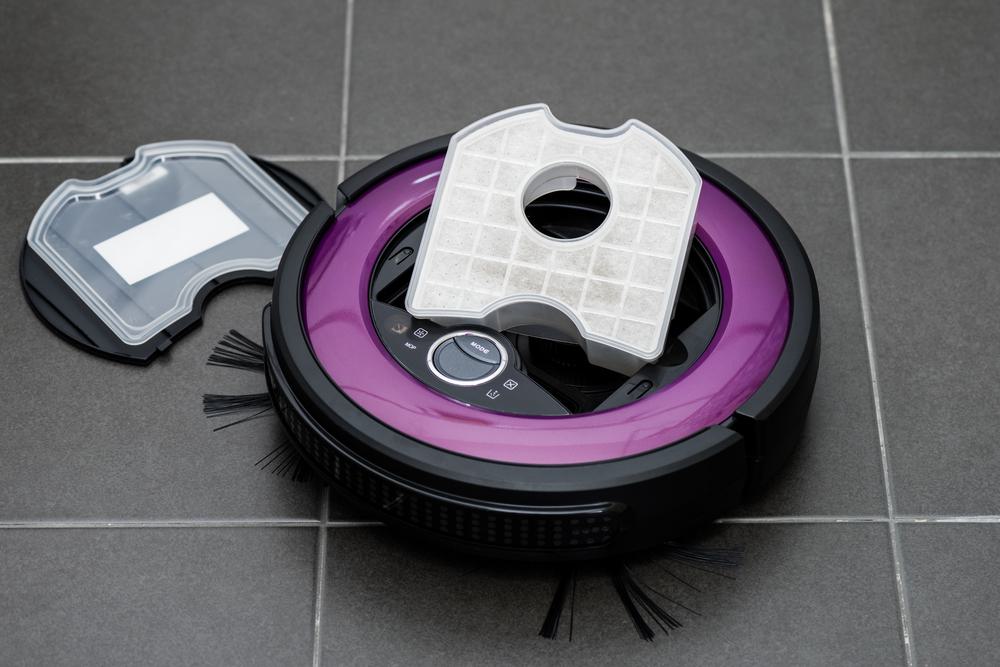
The Roomba robot vacuum cleaner by iRobot has revolutionized the way we clean our homes. Thanks to its smart technology and convenient features, it has become a popular choice for many households. One such feature is the Roomba remote control, which allows you to control your Roomba’s functions without bending down. In this comprehensive guide, we will explain in detail how to use the Roomba remote control effectively.
To use the Roomba remote control, first set it up by installing batteries and pairing it with your Roomba device. Once paired, you can use the Clean button to start a cleaning cycle, the Spot button for concentrated cleaning, and the directional buttons to steer the Roomba. If you encounter issues, check the batteries, clean the infrared window, test the remote’s range, and re-pair the remote with the Roomba.
What is a Roomba Remote Control?
A Roomba remote control is a device that allows you to control your Roomba robot vacuum cleaner’s functions. Available with select models, it is compatible with selected 500, 600, 700, and 800 series robots. The remote control enables you to turn the Roomba on and off, steer it around your room without bending down, and access various cleaning commands. Some of the commands available on the remote control include:
- Clean: Start Roomba in Clean mode
- Spot: Start Roomba in Spot mode
- Max: Start Roomba in Max mode (if available)
- Pause: Pause Roomba in the middle of the cleaning cycle. Press pause again to continue.
The Roomba remote control, Virtual Walls, and Home Base all operate using an invisible infrared beam. It requires 2 AA batteries, which are not included.
How to Set Up the Roomba Remote Control?
Setting up the Roomba remote control is a straightforward process. Here are the steps:
- Install three “AA” batteries into the Command Center (remote control).
- Hold down the left drive button while installing the fourth battery.
- Continue holding the button for 3 seconds or until the days of the week lights flash in a sequence from right to left (Saturday to Sunday).
- Install the battery door and place the Command Center on top of Roomba.
- Press and hold the DAY and MINUTE buttons on the Command Center for 2 seconds. The lights on the Command Center will flash to indicate the pairing has completed, and Roomba will make a two-tone beep.
- When the Command Center is powered on from now on, the lights will flash in sequence from left to right until Roomba is under control.
How to Pair the Roomba Remote Control?
Pairing the Roomba remote control with your Roomba device is an essential step to ensure the remote control can communicate with the Roomba. Here’s how to do it:
- Charge your Roomba and turn it off.
- Install new batteries into your remote control.
- Press the clean button on the remote control. You should see the days of the week flash on the remote.
- Lay the remote on top of the Roomba.
- Once the Roomba turns on, hold down the left and right direction arrows on the remote control until all the lights on the remote flash. This indicates that the unit is paired.
How to Use the Roomba Remote Control?
Once the remote control is set up and paired with your Roomba, you can start using it to control the Roomba’s functions. Here’s what each button does:
- CLEAN: Starts Roomba in CLEAN mode, where it cleans an entire level of your home during one cleaning cycle.
- SPOT: Starts Roomba in SPOT mode, which focuses on a specific area for concentrated cleaning.
- Directional Buttons: Press and hold to have Roomba drive straight or spin in the direction of the button pressed.
Troubleshooting the Roomba Remote Control
If you encounter issues with your Roomba remote control, try the following steps:
- Check the batteries: Ensure that the batteries in the remote control are not depleted and are inserted correctly. Replace them with new ones if necessary.
- Clean the remote’s infrared window: Make sure the small rectangle of transparent black plastic on the front of the remote is clean and free of obstructions.
- Test the remote’s range: Hold the remote one or two feet away from the Roomba’s front bumper and press the Clean button on the remote.
- Pair the remote with the Roomba: Repeat the pairing process as described above.
If the issue persists after trying these steps, consider contacting iRobot Customer Care for further assistance.
Conclusion
The Roomba remote control is a handy tool that allows you to control your Roomba robot vacuum cleaner conveniently. By understanding how it works and how to troubleshoot common issues, you can make the most of this feature and keep your home clean effortlessly.
Frequently Asked Questions
Can the Roomba remote control be used with all Roomba models?
No, the Roomba remote control is only compatible with select models, specifically the 500, 600, 700, and 800 series robots.
What type of batteries does the Roomba remote control require?
The Roomba remote control requires 2 AA batteries, which are not included with the purchase of the remote.
How do I know if the Roomba remote control is paired successfully with my Roomba?
When the pairing process is successful, all the lights on the remote control will flash. Additionally, Roomba will make a two-tone beep to indicate that the pairing has been completed.
What should I do if the Roomba remote control is not responding?
If the Roomba remote control is not responding, you can try replacing the batteries, cleaning the remote’s infrared window, testing the remote’s range, and re-pairing the remote with the Roomba. If the issue persists, consider contacting iRobot Customer Care.
What does the “Max” mode on the Roomba remote control do?
The “Max” mode, if available on your Roomba model, starts Roomba in a mode where it will clean until the battery is almost depleted, providing a thorough cleaning of your home.

