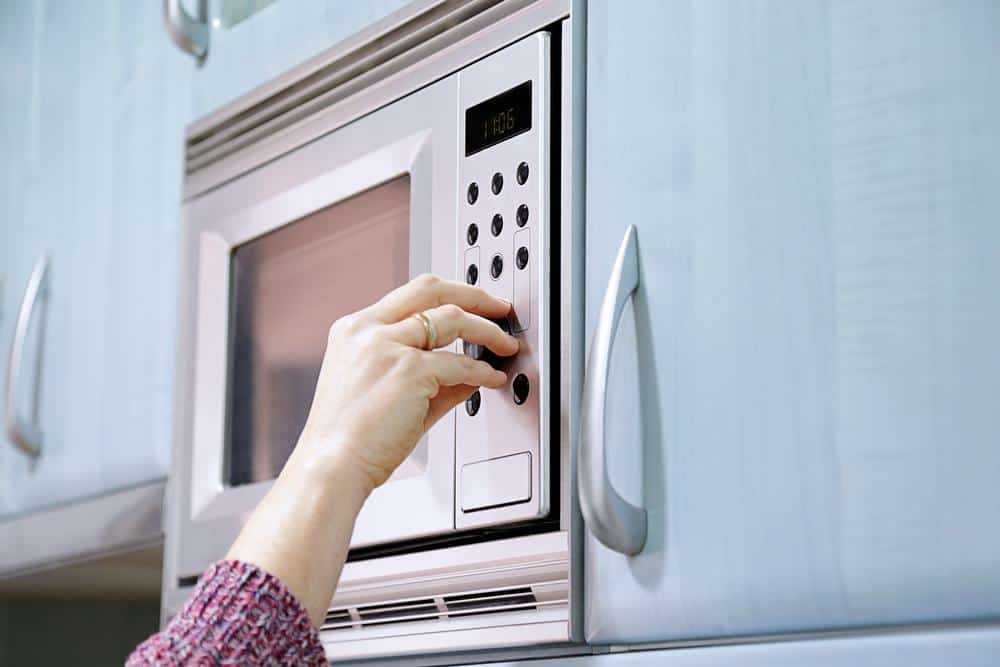
Removing a GE Profile Microwave may seem like an intimidating task, but with the right tools and a step-by-step guide, it can be a straightforward DIY project. This comprehensive guide will walk you through the process of how to safely and efficiently remove your GE Profile Microwave.
To remove a GE Profile Microwave, first, disconnect the power supply and turn off the circuit breaker. Then, pull the range out from the wall for easy access to the microwave. Locate the screws securing the microwave to the cabinet above and remove them while supporting the microwave. Finally, tilt the microwave forward to release it from the mounting bracket and lift it off. Remember to disconnect the venting system if it’s present. Always follow safety precautions during the process.
Preparations
Before you start, ensure you have the necessary tools: a Phillips and flathead screwdriver, pliers, and a putty knife or scraper if you’re removing a trim kit.
Safety Precautions
Your safety should be the top priority when performing any DIY project. Here are some precautions you should take:
- Disconnect power: Always unplug the microwave from the electrical outlet to eliminate the risk of electric shock.
- Read the owner’s manual: Consult the owner’s manual for specific instructions and safety guidelines related to your microwave model.
- Use proper lifting techniques: Microwaves can be heavy. Use your knees, not your back, when lifting the appliance.
- Work with an assistant: Having an assistant can help prevent accidents and make the process easier.
- Be cautious of sharp edges: Microwaves may have sharp edges or corners, so handle the appliance carefully to avoid cuts or scratches.
Disconnecting the Power Supply
Locate and unplug the power cord from the electrical outlet. Then, go to your circuit breaker panel and turn off the circuit breaker for the microwave. This will prevent any power from going to the microwave while you are working on it.
Removal Process
Step 1: Move the Range
Pull the range out from the wall to provide easier access to the microwave. For electric ranges, disconnect the power supply. For gas stoves, turn off the gas valve and disconnect the hose before moving the range.
Step 2: Remove the Top Screws
Locate the screws securing the microwave to the cabinet above it. Use a screwdriver or drill to remove these screws.
Step 3: Support the Microwave
As you remove the screws, make sure to support the microwave with your other hand or have someone else hold it in place, as it can be heavy.
Step 4: Tilt and Lift the Microwave
Once the screws are removed, carefully tilt the microwave forward to release it from the mounting bracket. Then, lift it off the bracket and away from the wall.
Handling the Venting System
If your microwave has a venting system, you’ll need to disconnect it as well. This involves removing the vent grille, disconnecting the vent duct, and possibly removing the blower motor assembly and damper plate.
Common Issues and Solutions
During the removal process, you may encounter some common issues such as difficulty accessing components, blown fuses, or trouble with control panel removal. Refer to the user manual or online resources for troubleshooting guides and tips.
Post-Removal Process
Once the microwave is safely removed, you have several options for disposing of it properly, including recycling, donating, reselling, or using manufacturer take-back programs.
Conclusion
Removing a GE Profile Microwave can be a simple task with the right preparation, tools, and guidance. Always remember to follow safety precautions and consult the owner’s manual or a professional if you encounter any difficulties.
Whether you’re upgrading to a new model or just need to remove your old microwave for repairs, this guide provides a comprehensive look at the process. Follow these steps, and you’ll have your GE Profile Microwave safely and efficiently removed in no time.
Frequently Asked Questions
What should I do if I can’t find the owner’s manual for my GE Profile Microwave?
If you can’t find your physical copy of the owner’s manual, you can typically find a digital version online. Visit the GE Appliances website and navigate to the “Support” section. Here, you should be able to find a digital copy of the manual by searching for your specific microwave model.
What kind of screwdriver do I need to remove the screws from the microwave?
A Phillips screwdriver is typically used to remove the screws from a GE Profile Microwave. However, some models may require a flathead screwdriver instead. It’s best to have both on hand before starting the removal process.
How can I tell if my microwave has a venting system?
If your microwave is mounted over a range or cooktop, it likely has a venting system. You can usually identify a venting system by looking for a vent grille on the top or back of the microwave.
What should I do with the screws after removing them?
It’s a good idea to keep the screws in a safe place after removing them, especially if you plan to reinstall the microwave or install a new one. You could put them in a small, sealable bag or container to prevent them from getting lost.
What should I do if the microwave doesn’t easily come off the bracket after removing the screws?
If the microwave doesn’t easily come off the bracket, it may be stuck due to grease or other debris. Try gently rocking the microwave back and forth to loosen it. If this doesn’t work, double-check to make sure all screws have been removed. If the microwave still won’t come off, you may need to consult a professional.


