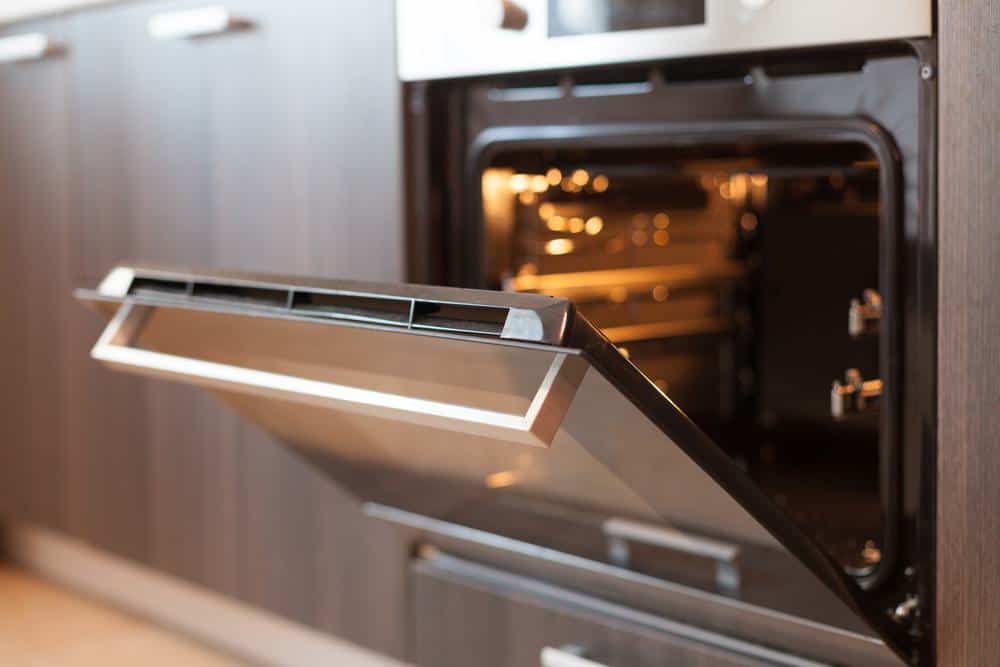
Sterilizing soil is an essential step for gardeners and plant enthusiasts who want to ensure the health and vitality of their plants. This process eliminates harmful bacteria, fungi, pests, and weed seeds from the soil, providing a safe and clean environment for plant growth. In this comprehensive guide, we’ll explore how to sterilize soil in the oven, the benefits of this process, and the safety precautions you need to follow.
To sterilize soil in the oven, preheat the oven to 180-200 degrees Fahrenheit (82-93 degrees Celsius). Place about 4 inches of soil in an oven-safe container and cover it with aluminum foil. Monitor the temperature with a thermometer and bake the soil for at least 30 minutes or until it reaches 180 degrees Fahrenheit (82 degrees Celsius). Finally, let the soil cool before using.
Benefits of Sterilizing Soil in the Oven
Sterilizing soil in the oven has several advantages, including:
- Reducing harmful pathogens, bacteria, pests, and fungi: Sterilizing soil helps eliminate harmful organisms that can cause diseases and harm your plants, ensuring a healthier growing environment.
- Preventing the spread of diseases: Sterilizing soil can help prevent the spread of diseases such as damping-off, a fungal disease that affects seedlings.
- Saving costs: Sterilizing soil at home can be more cost-effective than purchasing pre-sterilized soil or treating plant diseases and pest infestations later on.
- Reusing soil: Sterilizing soil allows you to reuse potting soil or garden soil that may have been contaminated with pests, diseases, or weed seeds, reducing waste and saving money.
- Improving germination and transplant success: Sterilized soil is particularly beneficial when used for seed germination, propagation of stem or shoot cuttings, and transplanting juvenile plants.
How to Sterilize Soil in the Oven
Now that we understand the benefits, let’s break down the process of sterilizing soil in the oven:
- Preheat the oven: Set your oven to 180-200 degrees Fahrenheit (82-93 degrees Celsius) .
- Prepare the soil: Place about 4 inches (10 cm) of soil in an oven-safe container, such as a glass or metal baking pan.
- Cover the container: Use aluminum foil to cover the container.
- Monitor the temperature: Insert a meat or candy thermometer into the center of the soil.
- Bake the soil: Allow the soil to heat for at least 30 minutes or until the soil temperature reaches 180 degrees Fahrenheit (82 degrees Celsius) .
- Cool the soil: Remove the soil from the oven and allow it to cool, keeping the foil in place until you’re ready to use the sterilized soil.
Safety Precautions When Sterilizing Soil in the Oven
While sterilizing soil in the oven is a straightforward process, it’s important to take certain safety precautions:
- Ventilate the area: Sterilizing soil in the oven can produce an unpleasant odor. Ensure proper ventilation by opening windows or using an exhaust fan.
- Monitor the temperature: Avoid temperatures higher than 200 degrees Fahrenheit (93 degrees Celsius) as it could break down the soil structure and make it toxic for plants.
- Use oven-safe containers: Avoid using containers that could melt or release harmful substances at high temperatures.
- Cool before use: Hot soil can harm plants. Always allow the soil to cool down completely before using it.
Conclusion
Sterilizing soil in the oven is a practical and cost-effective method to ensure a healthy environment for your plants. By following the steps and precautions outlined in this guide, you can successfully sterilize soil at home and improve the success rate of your gardening endeavors. Remember to always cool the soil completely before use, and ensure proper ventilation during the process. Happy gardening!
Frequently Asked Questions
Can I sterilize soil in a microwave?
Yes, you can also sterilize soil in a microwave. Put the soil in a microwave-safe container, cover it with a microwave-safe plate, and heat it on high for about 90 seconds per kilogram.
How often should I sterilize the soil?
Sterilizing soil is not a routine task. You should only sterilize soil if you suspect it is contaminated with pests, disease-causing organisms, or weed seeds. It’s also a good practice to sterilize soil used for seed germination or propagation.
Can I sterilize garden soil for indoor plants?
Yes, garden soil can be sterilized for indoor plants. However, it’s generally better to use a potting mix for indoor plants because it’s lighter and drains better than garden soil.
Does sterilizing soil remove nutrients?
Sterilizing soil can indeed reduce some of its nutrient content, particularly beneficial microbes. However, the primary purpose of sterilizing is to eliminate harmful organisms. You can always replenish the nutrients by adding compost or a slow-release fertilizer after sterilizing.
Can I use a different type of thermometer if I don’t have a meat or candy thermometer?
Yes, any thermometer that can measure in the necessary temperature range can be used. Just make sure it’s safe to use in the oven.

