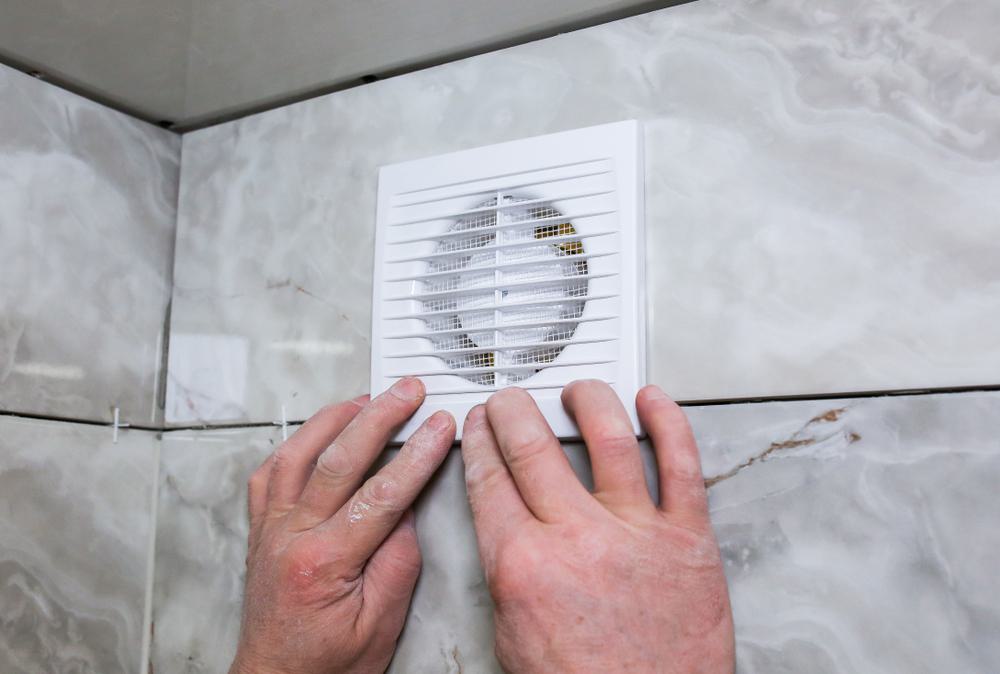
In every home, the bathroom fan plays a crucial role in maintaining a comfortable and healthy environment. By venting out moisture and odors, it helps prevent mold growth and maintains good indoor air quality. But like any other home appliance, a bathroom fan can wear out and need replacement. If you’re a DIY enthusiast, you might want to tackle this task yourself. This comprehensive guide will walk you through the process of removing a bathroom fan.
To remove a bathroom fan, first turn off the power. Then remove the cover, fan assembly, and metal housing. Disconnect the duct and wiring, and remove the motor from the housing. Finally, lower the fan housing and its attached blower/motor unit. Remember to wear a dust mask to protect yourself from dust and debris.
Before You Start: Essential Tools
Before you start, gather all the necessary tools. You’ll need:
- A step ladder to reach the fan
- A screwdriver set (including a large flathead driver)
- A circuit tester or voltage detector to ensure the power is off
- A drop cloth to protect your bathroom floor and surfaces
- A flashlight or work light for better visibility
- A dust mask to protect yourself from dust and debris
Step-by-Step Process of Removing a Bathroom Fan
Step 1: Turn Off the Power
Safety should always be your first concern when working with electrical appliances. Ensure the electricity is turned off to the exhaust fan by turning off the circuit breaker in the electric service panel.
Step 2: Remove the Cover
The vent cover is usually attached with metal mounting wires. Gently pull down on the vent cover and squeeze these wires together on both sides. Slide them out of their slots to remove them from the fan housing.
Step 3: Remove the Fan Assembly
Most bathroom exhaust fans have a separate fan assembly that needs to be removed before taking out the housing. Unplug the fan assembly from the outlet that is part of the housing or undo the electrical wiring using wire nuts.
Step 4: Unfasten the Metal Housing
Next, remove the housing mounting screws with your screwdriver. If the fan housing is attached with mounting brackets, carefully remove these as well.
Step 5: Disconnect the Duct
Detach the duct from the fan housing. This may require loosening a clamp or removing duct tape.
Step 6: Disconnect the Wiring
Disconnect the wiring from the motor by removing wire connectors or unscrewing wire nuts.
Step 7: Remove the Motor from the Housing
Use your screwdriver to remove the screws that attach the motor to the housing.
Step 8: Lower the Fan Housing
Carefully lower the fan housing and its attached blower/motor unit. Have an assistant hold the fan housing while you remove the duct and the wiring.
Remember to wear a dust mask when removing the fan, as bathroom ceilings often have insulation, mold, droppings, and dust.
Common Issues When Removing a Bathroom Fan
Several common issues might come up when removing a bathroom fan. These include stuck screws, damaged parts, and excessive humidity. Remember to work patiently and carefully to avoid causing further damage to the parts or surrounding components. If you are unsure about how to proceed, consider consulting a professional for guidance.
Cleaning After Removal
After removing the fan, it’s important to clean the area thoroughly to ensure proper functioning and maintain a clean environment. Use a vacuum with a crevice attachment to remove dust from the area where the fan was installed. Then switch to a brush attachment for the remaining dust and debris. Use a damp microfiber cloth to wipe down the surfaces around the fan installation area.
Disposing of the Old Fan
Once you’ve removed the old fan, you need to dispose of it correctly. Separate the recyclable materials such as aluminum, plastic, and steel. Take these to your local recycling center. If the fan is still in working condition, consider donating it to a thrift store or organizations like The Salvation Army or Habitat for Humanity.
Installing the New Fan
When replacing the removed bathroom fan with a new one, you’ll need to consider factors such as the fan size, airflow and noise level, fan location, ductwork, electrical connections, compliance with codes, safety considerations, and cost. These factors ensure a successful and efficient replacement of your bathroom fan.
In conclusion, removing a bathroom fan is a task that you can tackle yourself with a little patience and the right tools. By following this comprehensive guide, you can ensure a safe and efficient process.
Frequently Asked Questions
Can I replace my bathroom fan with any model?
No, it’s crucial to replace your bathroom fan with one that fits the existing ductwork and housing. A fan that’s too big or too small may not perform effectively or could require additional modifications to install.
What kind of screwdriver should I use to remove the screws?
Most bathroom fans are held in place with Phillips head screws, so a Phillips screwdriver is typically the best choice. However, some models may use other types of screws, so it’s a good idea to have a versatile screwdriver set on hand.
Do I need to wear protective gear while removing the fan?
Yes, it’s recommended to wear a dust mask to protect yourself from dust, mold, and other particles that might be released during the removal process. Also, consider wearing safety goggles to protect your eyes from falling debris.
What should I do if the screws are rusted or stuck?
If the screws are rusted or stuck, you can apply a penetrating oil like WD-40 to loosen them. Let the oil sit for a few minutes before attempting to unscrew them again. If they’re still stuck, you might need to use a screw extractor or drill a small hole in the center of the screw to remove it.
How long does it usually take to remove a bathroom fan?
The time it takes to remove a bathroom fan can vary depending on factors like the fan’s size and location, and your level of experience. However, for most people, it should take about 1-2 hours to safely and thoroughly remove a bathroom fan.


