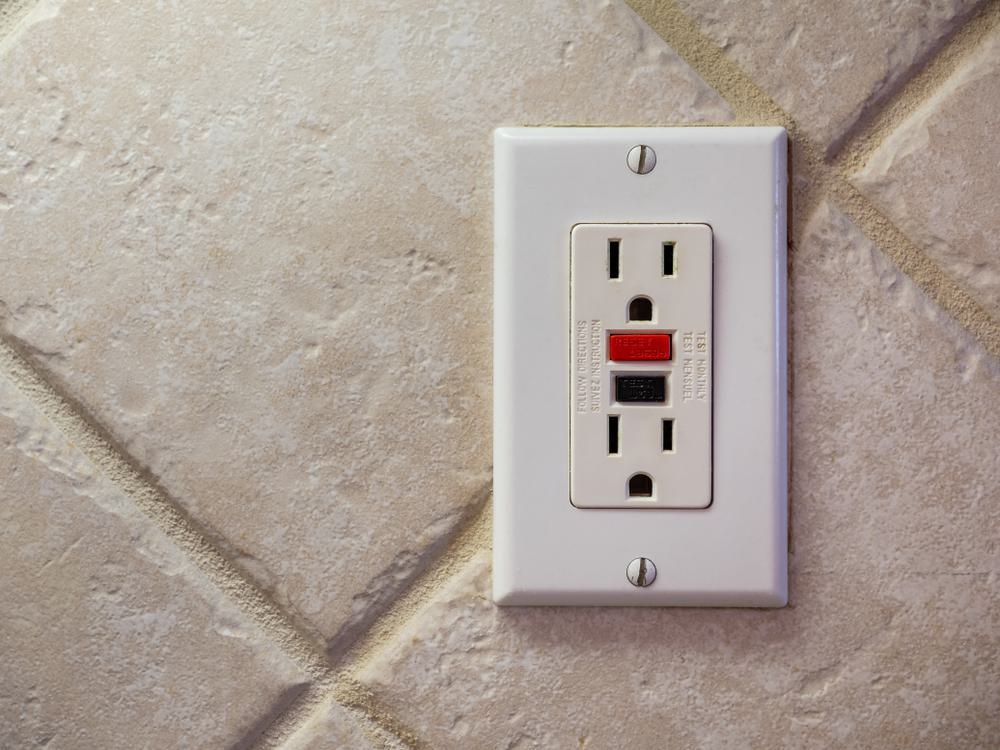
In today’s modern kitchens, gas stoves have become a common fixture. They provide precise heat control and can cook food evenly. However, while gas stoves primarily use gas for cooking, they also need electricity to power components like the clock, timer, and lights. Therefore, it’s crucial to know how to install an electrical outlet for a gas stove. This comprehensive guide will walk you through the process step-by-step, highlighting common mistakes to avoid, safety precautions to take, and how to maintain your outlet once it’s installed.
Installing an electrical outlet for a gas stove involves turning off the power, obtaining necessary permits, determining the outlet location, installing a dedicated circuit breaker, running a cable from the breaker to the outlet location, connecting the wires to the outlet, attaching the outlet to the wall or cabinet, testing the outlet, and then turning the power back on. It’s important to follow safety guidelines and local building codes during the process. If you’re uncomfortable with electrical work, consider hiring a professional electrician.
Preparing for Installation
Before starting any DIY project, make sure you have the right tools and materials. For this job, you’ll need a screwdriver, wire stripper, pliers, voltage tester, and the correct wire size and type for your appliance.
Installation Process
- Turn off the power: Always start by switching off the power at your home’s main electrical panel. This is a crucial safety measure to prevent any accidents during the installation process.
- Obtain necessary permits: Check with your local building department to see if you need any permits for this type of work. It’s vital to ensure that you’re in compliance with all local codes and regulations.
- Determine the outlet location: Ideally, the outlet should be placed behind the gas stove, close to the back wall. This keeps it easily accessible yet out of view.
- Install a dedicated circuit breaker: If one isn’t already present, you’ll need to install a dedicated circuit breaker for the gas stove in your electrical panel.
- Run a cable from the breaker to the outlet location: Use the appropriate wire size and type for your appliance, running the cable from your circuit breaker to the location where you plan to install the outlet.
- Connect the wires to the outlet: Strip the insulation from the wires using a wire stripper, then connect them to the appropriate terminals on the outlet.
- Attach the outlet to the wall or cabinet: Secure the outlet to the wall or cabinet using screws or other appropriate fasteners.
- Test the outlet: Use a voltage tester or multimeter to ensure the outlet is functioning correctly.
- Turn the power back on: Once you’ve confirmed that the outlet is wired correctly, you can turn the power back on at the main electrical panel.
Remember, always follow safety guidelines and local building codes. If you’re not comfortable with electrical work, it’s recommended to hire a professional electrician.
Common Mistakes to Avoid
Several common mistakes can occur during the installation process. These include:
- Inadequate preparation: Make sure that the area where you’ll be installing the outlet is clean and free of debris.
- Not following instructions: Always follow the manufacturer’s guidelines and instructions for the specific equipment you’re installing.
- Incorrect measurements: Double-check all measurements before starting the installation process.
- Choosing the wrong materials or equipment: Make sure to research and choose the appropriate materials or equipment for your specific needs.
Maintaining Your Outlet
Once your outlet is installed, it’s important to maintain it properly. Regularly inspect the outlet and surrounding area for any signs of damage or wear. Keep the area around the outlet clean and free of debris. Also, ensure proper ventilation in your kitchen to prevent the buildup of gas fumes. If you encounter any issues, don’t hesitate to consult a professional.
Conclusion
Installing an electrical outlet for a gas stove can seem like a daunting task, but with the right knowledge and tools, it can be a manageable DIY project. Just remember to follow all safety guidelines, take your time, and don’t hesitate to seek professional help if needed. With careful planning and execution, you’ll have your gas stove up and running in no time.
Frequently Asked Questions
What is the correct wire size for my gas stove outlet?
The correct wire size for your gas stove outlet can typically be found in the appliance’s manual. However, most gas stoves require a 110-120 volt outlet which can be served by a 14/2 or 12/2 gauge wire. Always check your stove’s specifications before beginning the installation.
Do I always need a permit to install an electrical outlet for a gas stove?
Permit requirements vary by location and the complexity of the work. For minor electrical work like installing an outlet, some areas may not require a permit. However, it’s always best to check with your local building department to ensure you’re in compliance with all regulations.
What is a dedicated circuit breaker and why do I need it for my gas stove?
A dedicated circuit breaker is a circuit that is set aside for a specific purpose, with its own circuit breaker in your electrical box. A dedicated circuit ensures that your gas stove has the necessary power it needs without overloading your system or causing a tripped breaker.
How often should I inspect my gas stove outlet?
It’s a good practice to inspect your gas stove outlet at least once a year or whenever you notice any issues such as flickering lights, a burning smell, or any signs of damage to the outlet.
What should I do if my newly installed outlet is not working?
If the outlet isn’t working after installation, first check to make sure the circuit breaker is turned on and not tripped. If the issue persists, it’s best to consult with a professional electrician. It’s possible that there may be a wiring issue or a problem with the circuit breaker.

