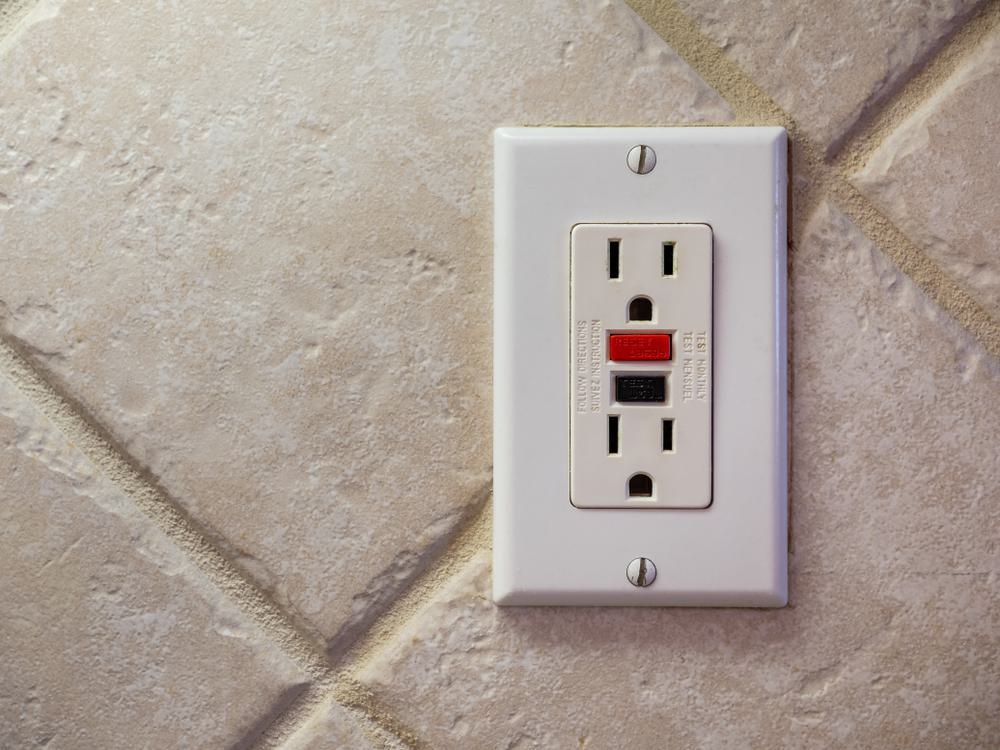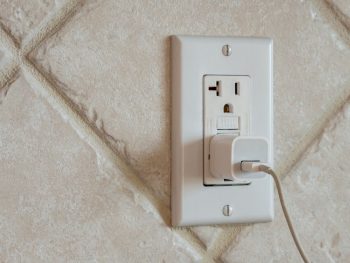
Insulating electrical outlets might not be the first thing that comes to mind when you think about making your home more energy-efficient. However, it’s a simple and cost-effective way to reduce drafts and save on your energy bills. In this comprehensive guide, we’ll walk you through the process of insulating your electrical outlets, explaining why it’s important, what materials you’ll need, and the step-by-step process.
To insulate electrical outlets, first, turn off the power and remove the outlet cover. Seal wire intrusion openings with foam or caulk around the flush-mounted box behind the electrical cover. Install a box extender over the device and into the wall box. Place foam gaskets between the cover plate and the receptacles to create a seal and prevent drafts. Finally, reattach the outlet cover. Remember, safety is paramount when dealing with electricity, so consider consulting a professional if you’re unsure about any part of the process.
Why Insulate Electrical Outlets?
The main reasons for insulating electrical outlets in a home are:
- Energy Efficiency: Insulating electrical outlets helps reduce air leakage from windows, doors, or cracks and around electrical outlets, making your home more energy efficient. This can result in lower utility costs.
- Comfort: Proper insulation around electrical outlets helps maintain consistent temperatures throughout your home, preventing cold drafts in winter and heat gain in summer. This ensures a more comfortable living environment.
- Safety: Insulating outlets can also provide an added measure of safety by reducing the risk of air leaks that may lead to moisture buildup and potential electrical hazards.
Risks and Dangers of Not Properly Insulating Electrical Outlets
Not properly insulating electrical outlets can lead to several potential risks and dangers, including:
- Lost heat and higher utility costs: Insufficient insulation around outlets can result in heat loss, leading to increased energy consumption and higher utility bills.
- Electrical shocks: Damaged, decayed, or brittle insulation can cause shocks when someone comes into contact with exposed wires. Defective insulation can also lead to electrical shocks due to increased resistance and current leakage.
- Fire hazards: Frayed, worn, or damaged insulation can cause fires when it surrounds an exposed wire. Overheating of wires due to excessive current drawn can weaken a home’s insulation, increasing the risk of fires. Insufficient insulation can also lead to arcing, which can cause fires.
Essential Materials and Tools Needed for Insulating Electrical Outlets
To insulate electrical outlets, you will need the following essential materials and tools:
- Insulation materials:
- Spray foam insulation
- Rigid foam insulation
- Fiberglass insulation (if necessary)
- Exterior caulk or sealant
- Neoprene foam outlet gaskets
- Equipment and tools:
- Screwdriver
- Utility knife or awl (for spray foam method)
- Utility knife (for rigid foam method and sealing gaps)
Step-by-Step Guide to Insulating Electrical Outlets
- Turn off the power: Before working on any electrical outlet, ensure that the power is turned off. You can use a voltage sniffer to confirm that there is no electricity running through the outlet.
- Remove the outlet cover: Unscrew the outlet cover and set it aside.
- Seal wire intrusion openings: Apply foam or caulk into the gap around the flush-mounted box, behind the electrical cover. You can use regular spray foam or intumescent fire-blocking foam for added safety.
- Install a box extender: Unscrew the switch or receptacle and twist it at an angle. Slide the box extender over the device and into the wall box. Remount the device, straighten it, and then tighten the screws.
- Place foam gaskets: One common method of insulation is to place foam gaskets between the cover plate and the receptacles. This helps to create a seal and prevent drafts.
- Reattach the outlet cover: Press the foam around the outlets and then reattach the cover. Be sure to follow the instructions on the packaging.
Common Mistakes to Avoid When Insulating Electrical Outlets
Some common mistakes people make when insulating electrical outlets and how to avoid them include:
- Not sealing air gaps around electrical boxes: Air gaps around electrical boxes can lead to drafts and energy loss. To avoid this, use caulk or foam to seal the gaps around the flush-mounted box.
- Using the wrong type of foam: When insulating around electrical outlets, it’s essential to use low-expanding foam. Using high-expanding foam can cause damage to the electrical box and its components.
- Spraying foam inside the electrical box: Spraying insulating foam inside an electrical box can cause overheating of the wires and lead to potential hazards. Always insulate around the box, but never inside it.
- Compressing fiberglass insulation: When installing fiberglass insulation around electrical outlets, avoid compressing the insulation to accommodate the box. Compressed insulation decreases its R-value and reduces its effectiveness.
- Not cutting insulation properly: When installing insulation around electrical outlets, make sure to make a clean cut where the outlet is in the insulation. This ensures that there are no voids around the outlet and maintains the insulation’s effectiveness.
Dealing with Problems and Difficulties
If homeowners encounter problems or difficulties when insulating their electrical outlets, they should consider the following steps:
- Identify the issue: Determine the specific problem with the outlet, such as drafts, loose connections, or wiring issues.
- Turn off the power: Before working on any electrical outlet, always turn off the power at the circuit breaker to ensure safety.
- Inspect the wiring: Check the wiring for any corrosion, burn marks, or loose connections. If damage is found, consider stripping the wires to the point where the copper is shiny and clean, then reinstall them. However, it is recommended to install a new outlet if damage is found.
- Seal air gaps: Apply foam or caulk into the gap around the flush-mounted box, behind the electrical cover plates, to improve insulation and prevent drafts.
- Use foam gaskets: Place foam gaskets between the cover plate and the receptacles to help reduce drafts. However, note that foam gaskets may not provide the most effective seal.
- Consult a professional: If the issue persists or if you are unsure about how to proceed, consult a licensed electrician to troubleshoot and repair the problem. Electrical work can be dangerous, and it is important to prioritize safety and rely on professional expertise when needed.
Insulating your electrical outlets is a simple project that can yield significant benefits in terms of energy efficiency and comfort. With the right materials and a little bit of know-how, you can effectively seal off your outlets and prevent drafts. However, if you encounter any problems or are unsure about any aspect of the process, don’t hesitate to consult a professional. Remember, safety should always be your top priority when dealing with electricity.
Frequently Asked Questions
What is a voltage sniffer?
A voltage sniffer, also known as a voltage detector or voltage tester, is a device that can detect the presence of electrical voltage in a wire or outlet without physical contact. It’s a handy tool for ensuring power is off before working on any electrical outlet.
What is an R-value in insulation?
The R-value is a measure of insulation’s resistance to heat flow. The higher the R-value, the greater the insulating effectiveness. It’s important to avoid compressing insulation because it decreases the R-value, reducing its effectiveness.
What does it mean when you say “stripping the wires to the point where the copper is shiny and clean”?
Stripping wires means removing the outer plastic coating (insulation) around the wire to expose the metal (usually copper) inside. When we say “to the point where the copper is shiny and clean”, it means removing enough of the wire’s coating to reveal a section of the wire that is free of corrosion or other damage.
What is the purpose of a box extender?
A box extender, or electrical box extender, is used to bring a flush-mounted box up to the surface level of a newly installed wall, ceiling, or other architectural surface. It provides a safety barrier between the electrical box and any combustible materials, and creates a better seal for insulation.
Why shouldn’t I use high-expanding foam for insulating around electrical outlets?
High-expanding foam can exert pressure as it expands, potentially causing damage to the electrical box and its components. It can also be more difficult to control, leading to overfilling. For these reasons, it’s recommended to use low-expanding foam when insulating around electrical outlets.


