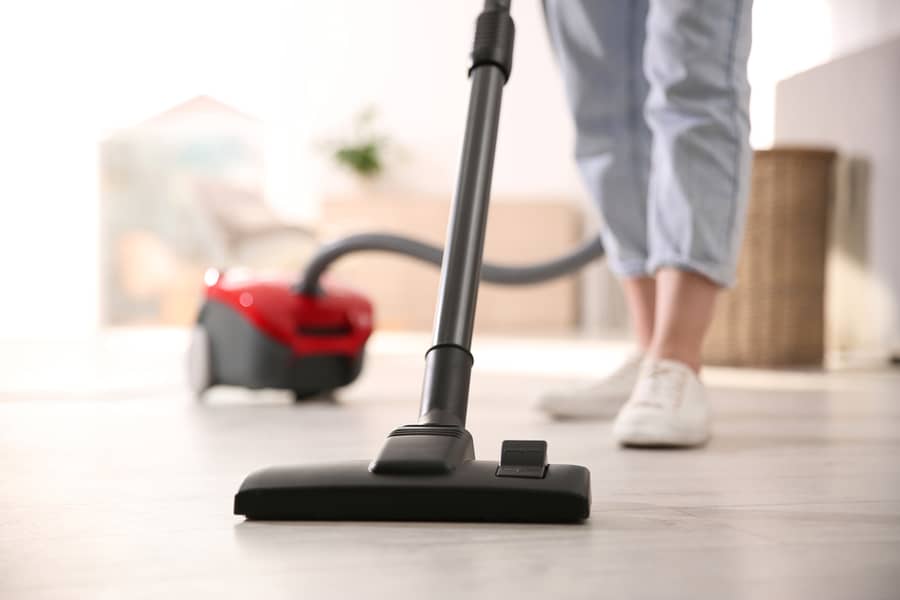
Your vacuum cleaner has been doing all the hard work keeping your floors clean. But have you ever thought of reciprocating the favor?
Now that you’re here to learn more about unclogging and cleaning a vacuum hose, you’re likely on the verge of rewarding your vacuum cleaner with some TLC.
Well, unclogging and cleaning your vacuum hose is no rocket science. You don’t even need to call the vacuum repairman for help.
Follow these core steps to fix the problem:
- Detach the hose
- Clear clogs
- Apply vinegar and baking soda
- Scrub
- Rinse
Once you execute these steps correctly, you should have your vacuum hose sparkling clean and ready to make your floors spotless again!
But then again, there’s so much to know between these steps. Read on to get a deeper insight into the whole process of unclogging and cleaning your vacuum hose. I’ll even provide helpful tips on preventing future clogs with your vacuum hose. But as usual, let’s begin with first things first!
5 Signs Your Vacuum Hose Needs Unclogging and Clean
Before you proceed with your cleaning task, here are a few signs that would tell you if it even needs to be cleaned in the first place:
1. Loss of Suction
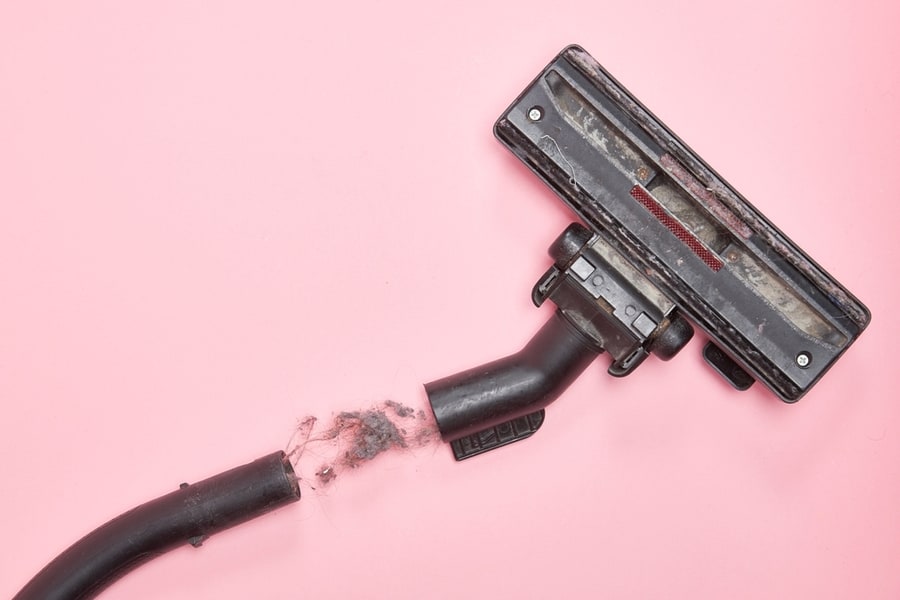
The obvious sign that your vacuum needs a hose cleaning would be the loss of suction.
If you’ve noticed that your vacuum cleaner is losing power and not sucking up dirt properly, it’s time to unclog and clean the hose.
The loss of suction will emanate from clogs in the hose.
It’s best to identify and clear such blockages as soon as possible, or it will eventually lessen your vacuum’s performance and cause permanent damage.
2. Bubbling and Gurgling Sounds

Does your vacuum cleaner make a bubbling and gurgling sound as it sucks in the dirt?
Well, that’s not supposed to happen.
These strange noises indicate that the air is having difficulty flowing through the hose due to the build-up of dirt and debris. If you hear these noises, don’t hesitate to unclog your vacuum hose immediately.
3. Smells

Vacuum cleaners are bound to smell bad after sucking up dirt, pet hair, and other debris.
But if the smell is more pungent than usual, it’s time to empty the bag and unclog the hose. The smelly build-up could be from rotten food or other elements lodged in the hose.
4. Visible Clog
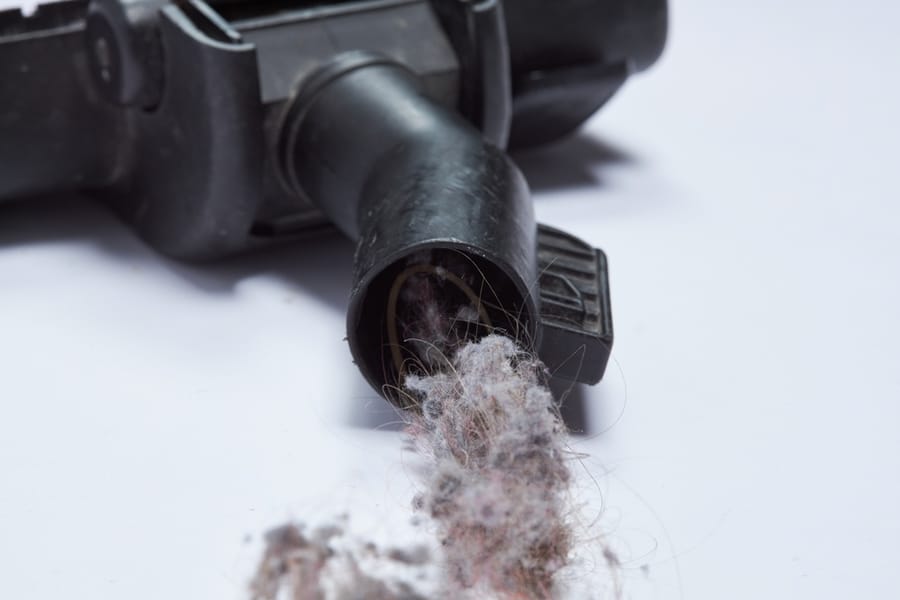
Sometimes you won’t need to rely on other indicators since a clog can be visible to the naked eye. That’s especially true if the clog is close to either end of the hose.
If you’re using a sheer vacuum hose, it becomes even easier to spot any obstructions.
\If your visual examination affirms the presence of a clog, proceed with unclogging and cleaning your vacuum hose.
5. Debris Coming Out of the Hose
Lastly, seeing debris and dirt from the vacuum cleaner indicates that your hose needs a deep cleaning.
The debris and dirt could be just a tiny portion of the blockage preventing air from passing through. So, take action when you spot these signs and unclog the hose.
Now that we’ve addressed the signs to look out for, let’s move on to unclogging and cleaning your vacuum hose.
Ready?
Here we go!
Step-by-Step Guide To Unclog and Clean Your Vacuum Hose
Once you notice that the vacuum hose needs some cleaning, you can follow this 7-step procedure to get things back to normal!
Step 1: Get All the Necessities
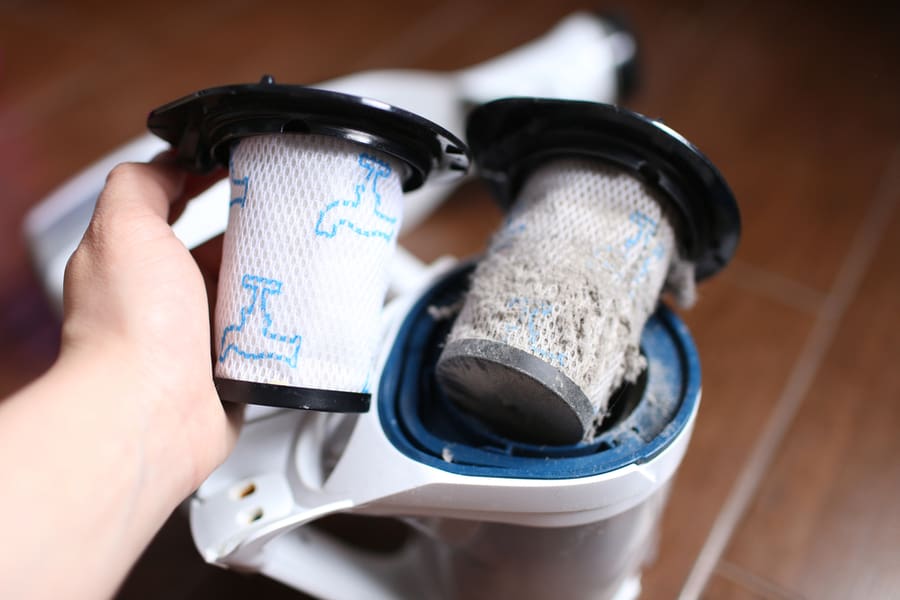
Cleaning your vacuum hose isn’t one of the difficult chores around the home. However, it still requires certain materials to ensure the job is done correctly and efficiently.
So get the following items:
- 1/2 cup of baking soda
- 1/2 cup of white vinegar
- Water
- Mop handle
- Screwdriver
- Bottle cleaning brush
- Tweezers/needle-nose pliers
- Water
Once you have all these items, you’re ready to begin the process.
Step 2: Detach the Hose
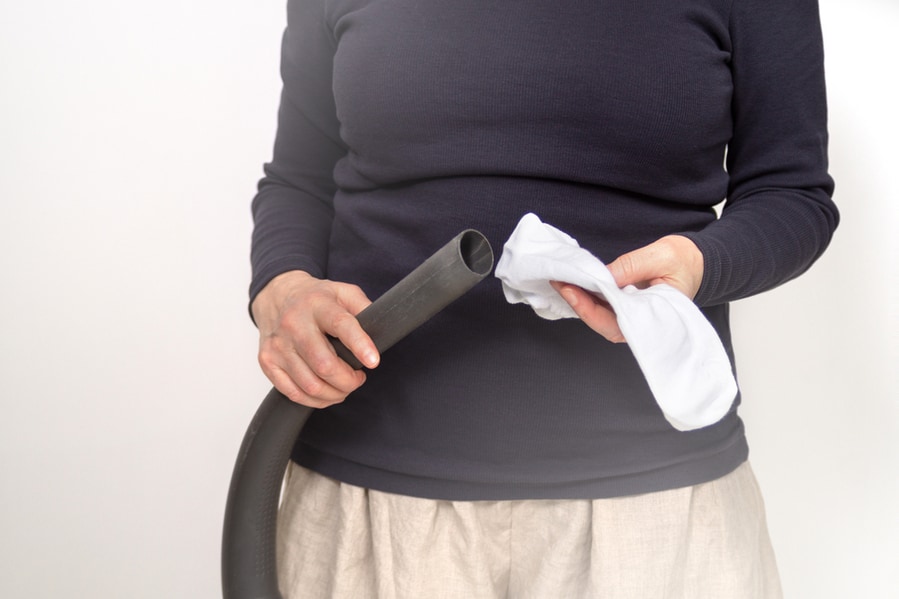
Take your vacuum cleaner and start by detaching the hose. You may need to do a bit of twisting to disconnect the two. Some models require you to press a button, while others may need to unscrew the hose.
And when disconnecting, avoid using excessive force as you may damage it.
Usually, detaching the two is meant to be simple, so if you already feel you’re using excessive force, check the unit’s user manual for the correct way.
Before detaching your vacuum hose from the main unit, cut off the power supply to the appliance.
Unplugging the vacuum will help you avoid electric shocks likely to occur when disconnecting the hose.
Step 3: Clear Clogs
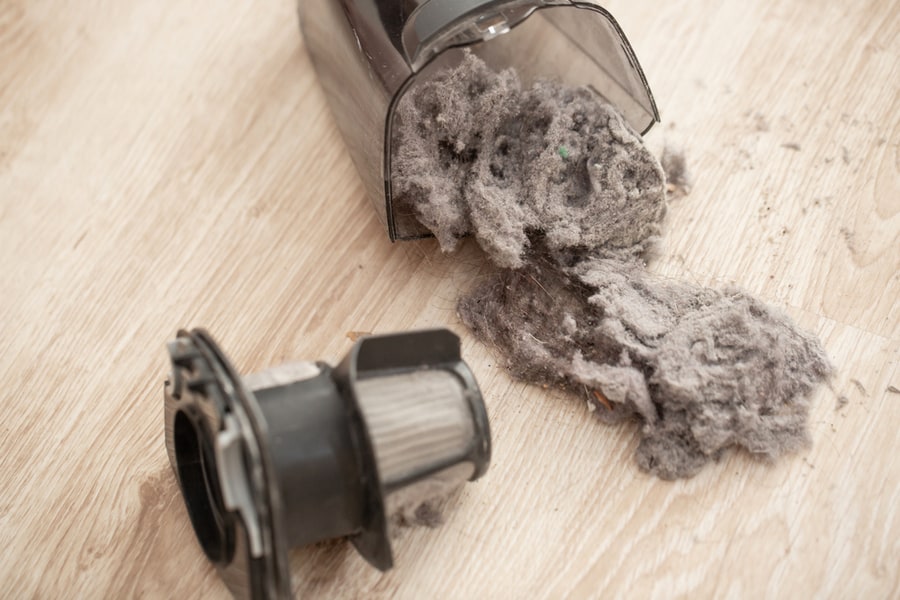
Once you’ve detached the hose from the vacuum, change it if you can locate the clog. You can try to look through one end of the hose and see if you can spot any dirt or debris.
If you can’t see the clog through one end, grab the opposite end of the hose and see if it yields a different outcome again.
If the clog is close enough to the hose end, try pulling it out using a pair of tweezers or needle-nose pliers. But if the clog is further inside the hose, use a mop handle or push broom handle to dislodge it.
When driving a mop handle through the hose, do it gently to avoid puncturing it. A slight puncture may render the hose useless since air won’t be able to pass through it efficiently.
Step 4: Do the Washing
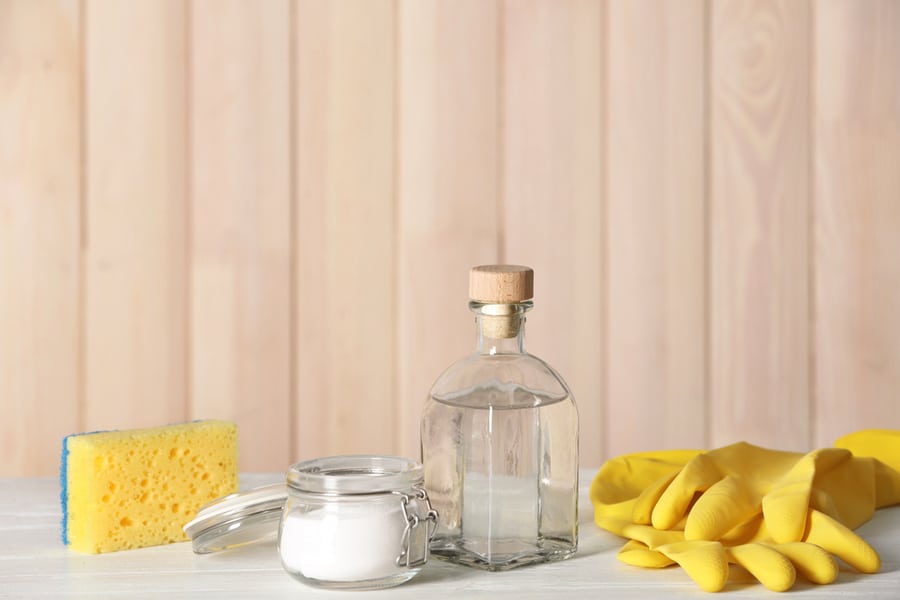
Once all obvious blockages are removed, it’s time to bring baking soda and vinegar into the equation. Begin by pouring the 1/4 cup of baking soda into the hose.
Then, holding the hose in a U-shaped orientation, shake it to ensure that the baking soda covers the entire inside lining of the hose.
Now, pour 1/4 cup of white vinegar and swirl it around until you’ve covered the entire inner surface. You should notice the combo producing bubbles and fizzing, which means they’re working their magic.
Wait until all the reaction subsides – that will probably take around 2 minutes. You can leave up to 5 minutes to give the two ingredients more time to react and soften dirt and grime.
Scrub the Hose
Once the waiting time is over, use a bottle cleaning brush to scrub the inner surface of your hose. Here, you want to get rid of any stubborn dirt still clinging to the inner surface of the hose.
By now, baking soda and vinegar should have made them softer, and the bottle cleaning brush should be able to easily remove them.
A good bottle-cleaning brush should be long enough to reach half the hose’s length. You can always drive it through the opposite opening to ensure that you’ve covered its entire length.
Step 5: Rinse With Water

Once you’re done scrubbing the inside of your hose, it’s time to rinse it with water. Pour some clean and warm water into one end of the hose.
You can then swirl the liquid around and watch as all the debris and dirt from the hose get washed away.
If possible, immerse the entire hose into the sink for a thorough rinse. You don’t want to leave any residue of vinegar or baking soda.
Otherwise, it could slowly damage the material used to make your hose, reducing its lifespan.
Step 6: Let Dry
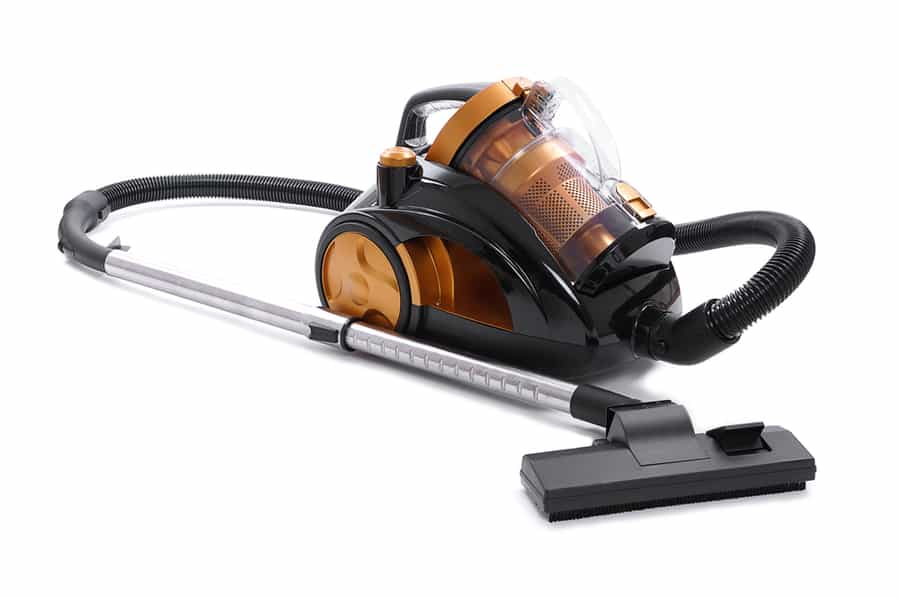
Once you’re done rinsing the hose, shake it to ensure that excess water is removed.
Now, leave your hose in a well-ventilated area to air dry. At this step, you’ll want to avoid exposing the hose to direct sunlight.
Otherwise, you could cause the material used in making the hose to degrade faster.
Step 7: Reattach the Hose
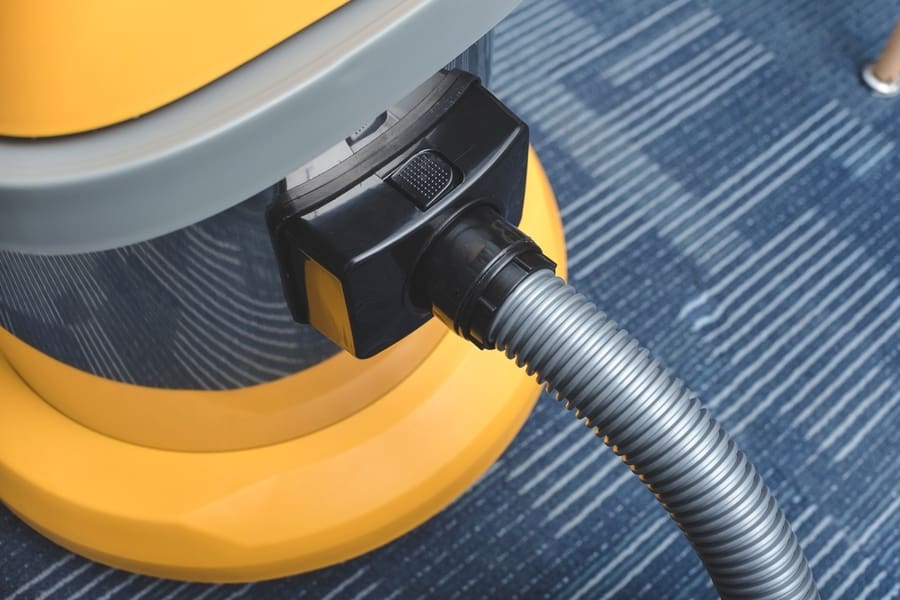
Finally, it’s time to reattach your hose to the vacuum unit. Connect the two parts, and you should be good to go.
If you’d removed any screws initially, return them and tighten them to keep the hose firmly in place.
Now, you can plug in the vacuum unit and use it again.
And there you have it – the seven steps you need to know to unclog and clean your vacuum hose. It’s a relatively straightforward job that shouldn’t take more than a few minutes to complete.
The Cleaning Frequency Matters
Cleaning your vacuum’s hose shouldn’t be a once-in-a-while job. Instead, you’ll want to make it a regular cleaning routine.
Ideally, it would be best to thoroughly clean your house every month or two to ensure it stays clog-free and in good condition.
Even so, the monthly cleaning times could be more or fewer depending on how often you use your appliance and the amount of dirt and dust it sees.
Doing so will ensure your vacuum cleaner maintains its normal suction power, enabling you to clean your floors and carpets better.
Of course, the once or twice thing isn’t to cast in stone. You can clean your vacuum hose whenever it needs a good scrub, even if you did it a few days ago.
What’s more important is to ensure that your hose is always clog-free and in good condition.
How To Prevent Future Vacuum Hose Clogs
While unclogging your hose clogs isn’t intimidating, there’s a slight chance of damaging them whenever you’re up for the job.
The damage could emanate from any step, from puncturing it with a mop handle to gradual damage from vinegar and baking soda.
So, it’s important to consider preventive measures to ensure such a chore doesn’t become necessary as often in the first place.
Here are a few tips to keep in mind:
1. Empty Your Vacuum Cleaner As Necessary

Your vacuum cleaner is designed to collect dirt and debris from your floors, carpets, and other surfaces. However, the dirt can clog up the hose if you don’t empty it regularly.
Be sure to empty your vacuum cleaner after every use or when it’s near full, whichever comes first. DON’T overfill it! This will help ensure the dirt doesn’t accumulate and clog your hose.
2. Always Remove Larger Debris Before Vacuuming

Sometimes the temptation to try and suck up larger pieces of debris with your vacuum is too hard to resist. But don’t yield to it.
That’s a mistake that could cause you unnecessary headaches later on.
Rather than trying to suck up large items with your vacuum cleaner, take the time to remove them manually from the floor before you begin vacuuming.
Doing so will reduce the chances of such debris clogging up your hose.
3. Make Use of Attachments When Necessary

Lastly, some vacuums have special attachments that help you clean surfaces better. These are great for getting into tight spots or using carpets and upholstery.
Using the right attachment can help you avoid vacuuming large pieces of debris that could clog up your hose when you try to suck them in.
4. Give Shredded Paper a Wide Berth
Finally, it’s worth noting that shredded paper is one of the greatest enemies of a vacuum hose.
You see, the tiny paper pieces can get easily lodged into the hose, making it difficult to remove them.
So, you’ll want to ensure that you don’t vacuum any shredded paper or other items likely to form a clog, for instance, toothpicks, bobby pins, and foam!
Avoiding this will go a long way in preventing future clogging and saving you the hassle of unclogging your vacuum hose.
Conclusion
It’s not hard to unclog and clean a vacuum hose, but that doesn’t mean there aren’t any risks involved.
To ensure that your vacuum hose stays clog-free and in good condition, you should make cleaning it a regular part of your routine and take preventive measures.
That way, you can rest assured that your vacuum cleaner will remain in tip-top shape for a long time.


