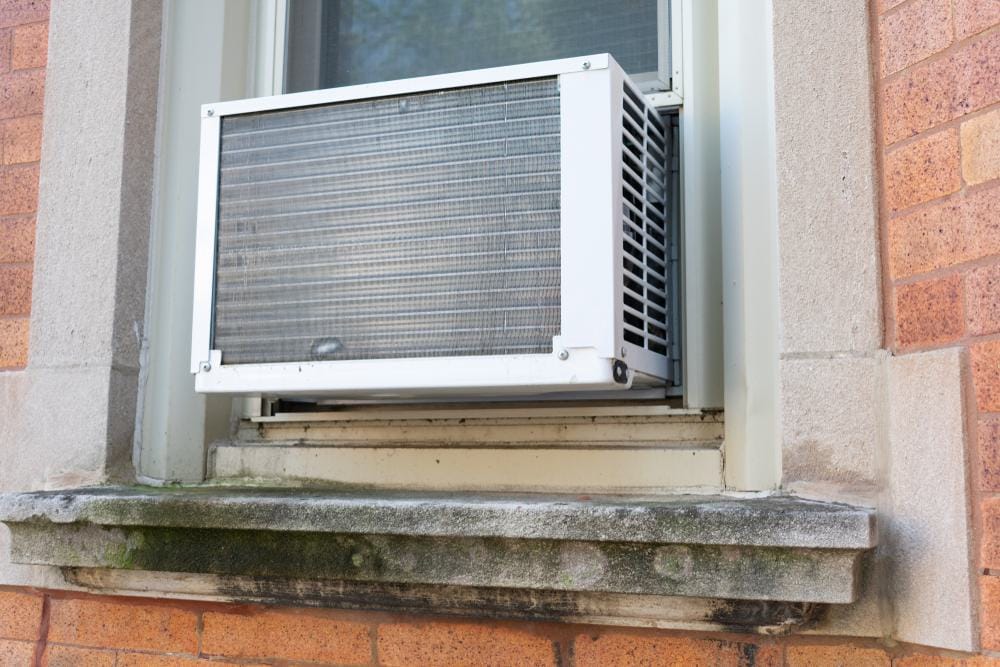
In the sweltering summer heat, a window air conditioning unit can be a lifesaver. But what if your windows aren’t the right size, or you want a more permanent solution? The answer lies in installing your window AC through the wall. While it might sound daunting, with the right tools, a little patience, and this comprehensive guide, you can install your AC unit and enjoy a cool, comfortable home.
Installing a window AC through the wall involves selecting the right AC unit, gathering the necessary tools, preparing the wall by creating an opening and installing a jamb box, mounting the AC unit in the jamb box, sealing any gaps, and testing the unit. Regular maintenance ensures the unit continues to function efficiently. Always consult the manufacturer’s instructions and consider professional assistance if needed.
Why Install a Window AC Through the Wall?
Installing a window AC through the wall offers several advantages, such as freeing up window space, providing more security, and allowing for a more permanent installation. However, the process requires careful planning and execution to ensure the unit functions correctly and efficiently.
Choosing the Right Window AC Unit
Before you even pick up a tool, it’s essential to select the right AC unit for your needs. When choosing a wall-installable window AC, consider factors such as the cooling capacity (measured in BTUs), whether the model can be installed through the wall, energy efficiency, and ease of maintenance.
Remember, not all window AC units can be installed through the wall. Always check the manufacturer’s instructions to ensure your chosen model is suitable for wall installation.
Tools and Equipment Needed
To install a window AC through the wall, you’ll need a variety of tools and equipment. These include a mounting sleeve or bracket, a caulking gun, silicone caulking, a measuring device, a level, a stud finder, a circular or reciprocating saw, a screwdriver or power drill, a hammer, sandpaper or a file, 2×4 lumber, plywood, a utility knife, a speed square, a torpedo level, and wire strippers.
Preparing the Wall for Installation
Once you’ve gathered your tools and chosen your AC unit, the next step is to prepare the wall for installation.
- Choose the right location: The location should have no electrical wires, pipes, or other obstructions behind the wall.
- Measure the wall thickness: This will help you select the appropriate AC unit and ensure proper installation.
- Create an opening: Cut an opening in the wall that is slightly larger than the dimensions of the AC unit.
- Build a jamb box: Construct a jamb box using pre-primed pine or other suitable material.
- Install the jamb box: Place the jamb box into the wall opening, ensuring it is flush with the exterior sheeting.
Installing the AC Unit
- Prepare the AC unit: Attach any necessary mounting hardware or brackets to the AC unit.
- Install the AC unit: Carefully lift the AC unit and place it into the jamb box.
- Secure the AC unit: Attach the AC unit to the jamb box using screws or other fasteners.
- Seal the gaps: Use foam weatherstripping or insulation to seal any gaps between the AC unit and the jamb box.
- Install exterior casing: Cut and install exterior casing around the jamb box to match the appearance of your home’s exterior.
- Test the AC unit: Plug the AC unit into an electrical outlet and turn it on to ensure it is functioning properly.
Common Mistakes to Avoid
When installing a window AC through the wall, be aware of several common mistakes:
- Choosing the wrong size or weight distribution
- Not sealing the area around the air conditioner
- Improper installation of the air conditioner unit
Maintaining Your Wall-Mounted AC Unit
Once your AC unit is installed, regular maintenance will ensure it continues to operate efficiently and lasts longer. This includes cleaning the air filter and coils, straightening any bent fins on the coils, clearing the drain pan, and wiping the exterior of the unit.
By following these steps and consulting a professional HVAC technician when needed, you can enjoy a cool, comfortable home even in the height of summer. Don’t forget to always follow the manufacturer’s instructions for your specific AC unit model, as some steps may vary. Happy cooling!
Frequently Asked Questions
What is the purpose of a mounting sleeve or bracket in a wall-mounted AC unit installation?
A mounting sleeve or bracket is used to support the AC unit in the wall. It helps distribute the weight of the unit evenly, preventing any damage to the wall or the unit itself.
How often should I clean the air filter of my wall-mounted AC unit?
It’s generally recommended to clean the air filter of your AC unit every month. However, if your unit is in a dusty area or used heavily, you might need to clean the filter more frequently.
What does BTU stand for and how does it affect my choice of AC unit?
BTU stands for British Thermal Units. It’s a measure of how much heat an air conditioner can remove from a room in an hour. The larger the room, the higher the BTU rating should be for the AC unit.
Can I install a window AC unit through the wall myself, or should I hire a professional?
While this guide provides a comprehensive overview of the process, installing a window AC through the wall is a complex task that involves electrical work and making structural changes to your home. If you’re not comfortable with these tasks, it’s best to hire a professional.
What happens if I don’t seal the area around the air conditioner properly?
If the area around the air conditioner isn’t sealed properly, it can lead to air leakage. This can reduce the efficiency of your AC unit and increase your energy costs. It can also let in pests and outdoor elements. Therefore, it’s crucial to ensure a tight seal around the unit.


