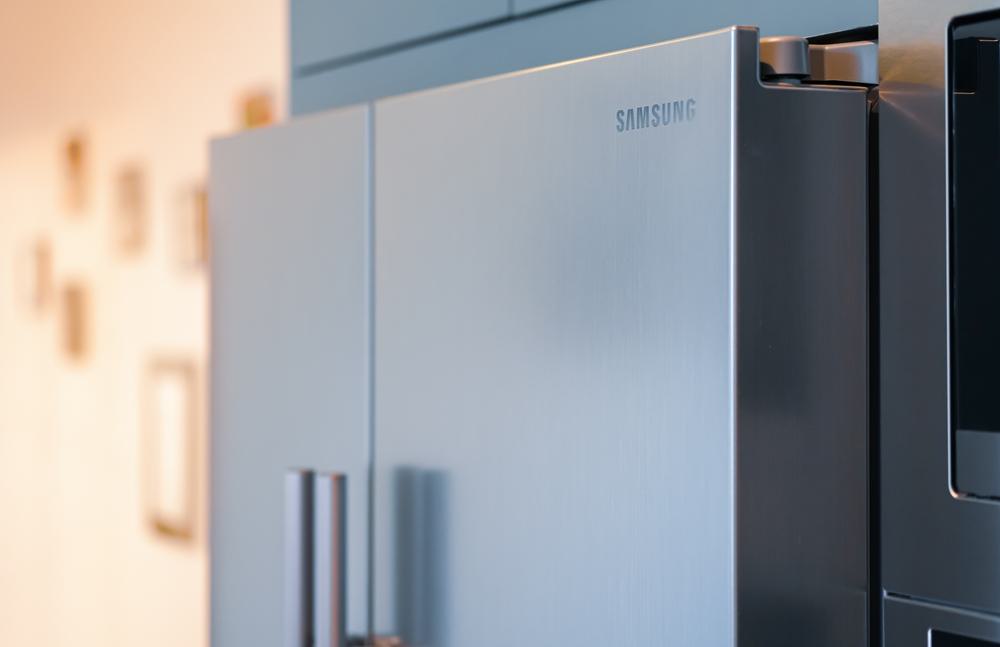
Installing a water line to a fridge from the basement may seem like a daunting task. It requires a good understanding of your home’s plumbing system, careful planning, and the right tools. However, with this comprehensive guide, you’ll be able to tackle this project confidently and ensure your refrigerator’s water dispenser and ice maker are functioning properly.
To install a water line to a fridge from the basement, first, turn off the water supply. Plan the path from the closest cold water supply line in the basement to the back of the fridge. Gather necessary tools and materials such as 1/4-inch diameter tubing, a push fitting or a dedicated Tee with a sweat-on valve, an electric drill, a pipe cutter, and a wrench. Connect the tubing to the water supply, run it through a drilled hole to the kitchen, and attach it to the refrigerator. Finally, turn on the water supply and check for leaks.
Planning the Path for the Water Line
The first step in installing a water line to a fridge from the basement is to determine the best path for the water line. Locate the closest cold water supply line in the basement, preferably from a vertical water supply pipe. Plan the shortest and most convenient path from the supply line to the back of the refrigerator. Avoid obstacles such as walls, cabinets, and electrical appliances that could complicate the installation process.
Preparing for the Installation
Before you begin the installation, gather the necessary tools and materials. You will need a 1/4-inch diameter tubing (copper, braided steel, or plastic), a push fitting or a dedicated Tee with a sweat-on valve, an electric drill, a pipe cutter, a wrench, and a measuring tape. Other useful tools include a stud finder for locating studs in walls and a level for accurate alignment.
Remember to turn off the water supply before starting any work on the water line to prevent accidents and ensure a safe working environment.
Connecting the Water Line
Once you have gathered all the necessary tools and materials, you can start the installation process. Follow these steps:
- Connect the tubing to the water supply.
- Drill a hole in the floor or cabinets to run the water line from the basement to the kitchen. Be careful to avoid any electrical wires or other pipes.
- Run the tubing through the hole and along the planned path. Secure the tubing with clips or clamps to prevent kinking or damage.
- Flush out the tubing to remove any debris before connecting it to the refrigerator.
- Connect the water supply tubing to the refrigerator. Wrap the fridge’s fitting with plumber’s tape first to ensure a tighter seal, then tighten the connection first by hand, and then with pliers.
Testing the Water Line
After installing the water line, you should test it to ensure it is working correctly. Turn on the water supply and check for any leaks. If there are no leaks, your water line installation is complete.
Regular maintenance of your water line can help ensure its longevity and performance. Monitor your water quality, inspect and replace pipes as needed, address hard water issues, and perform regular maintenance tasks such as exercising valves and checking drain clean-outs.
Conclusion
Installing a water line to a fridge from the basement is a manageable task with the right tools and a clear plan. By following the steps outlined in this guide, you can ensure a smooth installation process and enjoy the convenience of a functioning water dispenser and ice maker in your refrigerator.
Frequently Asked Questions
What type of tubing is best for a fridge water line?
The best type of tubing for a fridge water line is largely dependent on your personal preference and the specific requirements of your fridge. Copper tubing is known for its durability and resistance to corrosion, but it can be a bit more difficult to install due to its rigidity. Plastic and braided steel are easier to work with, but they may not last as long. Always refer to your refrigerator’s manufacturer guidelines for specific recommendations.
How do I turn off the water supply before starting the installation?
The water supply can typically be turned off at the main water shut-off valve for your home. This is usually located near the water meter. Turn the valve clockwise (right) to shut off the water.
How can I deal with hard water issues in my water line?
Hard water can cause build-up and clogs in your water line. You can address this by installing a water softener, which uses salts to remove minerals from the water, or a descaler, which alters the properties of the minerals to prevent them from forming scale. Regular maintenance and cleaning can also help keep your water line in good condition.
How often should I perform maintenance tasks on my water line?
The frequency of maintenance tasks depends on the quality of your water and the material of your pipes. As a general rule, you should inspect your water line at least once a year and replace it every 5-10 years, or as recommended by the manufacturer. Regularly exercising valves and checking drain clean-outs can help prevent issues and extend the lifespan of your water line.
What should I do if I find a leak in the water line after installation?
If you find a leak after installation, turn off the water supply immediately. Then, inspect the connections and tubing for any visible issues. If you can identify the source of the leak, you may be able to fix it by tightening the connection or replacing a section of tubing. If you can’t identify the source, or if the leak persists, it’s best to call a professional plumber to avoid further damage.

