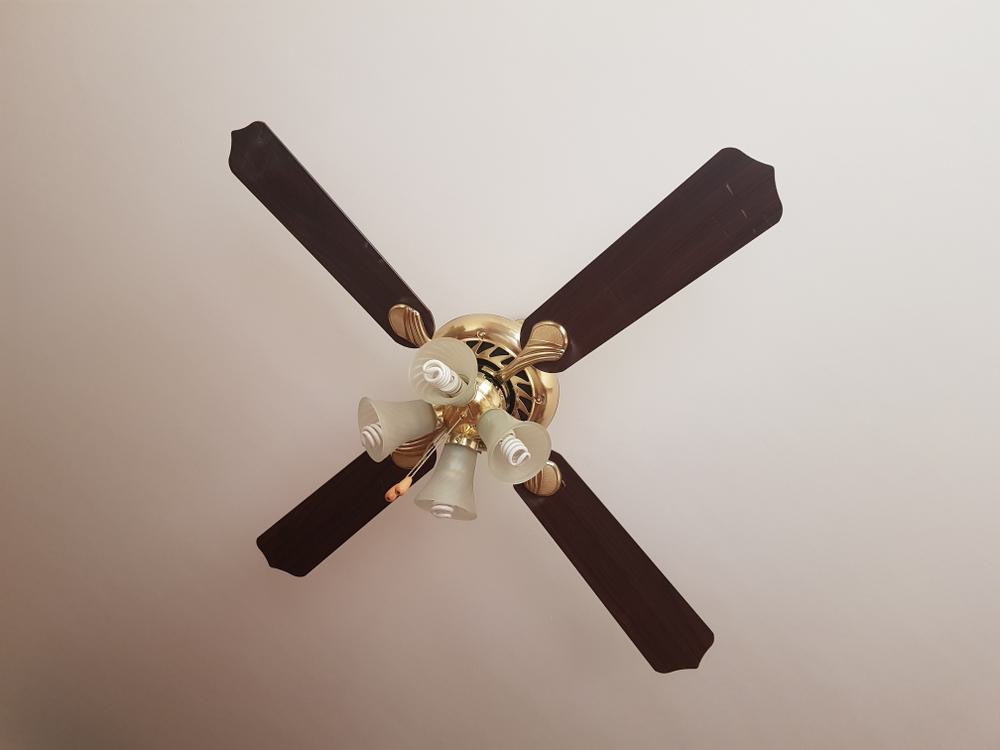
Ceiling fans are a practical and energy-efficient addition to any home. They provide both light and air circulation, making your living space more comfortable. However, when the light bulb in your ceiling fan needs replacing, and there are no screws involved, it might seem like a daunting task. Fear not! This guide will provide you with a comprehensive step-by-step process on how to change a light bulb in a ceiling fan without screws.
Changing a light bulb in a ceiling fan without screws involves first turning off the power for safety. Then, remove the light cover, which could be a twist-on/off mechanism. Hold the old bulb near its base and twist it counterclockwise to remove it from the socket. Insert a new bulb into the socket, turning it clockwise until secure. Restore the power and test the new bulb.
Safety Precautions
Before we delve into the process, it’s crucial to keep safety in mind. Here are some safety precautions you should consider:
- Turn off the power: Always turn off the power to the ceiling fan before starting any work. This will help prevent electrical shocks.
- Use a sturdy ladder or step stool: Depending on the height of your ceiling fan, use a ladder or step stool to safely access the fan. Do not use chairs, tables, or other unstable surfaces as they may not support your weight and could lead to falls.
- Wear personal protective equipment: Use gloves to protect your hands from potential accidents and safety glasses to safeguard your eyes.
Tools and Materials Needed
To change a light bulb in a ceiling fan without screws, you’ll need a new bulb that matches your fan’s specifications, a ladder or step stool, and gloves. Optionally, you can also use alcohol wipes to clean the new bulb before installation.
Identifying the Bulb Type
Before you can replace the bulb, you need to identify the type of bulb that needs replacing. Light bulbs come in various shapes, sizes, types, wattages, and voltages. Always check the labeling on the bulb or the fixture for this information.
Removing the Old Bulb
Once you’ve gathered your tools and identified the bulb type, it’s time to remove the old bulb:
- Turn off the power: Make sure the power is turned off, either by switching off the light switch or turning off the circuit breaker at the fuse box.
- Remove the light cover: Depending on the type of ceiling fan, the light cover may be secured with screws or a twist-on/off mechanism.
- Grip the bulb securely: Hold the old light bulb near its base with a firm grip.
- Twist the bulb counterclockwise: Gently twist the old bulb counterclockwise to loosen and remove it from the socket.
Installing the New Bulb
Once the old bulb is out, it’s time to install the new one:
- Turn off the power: Make sure the power is turned off before you start.
- Replace the bulb: Insert a replacement bulb lightly but firmly into the socket. Depending on the type, turn it clockwise until it locks into place or keep gently twisting clockwise until it is secure.
- Restore the power: Turn the power back on at the fuse box.
Testing the New Bulb
After the new bulb is installed, it’s essential to test it to ensure it’s working correctly. Simply turn on the light switch and observe if the new bulb lights up. If it does, the bulb is functioning correctly.
Troubleshooting
If the new bulb doesn’t work, you may need to check for other issues, such as a problem with the fixture or wiring. In this case, it is recommended to consult a professional electrician for further assistance.
Conclusion
Changing a light bulb in a ceiling fan without screws might seem challenging, but with the right tools and steps, it’s a task you can confidently tackle. Remember to always prioritize safety, choose the right replacement bulb, and test the new bulb after installation. Happy DIY-ing!
Frequently Asked Questions
What type of gloves should I use for this task?
You can use any form of protective gloves such as rubber or leather gloves. The main purpose is to provide a good grip and to protect your hands from potential cuts or scratches.
Can I use any bulb for my ceiling fan?
No, you should always use a bulb that matches your fan’s specifications. Check the labeling on the bulb or the fixture to determine the correct size, type, wattage, and voltage.
What should I do if the bulb is stuck and won’t twist out?
If the bulb is stuck, you can try using a rubber glove or a piece of duct tape for extra grip. Be sure to apply gentle, steady pressure to avoid breaking the bulb. If it still won’t budge, it might be best to call a professional.
How do I clean the new bulb with alcohol wipes?
Simply wipe the bulb gently with the alcohol wipe then allow it to dry completely before installing it. This will remove any oils or dirt that could potentially shorten the bulb’s lifespan.
What if the new bulb is working but the fan is not rotating?
If the fan isn’t rotating, it could be a separate issue unrelated to the bulb. Check the fan’s settings first. If it still doesn’t work, it might be a mechanical issue or a problem with the wiring. In this case, it’s best to consult a professional electrician.


