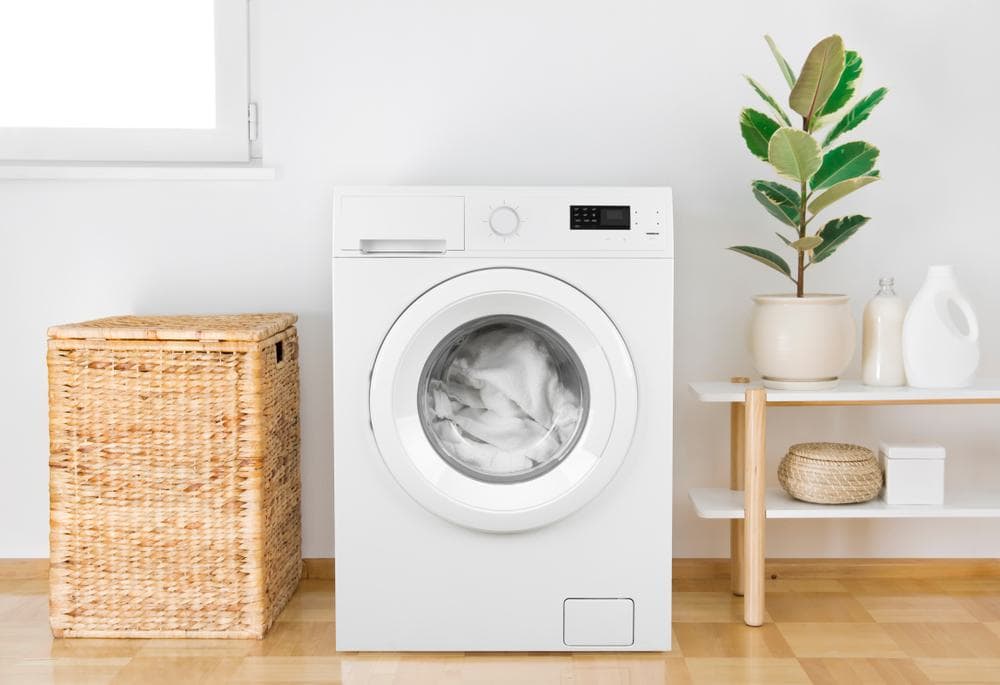
Installing a Maytag washer might seem like a daunting task, but with the right tools and a detailed guide, it can be a straightforward process. In this article, we will explore the step-by-step procedure to install a Maytag washer, common issues that might arise, and how to troubleshoot them.
To install a Maytag washer, first gather the necessary tools and materials, including pliers, an adjustable wrench, a level, a utility knife, and water hoses. Choose a suitable location with proper water connections, drainage, and electricity. Remove all shipping materials and prepare the power cord. Connect the water supply hoses to the appropriate valves and the back of the washer. Install the drain hose at the right height and secure it. Plug the washer into a 3-prong outlet. Finally, balance the washer using a level and adjust the feet as necessary.
Tools and Materials Needed
Before you begin, gather all the necessary tools and materials. You will need:
- 1 ¾” pliers
- Adjustable wrench that opens to 14mm
- Level
- Utility knife
- Bucket (optional)
- Cable tie (optional)
- Hot and cold water hoses with flat washers
It’s also recommended to have a second person to help move and install the washer due to its weight.
Initial Preparation
Start by choosing a suitable location for your washer. This could be a basement, laundry room, closet, or recessed area. Ensure the location has a clean, level, and hard floor, as well as access to cold and hot water connections, appropriate drainage, and an electrical outlet. The floor should be sturdy and level to prevent damage to the flooring.
Next, remove all shipping materials for proper operation. This includes removing any packaging, tape, and cardboard supports from the washer. After that, prepare the power cord by finding it in the back of the washer, firmly grasping it, and pulling it out of the rear panel.
Connecting the Water Supply Hoses
Start by turning off the water supply to prevent any water flow during the installation process. Install a rubber washer in each hose before connecting the water hoses. Attach the hot and cold water hoses to the appropriate water supply valves, first hand-tightening before using pliers to secure them. Screw the water supply hoses to the connections on the back of the washing machine. After connecting the hoses, check for leaks and ensure a successful connection by running a test cycle on your washing machine.
Connecting the Drain Hose
The drain hose should be installed no lower than 15 inches and no higher than 40 inches. Use a tie strap or tape to secure the drain hose in place, ensuring it doesn’t come loose due to vibration or pulsing action of the washer’s pump. After connecting the drain hose, turn on the water supply, plug in the washing machine, and run a test cycle to check for any leaks.
Connecting the Power Cord
When it comes to connecting the power cord, safety should be your top priority. The washer should be plugged into a grounded 3-prong outlet. Avoid using extension cords or adapter plugs with this appliance. If you need to use an extension cord, use a 3-wire extension cord that has a 3-blade grounding plug and a 3-slot receptacle that will accept the plug. The marked rating of the extension cord should be AC 115-V, 15-A, and 60-Hz.
Balancing the Washer
To verify that the washer is properly balanced after installation, place a bubble level on top of the washer. If the washer is not level, adjust the feet accordingly until it is perfectly level. Start a spin cycle to check if the washer is balanced. If the machine still vibrates excessively or makes strange noises, turn off the machine, unplug it, and rearrange the clothes in the washer properly.
Troubleshooting Common Issues
When installing a Maytag washer, you might encounter a few issues. One common problem is a leaking drain hose. To fix this, disconnect the hose and run water through it to check for leaks. Cover the leaking areas with waterproof flex tape or a sealant. Run water through the hose again to check if the leaks have been fixed. If the hose still leaks, apply more tape and sealant until it stops leaking. If the hose continues to leak after multiple attempts to seal it, you may need to replace it entirely.
In conclusion, installing a Maytag washer is a process that requires careful preparation, the right tools, and a bit of patience. But with this comprehensive guide, you should be able to install your washer with ease and troubleshoot any common issues that might arise. If you still experience issues, consult the manufacturer’s guidelines or contact a professional for assistance. Happy washing!

