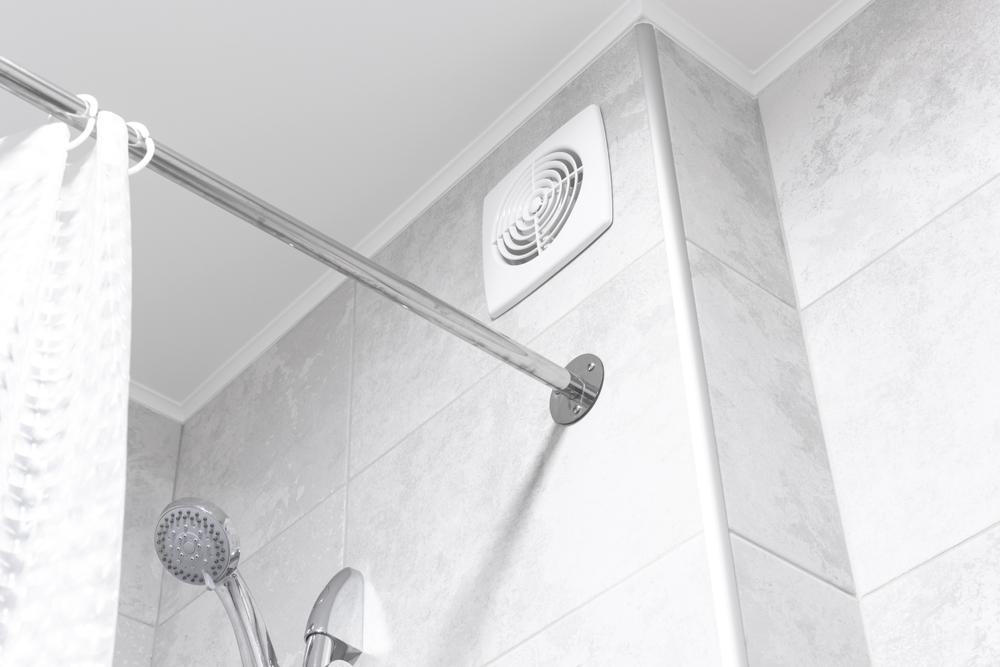
An inline bathroom exhaust fan is an effective solution to keep your bathroom free from excessive moisture, mildew, and unpleasant odors. This type of fan is installed within the ductwork, making it a quieter and more powerful option than standard ceiling-mounted fans. In this comprehensive guide, we will walk you through the process of installing an inline bathroom exhaust fan, from the tools you’ll need to the steps involved, and offer tips to help you avoid common installation mistakes.
Installing an inline bathroom exhaust fan involves choosing a suitable location, turning off the power supply, cutting a hole for the intake port, installing the fan in the ceiling void or loft space, attaching ductwork from the fan to the hole and to the exterior vent cap, installing the grille, wiring the fan, and testing the installation. It’s important to avoid common mistakes like improper mounting, incorrect fan placement, and not following safety precautions. Regular maintenance is also crucial for the fan’s efficiency.
What is an Inline Bathroom Exhaust Fan?
An inline bathroom exhaust fan is a ventilation device that is installed within the ductwork. Unlike standard bathroom fans that are mounted on the wall or ceiling, inline fans are placed in the ceiling void or loft space above the bathroom. This remote positioning is what makes these fans quieter than their standard counterparts.
Inline fans come in various configurations, sizes, and capabilities to meet a wide variety of ventilation needs. They can be used for single or multiple room ventilation, making them a flexible option for homes with multiple bathrooms or larger bathrooms that require more than one exhaust point.
Why Would You Need an Inline Bathroom Exhaust Fan?
There are several reasons homeowners may benefit from an inline bathroom exhaust fan:
- Quiet Operation: Inline fans are installed away from the bathroom, reducing noise and vibration.
- Flexibility: Inline fans can be installed anywhere in the loft space, offering more flexibility in positioning.
- Multi-room Ventilation: An inline fan can ventilate multiple rooms or multiple exhaust points in a larger bathroom.
- Efficient Exhausting: Inline fans can handle long ductwork efficiently, making them ideal for larger homes or commercial properties.
- Powerful Venting: These fans provide efficient moisture removal, preserving the integrity of your home.
- Durable Motors: Inline fans are known for their long-lasting motors.
Choosing an Inline Bathroom Exhaust Fan
When shopping for an inline bathroom exhaust fan, consider the following features:
- Airflow Capacity (CFM): The fan’s airflow capacity, measured in cubic feet per minute (CFM), should be appropriate for your bathroom’s size. The Home Ventilating Institute recommends 1 CFM per square foot of bathroom area, with a minimum of 50 CFM for small bathrooms.
- Noise Level (Sones): Although inline fans are quieter than standard fans, it’s still crucial to check the noise level, measured in sones.
- Energy Efficiency: Energy Star-rated models are more energy-efficient and can help lower your energy costs.
- Multiport Capability: If you need to ventilate multiple bathrooms, consider a fan with multiport capability.
- Additional Features: Depending on your needs, you may want features like built-in heaters, humidity sensors, or adjustable speed controls.
Tools and Materials Needed
To install an inline bathroom exhaust fan, you’ll need the following tools and materials:
- Screwdriver
- Combination pliers
- Power drill
- Jigsaw or reciprocating saw
- 6-foot ladder
- Stud finder
- Drywall jab saw
- Measuring tape
- Circuit tester (if replacing an existing fan)
- Inline bathroom exhaust fan
- Ducting
- Roof vent cap (if necessary)
- Exterior grade silicone caulk
- Screws
Before starting the installation, make sure you have enough space in the ceiling void or loft space above the bathroom to house the fan unit. Follow the manufacturer’s instructions for proper installation.
Step-by-Step Installation Guide
Here are the steps to install an inline bathroom exhaust fan:
- Choose the location: Determine the best location for the exhaust fan, considering factors such as the position of the shower and bath, as well as any obstacles in the ceiling void or loft space above the bathroom.
- Turn off the power: Before starting any electrical work, switch off the power supply to the bathroom at the circuit breaker box.
- Measure and cut the hole: Measure the size of the intake port on the inline fan and mark the ceiling accordingly. Use a keyhole saw or reciprocating saw to cut the hole for the intake port.
- Install the fan: Position the inline fan in the ceiling void or loft space above the bathroom, ensuring there is enough space to house the fan unit. Follow the specific instructions provided by the manufacturer for mounting the fan.
- Attach ductwork: Connect the intake port of the fan to the hole in the bathroom ceiling using flexible ducting. Secure the ducting with foil duct tape or clamps.
- Vent to the outside: The exhaust fan must vent to the outdoors. Install a vent cap on the exterior of the house, and connect the fan’s exhaust port to the vent cap using flexible ducting. Seal the connection with foil duct tape or clamps.
- Install the grille: Attach the grille to the ceiling hole, covering the intake port.
- Wire the fan: Connect the fan’s electrical wires to the house power cables, following the manufacturer’s instructions and local electrical codes.
- Restore power and test: Turn the power back on at the circuit breaker and test the fan to ensure it is functioning correctly.
Common Mistakes to Avoid
When installing an inline bathroom exhaust fan, avoid these common mistakes:
- Opting for the minimum: Ensure you select the right fan for your specific application to provide effective bathroom ventilation.
- Improper mounting: Make sure the fan is securely mounted to avoid performance issues and noise.
- Incorrect fan placement: Position the fan in an area where it will be most effective in removing moisture, such as between the shower and tub.
- Long and complicated ductwork: Plan the ductwork route so that it is as short and direct as possible, ideally within 6 feet of the exterior vent cap.
- Using cheap and easily damaged duct materials: Avoid using inexpensive flexible ducts that can crush or tear easily, as this will impede airflow.
- Ignoring replacement air: Ensure there is adequate replacement air for the fan to work effectively.
- Not following safety precautions: Always follow safety precautions when working with electricity and consult an electrician if you are unsure about any aspect of the installation.
Maintaining and Cleaning Your Inline Bathroom Exhaust Fan
After installation, regular maintenance is crucial to keep your fan running efficiently. Clean your bathroom exhaust fan every six months to a year, depending on how much use the bathroom gets and how quickly the cover becomes visibly dirty.
Remember to turn off the power at the circuit breaker before performing any maintenance or repairs on your bathroom exhaust fan. If you’re unsure about any of these steps or need further assistance, consult a professional electrician or HVAC technician.
Conclusion
Installing an inline bathroom exhaust fan can be a DIY project if you’re comfortable with basic electrical work. However, if you’re unsure about any part of the process, it’s best to hire a professional. With the right tools and steps, you can install an inline fan to improve your bathroom’s ventilation, reduce humidity, prevent mold growth, and improve your overall indoor air quality.
Frequently Asked Questions
Can I use an inline bathroom exhaust fan in a basement bathroom?
Yes, you can use an inline bathroom exhaust fan in a basement bathroom. The fan would be installed in the ductwork, and the exhaust would be vented to the outside of the house.
How often should I replace my inline bathroom exhaust fan?
The lifespan of an inline bathroom exhaust fan can vary depending on usage and maintenance, but generally, they should last between 10 to 15 years. If the fan becomes noisy or doesn’t effectively remove moisture anymore, it may be time for a replacement.
Is it necessary to vent the exhaust fan to the outside?
Yes, it’s crucial to vent the exhaust fan to the outside to ensure the moist air is removed from the house. Venting into an attic or other enclosed space can lead to moisture problems, including mold and structural damage.
Can I install more than one inline fan for multiple bathrooms?
Yes, you can install multiple inline fans for multiple bathrooms. Alternatively, you can choose an inline fan with multiport capability to ventilate multiple bathrooms using a single fan.
Can I use a regular ceiling fan instead of an inline fan?
Regular ceiling fans are not designed to handle the high moisture levels in bathrooms. They may not provide sufficient ventilation, and the moisture can damage the fan. Inline fans are specially designed for bathroom ventilation and are a more suitable choice.


