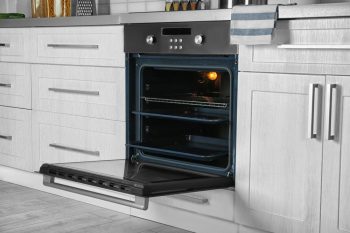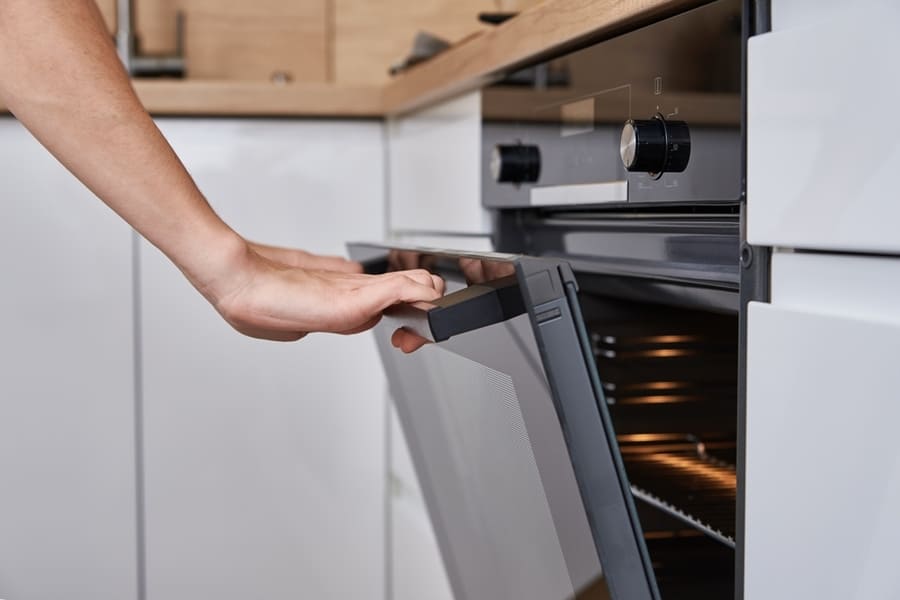
Whether you’re looking to replace your wall oven or if it’s high time for repairs, you’re gonna have to pull that big hunk of metal out of the wall. The problem is, how exactly does that happen?
Unlike other appliances that simply pull out of their space in your kitchen, a wall oven is built so it’s flush with the wall.
This placement presents unique challenges for the average, everyday owner looking to do the job on their own.
Wondering how to remove your wall oven safely and properly? Here’s how to do it.
- Read your manual before you start.
- Ask someone for help, especially when pulling out the oven and disconnecting its wires.
- See to it that you shut off the power supply before you begin.
- Remove all the screws that hold the wall oven in place.
- Carefully detach its cables, remembering how they were originally connected.
In most cases, removing a built-in wall oven is a two-person job. So before you start, see to it that you have someone to help you complete the task with as little hassle and risk as possible.
Step-by-Step Guide on How To Remove a Wall Oven
The manufacturer might have provided information on removing the wall oven in the user manual.
Referring to that little booklet might offer valuable insight into how you can safely and properly achieve the process.
While most wall ovens use the same procedures, certain models might require their own unique steps. That’s why checking the manual is important before you start.
1. Turn Off the Main Power Source
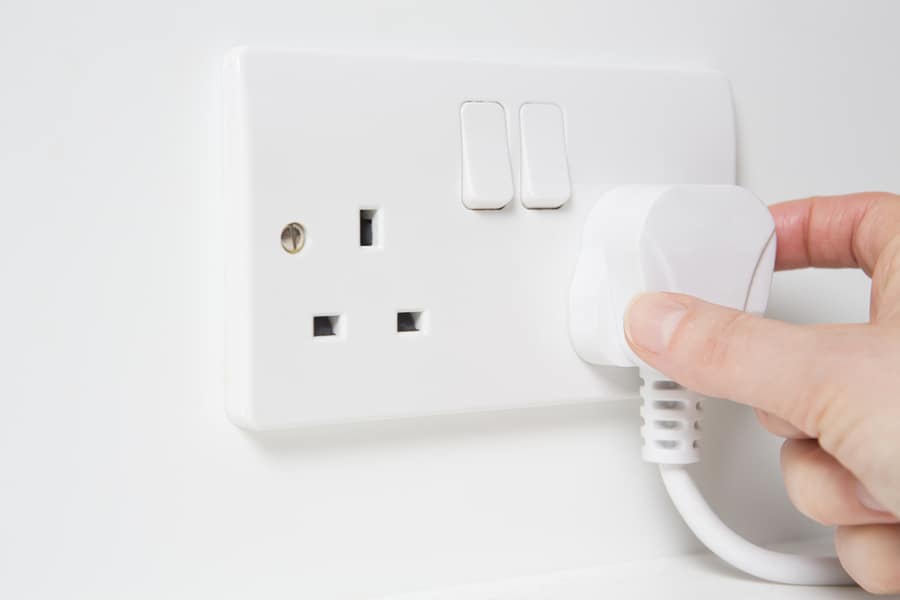
You must turn off the main power source before you try to tinker around with your wall oven.
Because the appliance is plugged in through the back, which isn’t accessible until you pull it out, you’ll have to cut off the power via your circuit breaker.
If there are other people in your home, ensure they’re properly informed by placing a note on the switch in the circuit breaker.
This should prevent them from turning it on while you’re removing the oven.
2. Remove the Door and Grills
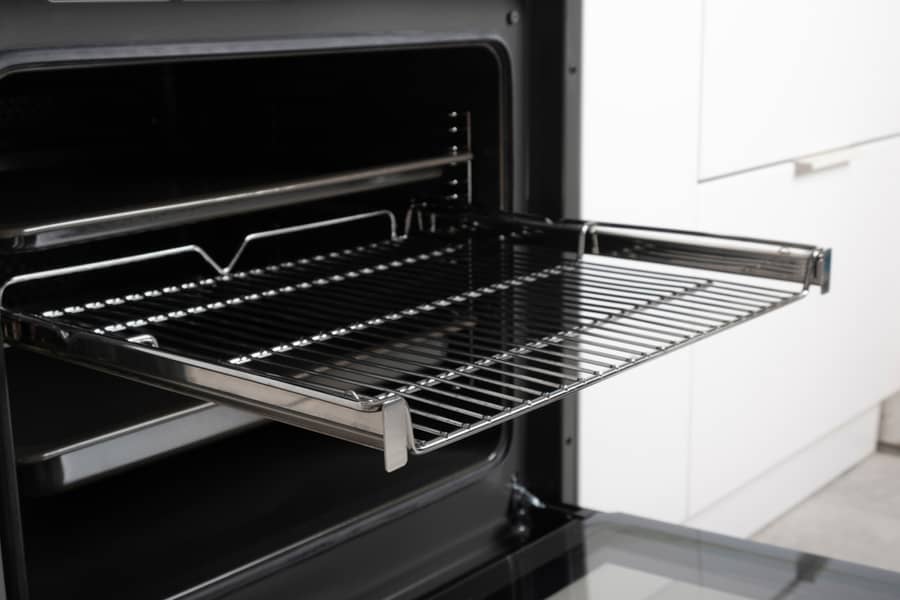
Reach into the oven with a non-contact voltage tester to ensure there isn’t a current still running through.
Once you’re sure the electricity is properly cut off, you can start removing the grills and trays from the inside.
Remove any other loose parts that could get in the way of safe wall oven removal. When everything is properly removed, you can start removing the wall oven door.
The hinge mechanism changes from model to model. Sometimes, you might need to unlock the hinge or pull it up and back to get it off.
3. Undo the Screws
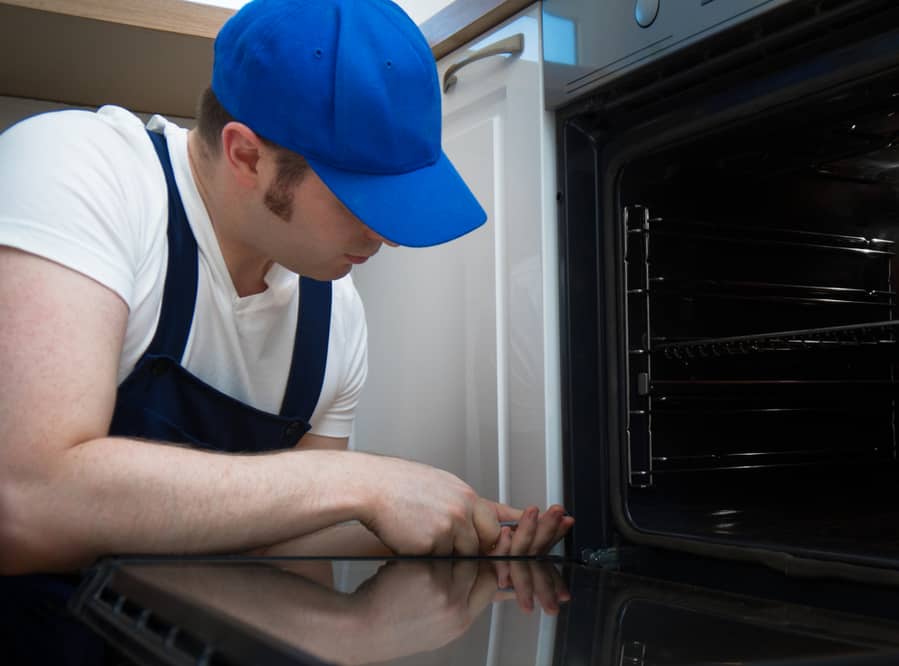
With the door out of the way, you should have a clear view of the screws that hold the oven in its place on the wall.
Smaller ovens will have four screws — one in each corner. Larger models can have as many as six or eight. Unscrew them all and set the screws aside if you plan to replace the oven back in the wall.
At this point, you might notice that you can remove the panels that cover the edges of the wall oven.
If you pull back these elongated panels, you may find even more screws behind them. Remove these as well.
Your wall oven should be completely disconnected from the wall.
4. Pull the Oven Back
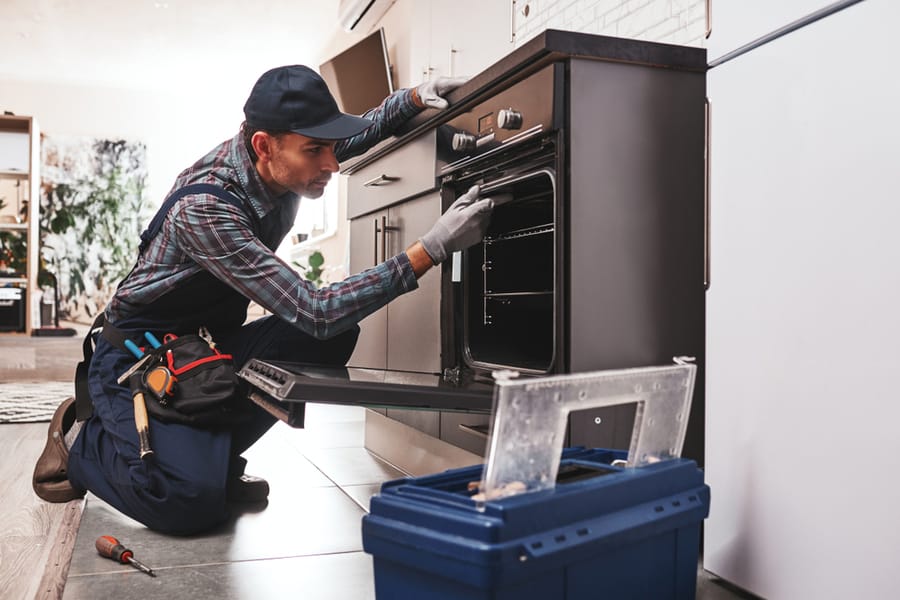
Here’s when a little extra help might come in handy. Before you pull the oven out, make sure that you ask someone to help you.
Wall ovens can be surprisingly heavy, so it’s important to have someone around to assist you in carrying the weight.
If you’re doing the job on your own, you can use something like a cart or a dolly to support the weight of the oven as you pull it out.
You can place this right in front of the oven so that the appliance can rest on the support as you gradually remove it from the wall.
5. Carefully Remove the Wires
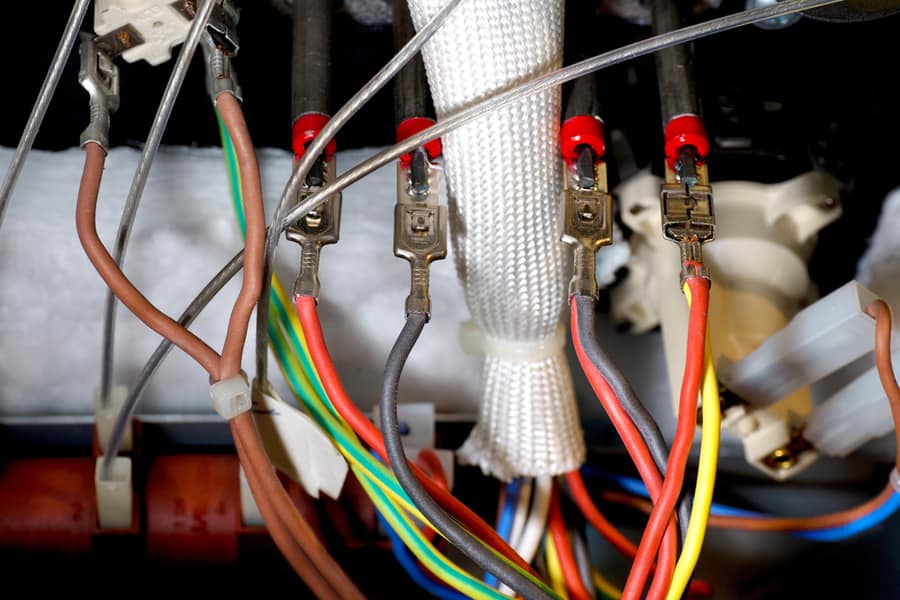
As you pull back the oven, you’ll be met with some resistance. This means you’re already tugging on the cables connecting the appliance to the outlet behind it.
At this point, you’ll have to tilt the oven forward to reach into the back and disconnect the wires.
It might be a tight fit and a far reach, so make sure someone holds the wall oven so you can comfortably and safely reach behind it.
Take a picture of the wires before you unscrew them. This way, if you intend to return the wall oven, you can reconnect the wires properly.
Once the wires have all been disconnected, the wall oven should slide out without a fuss.
Takeaway
Although removing a wall oven might seem like a complicated task, you can successfully and safely do it yourself with a little help and some careful execution.
Read the manual, ask a friend to give you a hand, and follow these steps so you can remove your wall oven for repairs or replacement sans the stress.
Frequently Asked Questions
Can You Install a Wall Oven on Your Own?
Although it’s definitely possible to install a wall oven without the help of a professional, it’s not recommended.
The process requires technical knowledge not only in appliance installation but also in electrical wiring. Hiring a professional is best if you’re not confident in your skills in these areas.
It’s also important to remember that any mistakes in installation and any damages resulting from poor installation can void your warranty.
If you don’t want to take risks with that, you should skip the DIY project and call in a pro.
How Much Does Wall Oven Installation Cost?
If you’re removing your old wall oven to have a new one installed, the service could cost between $1,200 and $2,500.
This depends on factors like your location, the make and model of your new oven, and the complexity of its wiring.
While that might seem a large price, it guarantees safe and proper installation and problem-free oven functioning.

