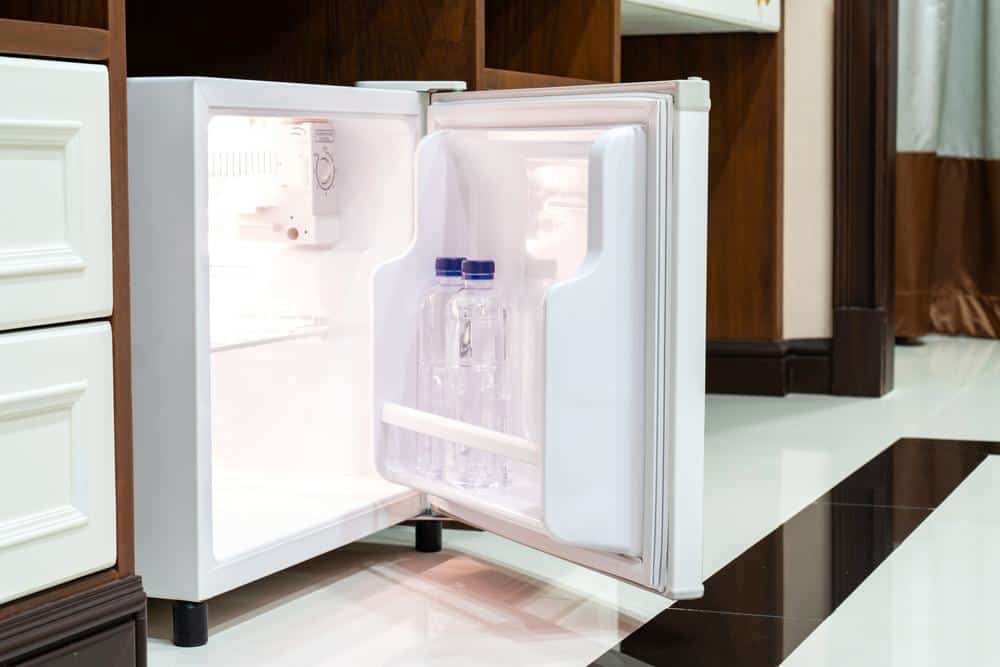
Mini fridges are a convenient and compact solution for keeping food and drinks cool in limited spaces. However, there might come a time when you need to remove the mini fridge door, either for cleaning, maintenance, or moving purposes. This comprehensive guide will provide you with step-by-step instructions on how to remove a mini fridge door safely and effectively.
To remove a mini fridge door, first, make sure the fridge is unplugged and empty. Then, locate the hinge cover on the top of the fridge and remove the screws holding it in place. Trace around the door’s top hinge with a pencil for easier reinstallation, then remove the screws from the top hinge. Finally, carefully lift the door off the bottom hinge and set it aside.
Tools Needed
Before getting started, gather the necessary tools:
- Ratchet wrench
- Philips head screwdriver
- Flat-head screwdriver
- Protective gloves
- Soft cloth or towel
- Plastic zip-top bags or containers to store screws or small parts
Remember, safety should be your top priority. Always ensure the fridge is unplugged before you begin any kind of maintenance work.
Preliminary Steps
Before the actual door removal process, follow these preliminary steps:
- Unplug the fridge from the power source.
- Empty the fridge and remove any removable shelves.
- Gather your tools.
- Choose a well-lit, spacious area to work.
- Consult the fridge’s user manual or installation instructions for specific guidance on door removal.
Removing the Door
Once you’ve completed the preliminary steps, you can proceed with the mini fridge door removal process:
- Close the door and locate the hinge cover on the top of the fridge.
- Use a screwdriver to remove the screws holding the hinge cover in place.
- Trace lightly around the door’s top hinge with a pencil to make reinstallation easier.
- Remove the screws from the top hinge.
- Carefully lift the door off the bottom hinge and set it aside.
Handling Different Types of Attachments
Mini fridge doors can be attached using screws, bolts, or clips. Here’s how to handle each:
- Screws: Use a screwdriver or a hex socket wrench that matches the screw head type.
- Bolts: Use a hex socket wrench or an open-end wrench for removal or tightening.
- Clips: Gently pry them off using a flathead screwdriver or your fingers.
Dealing with a Stuck Door
If the door seal seems to be stuck to the fridge body, follow these steps:
- Clean the door seal with warm soapy water.
- Apply a thin layer of petroleum jelly along the surface of the refrigerator door seal.
- Inspect the door seal for any visible cracks, tears, or damage.
- Check for alignment and adjust the hinges if necessary.
- Test the seal with the paper test.
Handling Electrical Components or Water Lines
If there are electrical components or water lines connected to the door, disconnect them safely before removing the door. Always consult your user manual or a professional technician if you’re unsure about any step in the process.
Post-Removal Steps
Once the door is removed, clean it thoroughly and store it in a dry, cool, and well-ventilated area. Protect it from potential damage by wrapping it in a protective material, such as a moving blanket or bubble wrap.
Common Reasons for a Stuck Door
Common reasons for a stuck mini fridge door include a defective door gasket, vacuum seal, too much weight in the door, a fridge that’s not level, or hinges out of alignment.
Conclusion
Removing a mini fridge door might seem like a daunting task, but with the right tools and a step-by-step guide, it’s a manageable task. Always remember to refer to your user manual and consult a professional if you’re unsure about any step in the process. With a bit of patience and careful work, you’ll have your mini fridge door off in no time.
Remember, this guide is meant to be a general overview. Always consult a professional or your user manual for specific instructions related to your particular model.
Frequently Asked Questions
Can I remove the door from any type of mini fridge?
Yes, generally, the process of removing the door from a mini fridge is similar across different models. However, it’s always best to refer to your user manual for model-specific instructions.
What should I do if I lose the screws when removing the door?
If you lose the screws, you should be able to replace them with similar ones from a local hardware store. To avoid misplacing screws, it’s a good idea to store them in a zip-top bag or small container while you work.
Why do I need to unplug the fridge before removing the door?
Unplugging the fridge ensures your safety by eliminating any risk of electrical shock. It’s a necessary precaution anytime you’re performing maintenance on an electrical appliance.
What is the paper test for the door seal?
The paper test involves closing the fridge door on a piece of paper. If you can pull the paper out easily, the seal may not be working properly. If the paper is held firmly in place, the seal is good.
What should I do if the door seal is damaged?
If your door seal is damaged, you’ll likely need to replace it. Damaged seals can prevent the fridge from maintaining the correct temperature, leading to food spoilage. You can find replacement seals online or at appliance parts stores.


