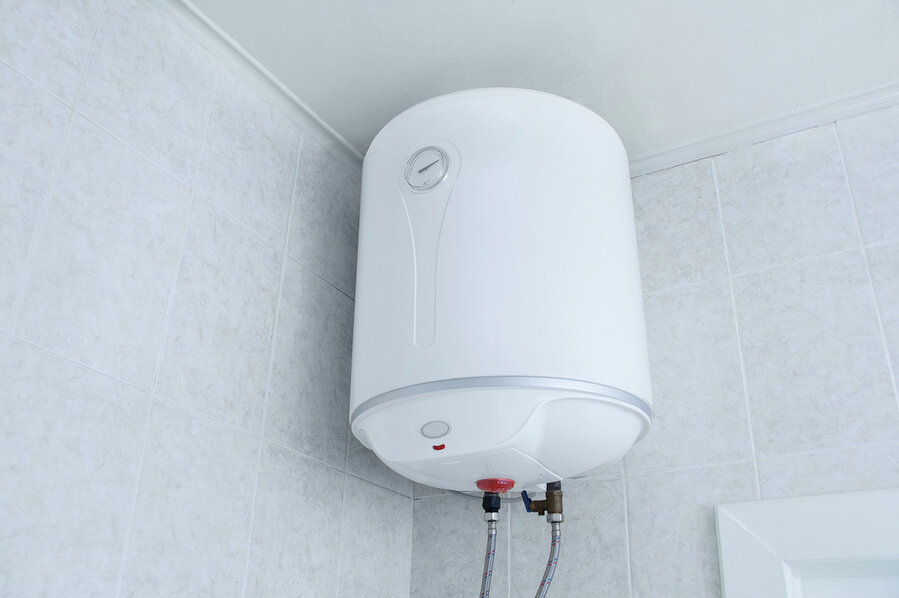
Do you hear popping noises from your water heater every time you switch it on? These appliances are supposed to operate silently; consistent popping and other sounds raise concerns.
You may encounter crackling, banging, hissing, and popping noises from old water heaters. This problem is more likely to occur in places having hard water.
Purchasing and installation of water heaters is a costly activity. To avoid this expensive service or failure in the future, you need to service your water heater regularly and troubleshoot every problem using proper guidelines.
A water heater will make a popping noise when there is more buildup of sediments and mineral deposits in the water tank. When water gets trapped below this buildup, it creates pockets of air which cause popping sounds in the system.
To fix such problems, you must flush your water heater yearly.
A huge layer of sediment in your water tank can lead to numerous issues. Some of them include the following:
- Water tank cracks and leaks
- Overheating can cause damage to your steel tank
- Displacement of water leads to less amount of hot water
- Decreased system efficiency leading to higher water heating bills
- Sediments coating the heating element on electric water heaters
The best and easy solution is softening the water. The hot water temperature may bring more deposits when you don’t do the recommended treatment and maintenance, including adding phosphoric acid or de-liming and flushing.
If your tank hasn’t been flushed for a while and you still hear the popping sound, this is an indication that there could be a huge amount of sediments inside your tank. You can fix this matter by following the few simple steps highlighted on our blog.
7 Simple Steps on How To Fix Popping Noise in the Water Heater
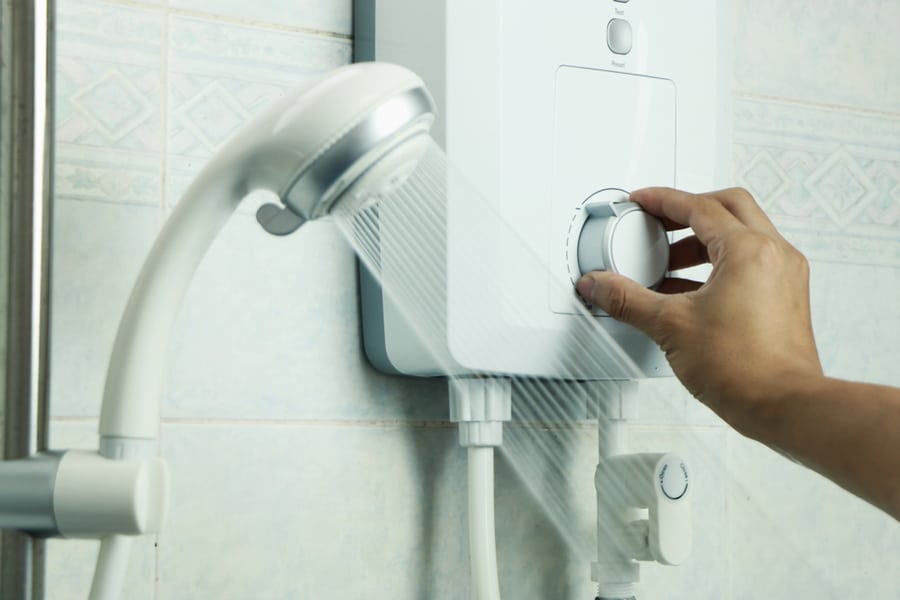
Stopping the popping noises in your water heater will help save on heating costs and extend its lifespan. Once you hear the popping sound, you need to take action and eliminate the issue.
Flushing the tank is the best method of eliminating most sediment buildup. Below is a step-by-step process on how to flush your water heater tank.
Follow the guidelines carefully to prevent damage to your water heater.
1. Switch Off Water and Power Supply
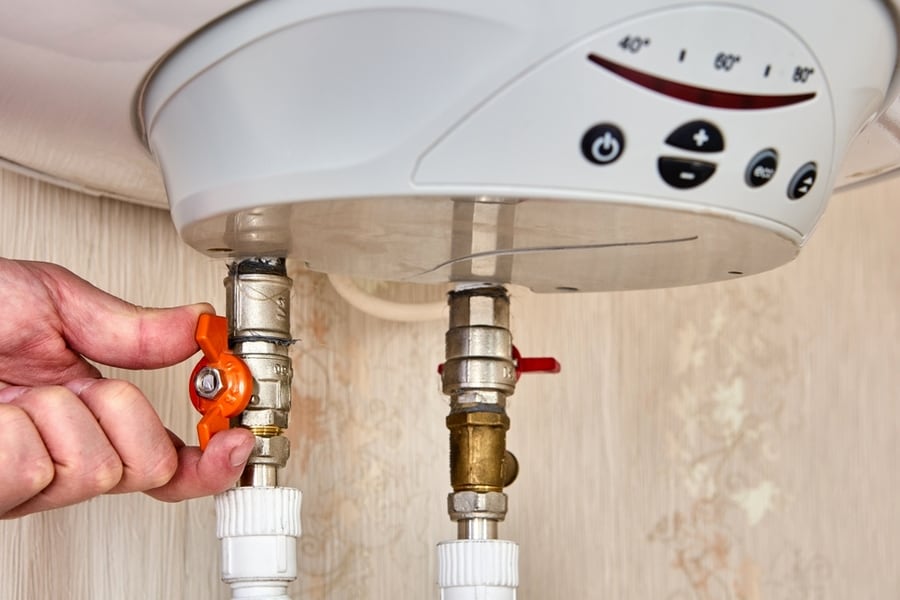
Firstly, before you start working on your water heater, you should switch off the water inlet, outlet, and power supply. It’s risky working on a water heater system with its supply on.
Switch off the water inlet pipe found at the top of the tank by rotating the knob clockwise. With a gas water heater, you should switch off the pilot; with an electric water heater, you need to power it off from the socket.
Disconnect the power supply completely to prevent the risk of having an electric shock.
Always switch off and disconnect the power supply completely before you start working on any electronic device.
2. Wait for the water Inside the Tank To Cool
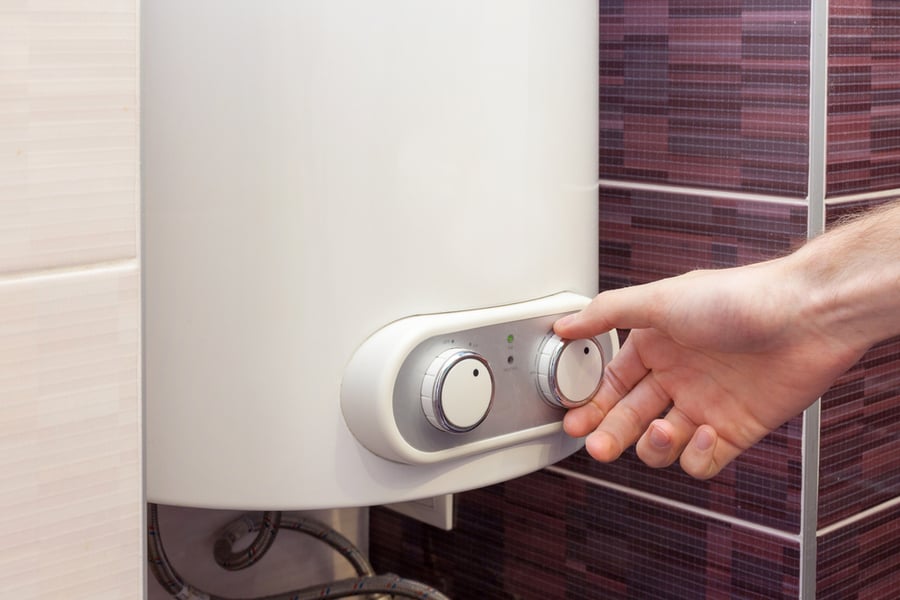
The popping sound is produced when the water heater power is on, which means the water inside will be hot.
Thus, it would be best if you waited for the water to cool to prevent injuries associated with hot water. Allow it to cool for about two hours.
If in a hurry, switch the power off and allow cold water to keep flowing in and out, although you will waste a lot of water with this process.
3. Connect the Hosepipe
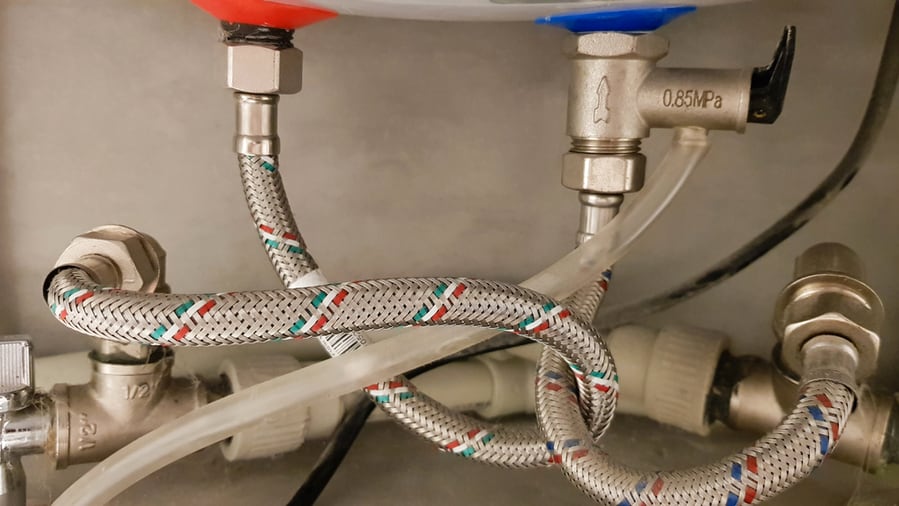
After the water inside the tank attains a safe temperature, connect a garden pipe to the drain valve found at the tank’s bottom. Make sure it’s fitted tightly.
Flip up the pressure release valve at the top of the water tank to avoid breakage. After that, open the drain valve by rotating it anticlockwise. If it’s tightly fixed, you can use a pair of pliers to open it.
Allow the tank to empty fully, and close the drain valve but don’t disconnect the garden pipe.
4. Disconnect the Hot Water Inlet Pipe
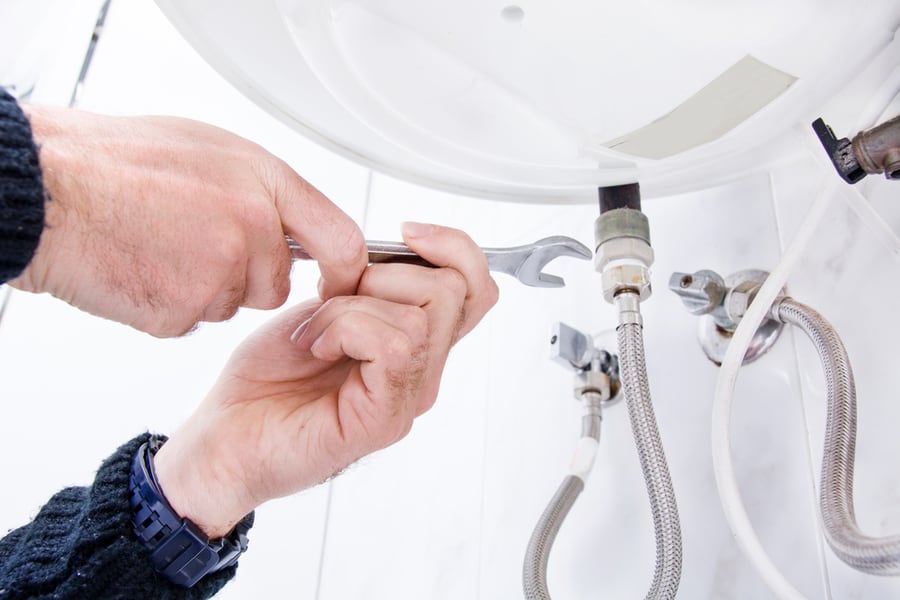
Remove the inlet pipe at the tank’s top using a pipe wrench.
Using a funnel, pour the de-liming solution inside the water tank through the opening. Always pour the correct amount based on your water tank capacity.
Using thread tape, wrap the threaded pipe at the tank and, using a pipe wrench, fix the hot water pipe back properly.
5. Turn On the Pressure Release Valve
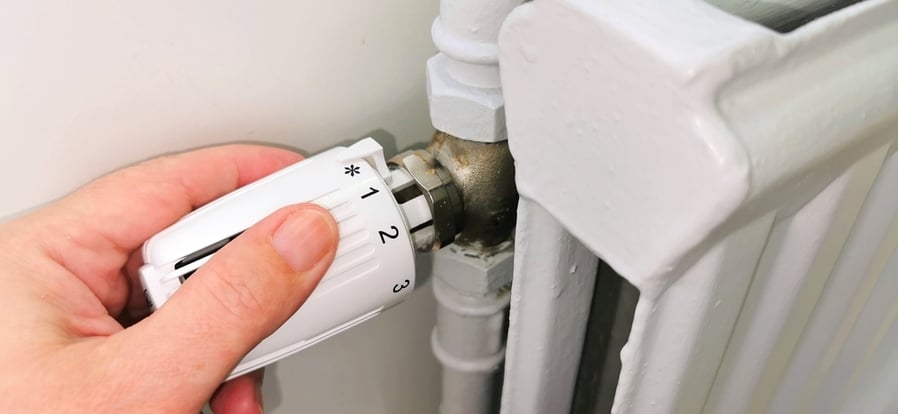
Open the pressure release valve using your hands or appropriate tools if it’s tightly fitted.
Allow cold water to flow until it’s full to ensure no air is left inside the tank.
After that, close the release valve.
6. Heat the Mixture
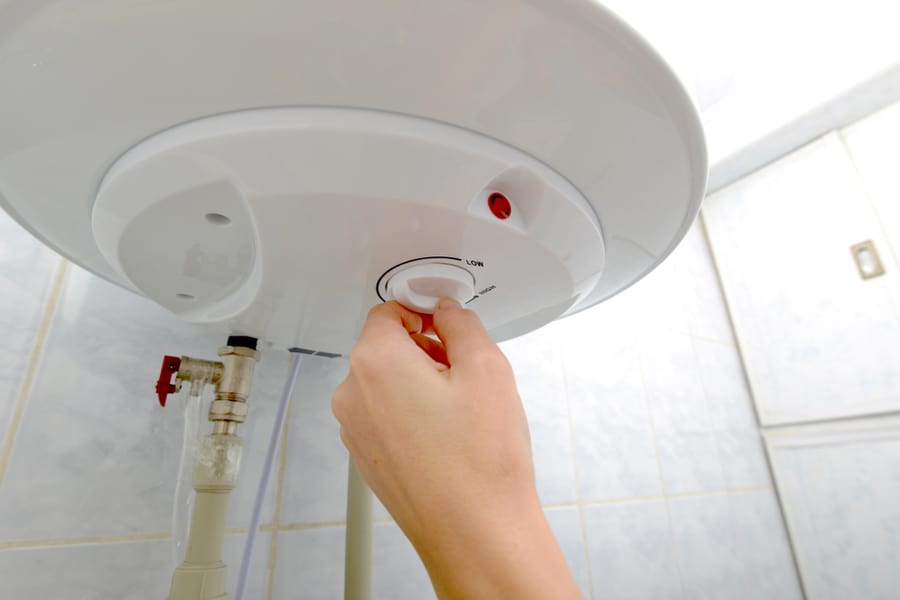
Remember, in step one, we disconnected the power supply to prevent injuries. Connect it back and switch on your water heating system.
Allow the mixture to heat up and to de-lime. The time required for the process to end depends on the capacity of your tank.
After that, switch off the system and disconnect the power supply.
Before draining the water inside the tank, please wait for it to cool, as said earlier, to avoid injuries.
7. Refill the Water Tank Again
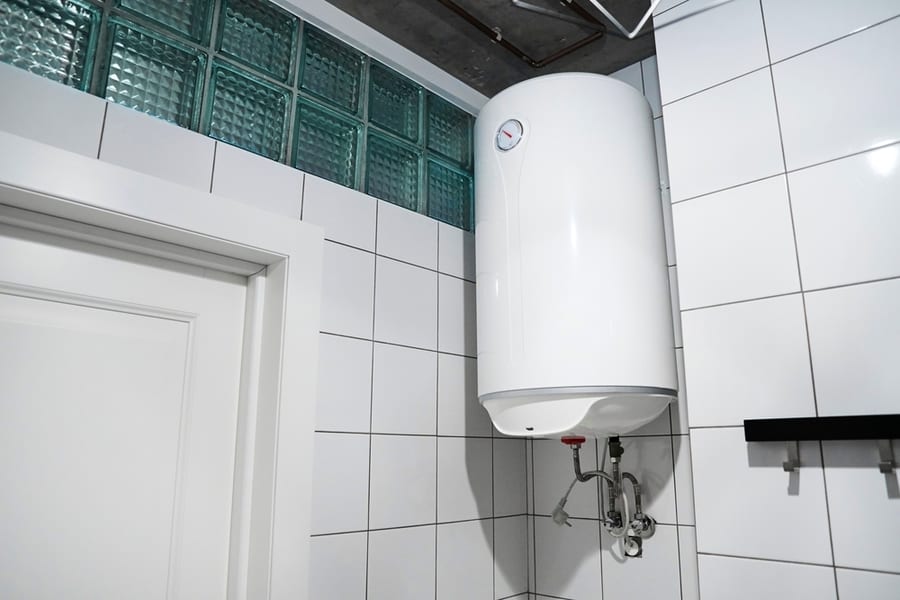
With the help of the pressure release valve, refill your water tank. Power on the heating system to heat the water.
After it’s heated, please wait for it to cool, then drain it. After that, disconnect the hose pipe and reconnect the original drain pipe.
Fill the tank again with water and heat it. This ensures that all the sediments and lime are cleared from the tank.
At this point, your water heater and the water are safe for use, and there will be no more popping sounds.
Preventing Sediment Buildup in Water Heaters
Now that your water heater is free from sediments and buildup, you need to practice ways that will help in preventing this buildup in the future. Tips to practice include:
1. Use of Water Softeners
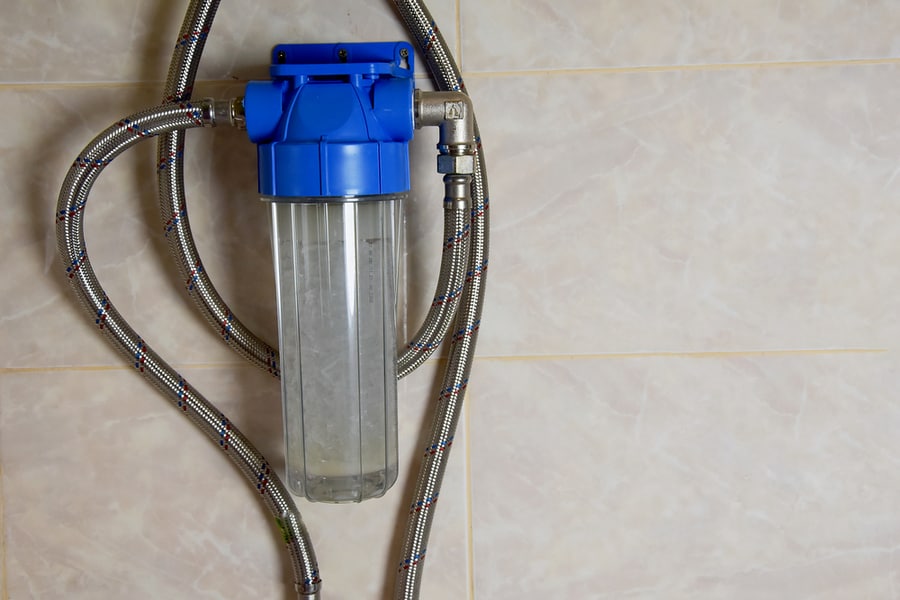
If sure that water’s hardness is the leading cause of sediment buildup in your water heater, then you need to install a water softener. This will help in removing magnesium and calcium available in the water.
Moreover, plastic resin attracts minerals available in water plus replaces the minerals with sodium ions; hence the appliances will be free from sediments.
Moreover, exposing aluminum anode rod to higher alkaline levels also cause popping sounds. This can be fixed by replacing this anode rod with a magnesium anode rod.
2. Reduce Water Pressure Levels
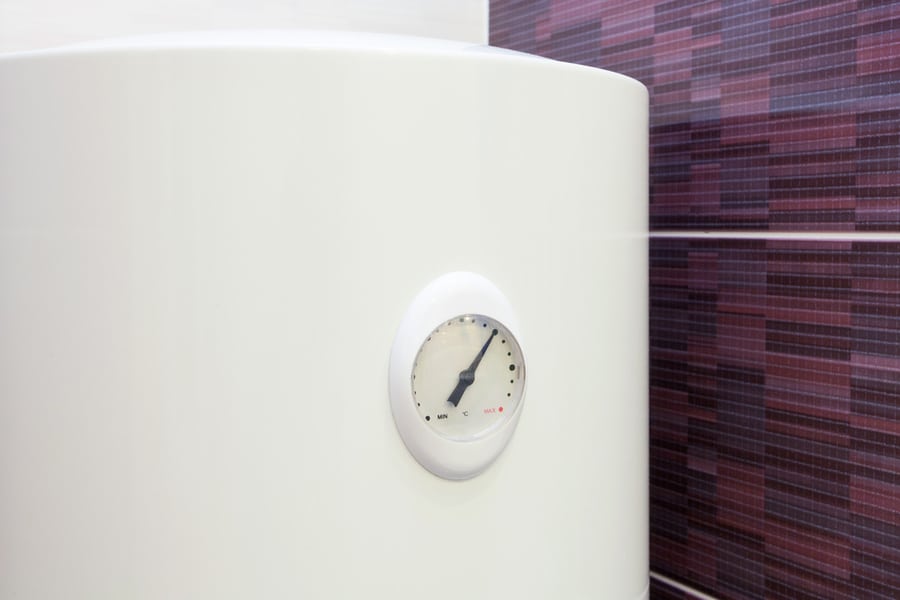
Lowering water pressure helps in decreasing sediment buildup.
Get a water pressure regulator at your main water supply line and loosen the nut by rotating it to the left using a screwdriver.
Summary
Hot water is essential to our everyday lifestyle. Removing sediments from your water heater should be an annual activity, and it’s a proper way of preventing popping and any other noise from your water heater.
To solve this issue permanently, you need to install a water softener. If the water heater noise is left unattended, it can eventually develop serious problems that can be costly to repair.
Frequently Asked Questions
Is the Popping Noise in the Water Heater Dangerous?
A popping noise from the water heater doesn’t necessarily signify a risky situation.
Nevertheless, excessive sediment buildup may increase temperature, resulting in the pressure valve malfunctioning. In the worst-case scenario, it might also lead to an explosion.
What Can Happen if the Sediments Are Left Untreated?
The sediment buildup will force your water heater to work harder than it’s supposed. As a result, more power will be needed leading to higher bills.
After some time, the sediments will accumulate on your burner and the metal heating elements if you’re using an electric water heater. This makes it harder to heat water, thus leading to malfunction.
Finally, overheating causes damage to your tank’s liner leading to leaking. This results in another repair cost; if you don’t notice the leak quickly, it can damage your wall and floor.


