A squeaky dryer can be quite a nuisance, and if it’s a Whirlpool dryer you’re dealing with, you may be wondering how to fix the problem. While it may seem like a daunting task, with some basic tools and a bit of understanding about the parts of your dryer, you can silence the squeak and get back to laundry day in peace. Here’s how to fix a squeaky Whirlpool dryer.
To fix a squeaky Whirlpool dryer, first identify the cause of the squeak, which could be due to an unlevel installation, damaged drum bearings, a loose or worn drive belt, or a worn out idler pulley. Disconnect the power, remove the lint filter and screws, and open the top of the dryer. Inspect the drum, bearings, and pulley. Replace any faulty parts, reassemble the dryer, and test it to see if the squeak has been resolved. Regular maintenance can help prevent future squeaks.
Identify the Cause of the Squeak
Before you can fix the squeak, you need to identify which part of the dryer is causing it. The most common culprits for a squeaky Whirlpool dryer are:
- Unlevel installation: If the dryer isn’t level, it can cause it to shake while it’s running, leading to a squeaky noise.
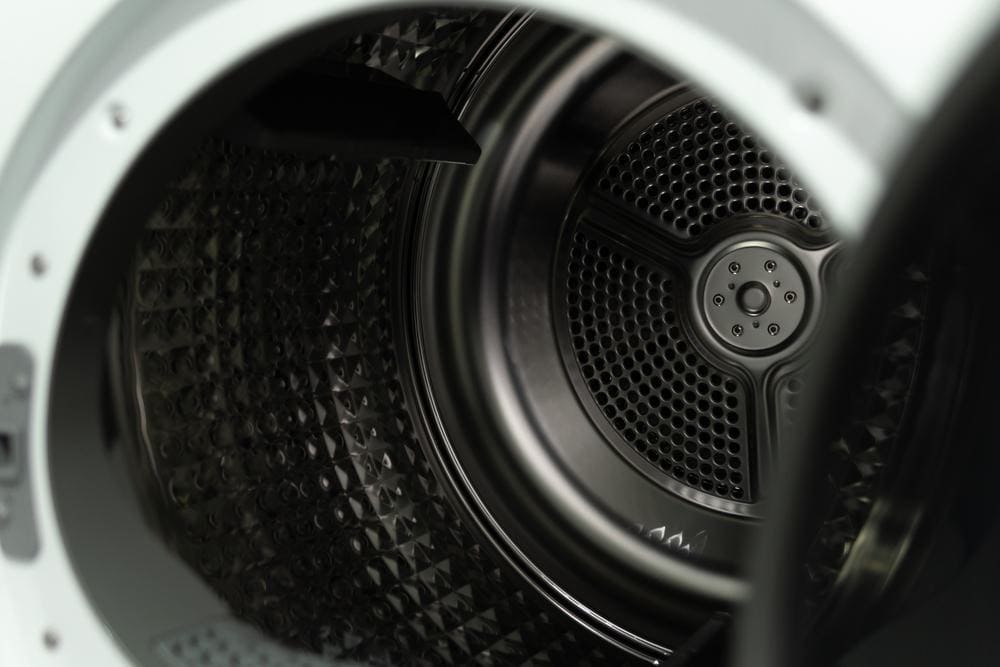
- Damaged drum bearings: These bearings allow the dryer drum to turn freely, but if they’re not properly lubricated or if they’ve worn out over time, they can create a squeaking sound.
- Loose or worn drive belt: The drive belt wraps around the dryer drum and motor pulley, providing the movement needed for the drum. If it’s frayed or cracked, it can result in a squeaking noise.
- Worn out idler pulley: This pulley keeps tension on the drive belt, ensuring it spins the drum. If it’s damaged or worn out, it can cause a squeaking sound.
Safety Precautions
Before starting any repairs, make sure to unplug the dryer from the power source to prevent any electrical hazards. Wear protective gear such as work gloves and safety goggles, and ensure you have enough space to work on the dryer.
Necessary Tools and Materials
You’ll need a few basic tools to fix a squeaky Whirlpool dryer, including work gloves, safety goggles, a multimeter, a screwdriver set, needle-nose pliers, a socket set, a putty knife, and a vacuum cleaner or lint brush. Depending on the cause of the squeak, you may also need replacement parts, such as a new drive belt or idler pulley.
Step-by-Step Guide to Fixing a Squeaky Whirlpool Dryer
- Unplug the dryer: Always disconnect the power before starting any repairs.
- Remove the lint filter: This is typically located at the top of the dryer.
- Remove the screws: There are usually two screws underneath the lint filter, which you’ll need to remove.
- Open the dryer: Use a putty knife to pry open the top of the dryer.
- Inspect the drum: Look for any objects that might be causing the squeak and remove them.
- Check the drum bearings: If they’re worn or not properly lubricated, they can cause a squeaking sound.
- Inspect the idler pulley: If it’s damaged or loose, it will need to be replaced.
- Replace any faulty parts: If the drive belt, idler pulley, or drum bearings are damaged, they’ll need to be replaced.
- Reassemble the dryer: Once you’ve replaced the faulty parts, you can reassemble the dryer.
- Test the dryer: Plug it back in and run it to see if the squeak has been resolved.
If the squeak persists after following these steps, you may need to consult a professional.
Preventing Future Squeaks
To prevent your dryer from squeaking in the future, make sure to clean the lint trap regularly, check for level installation, inspect drum bearings periodically, and lubricate squeaky spindles. Regular maintenance can help keep your dryer running smoothly and quietly.
In conclusion, fixing a squeaky Whirlpool dryer is a task that requires a bit of patience and a few basic tools. By identifying the cause of the squeak and addressing it directly, you can get your dryer back to its quiet operation. Always remember to prioritize safety when working on your dryer, and don’t hesitate to consult a professional if you’re unsure about any aspect of the repair process.
Frequently Asked Questions
How often should I lubricate the dryer drum bearings?
It’s a good practice to lubricate the dryer drum bearings once every six months to a year, depending on how frequently you use your dryer.
What should I use to clean the lint trap?
A vacuum cleaner with a brush attachment is a great tool for cleaning the lint trap. For stubborn lint, you can also use a lint brush or a piece of duct tape wrapped around your fingers.
How do I know if my dryer is level?
You can use a bubble level to check if your dryer is level. Place the level on the top of the dryer and adjust the dryer’s feet until the bubble is centered.
Where can I buy replacement parts for my Whirlpool dryer?
Replacement parts for your Whirlpool dryer can be purchased from the manufacturer’s website or from online marketplaces like Amazon or eBay. Make sure to buy parts that are specifically designed for your dryer model.
What kind of lubricant should I use for the drum bearings?
A high-temperature grease is typically recommended for lubricating dryer drum bearings. Be sure to use a lubricant that is safe and designed for use in dryers.

