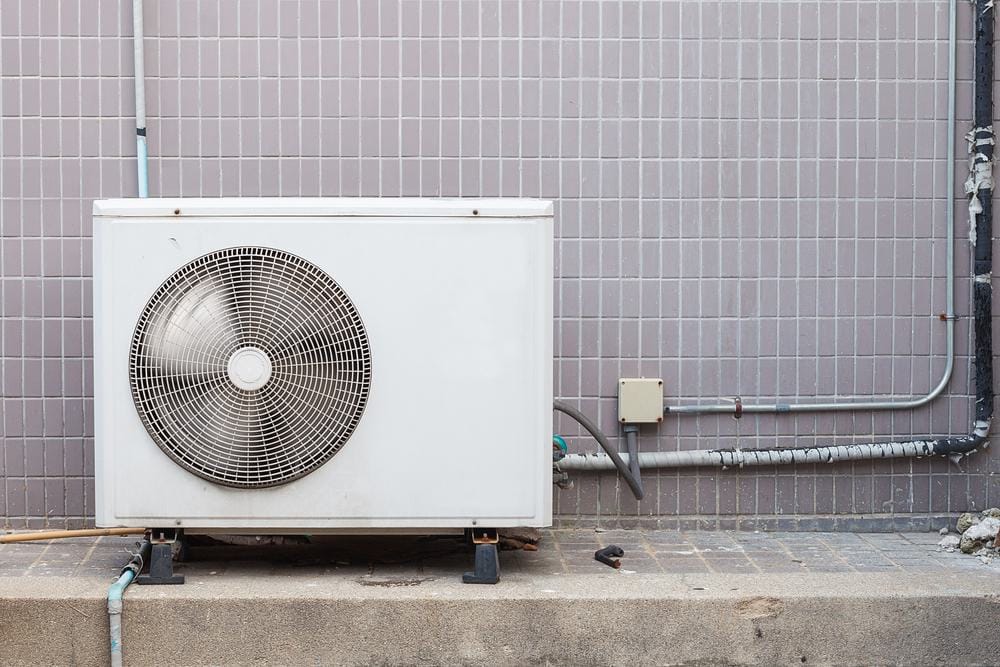
The Goodman AC unit is a popular choice for homeowners and HVAC professionals due to its efficiency, durability, and easy installation process. However, wiring the unit can be a bit complex, especially for those without much experience in the field. This comprehensive guide will walk you through the process of wiring a Goodman AC unit step-by-step, providing examples, tips, and safety measures to ensure a successful installation.
Wiring a Goodman AC unit involves preliminary steps like gathering necessary tools, turning off power, reading the manual, identifying wires, checking local codes, and planning the wiring route. The wiring process includes high voltage connections, low voltage connections, thermostat wiring, checking for leaks, and testing the unit. Always refer to the manufacturer’s manual and consult a professional if needed.
Preliminary Steps Before Wiring
Before diving into the wiring process, there are few preliminary steps to take:
- Gather necessary tools and materials: These include wire strippers, screwdrivers, a multimeter, and the appropriate wiring diagrams for your specific Goodman AC unit.
- Turn off the power: Safety first! Always turn off the power at the circuit breaker or disconnect switch to prevent electrical shock or damage to the equipment.
- Read the installation manual: Goodman provides a detailed installation manual with each AC unit. This manual contains crucial information about the wiring process, including diagrams and step-by-step instructions.
- Identify the wires: Familiarize yourself with the color-coded wires and their corresponding functions. The red wire is typically for power, white for heating, yellow for cooling, and green for the fan. The blue or black wire is usually the common (C) wire.
- Check local codes and regulations: Consult the National Electrical Code (NEC), Canadian Electrical Code (CEC), and local codes to ensure your wiring process complies with all safety and legal requirements.
- Plan the wiring route: Determine the best route for the wiring between the thermostat, indoor unit, and outdoor unit. This will help you avoid potential obstacles and ensure a neat and organized installation.
Steps to Wire a Goodman AC Unit
After completing the preliminary steps, you can now proceed to wire your Goodman AC unit. Here’s a step-by-step guide:
High Voltage Connections
Route the power supply and ground wires through the high voltage port and terminate them according to the wiring diagram provided inside the control panel cover.
Low Voltage Connections
Goodman AC units require a nominal 24 VAC (+/- 6 VAC), 60 Hz, minimum 25 VA service from either the indoor or an optional outdoor transformer. Route the control wires through the low voltage port and terminate them according to the wiring diagram provided inside the control panel cover.
Thermostat Wiring
The unit is designed to work as part of a fully communicating HVAC system utilizing the ComfortNet™ CTK0* thermostat, ComfortNet™ compatible indoor unit, and up to four wires. The required wires are: (a) data lines, 1 and 2; (b) thermostat “R” (24 VAC hot) and “C” (24 VAC common).
Checking for Leaks
After completing the wiring, it’s essential to check for any leaks in the system and repair them as necessary.
Testing the Unit
Once all connections are made, turn the power back on and test the unit to ensure it’s functioning correctly.
Remember, these are general guidelines. Always consult the specific manuals and instructions for your Goodman AC unit model. If you’re not a qualified HVAC technician, it’s highly recommended to hire a professional to perform the wiring and installation of your AC unit.
Troubleshooting Tips
In case your Goodman AC unit is not functioning properly after wiring, here are some troubleshooting tips:
- Check the fuse box or circuit breaker.
- Reset the AC unit.
- Inspect the wiring.
- Examine the thermostat.
- Check the air filter.
- Inspect the evaporator coil.
- Look for error codes.
If these troubleshooting tips do not resolve the issue, it is recommended to contact a professional HVAC technician for further assistance.
Conclusion
Wiring a Goodman AC unit is a fairly complex task that requires a good understanding of HVAC systems and electrical wiring. However, with the right knowledge and tools, it can be done successfully. Always remember to follow safety measures, refer to the manufacturer’s manual, and consult a professional if needed. Happy wiring!
Frequently Asked Questions
What is the ComfortNet™ CTK0* thermostat mentioned in the article?
The ComfortNet™ CTK0* is a type of thermostat designed to work with Goodman AC units. It is part of a fully communicating HVAC system, which allows it to interact with other HVAC components for optimal performance.
What happens if I wire the Goodman AC unit incorrectly?
Incorrect wiring can lead to several issues including system malfunction, reduced efficiency, and even potential damage to the unit. It can also pose safety risks. This is why it’s crucial to follow the manual’s instructions or hire a professional if you’re unsure.
What are the data lines 1 and 2 in the thermostat wiring section?
Data lines 1 and 2 are part of the communication wires used in a fully communicating HVAC system. They transmit signals between the thermostat and the AC unit, allowing them to work in harmony.
How can I determine if my Goodman AC unit is wired correctly?
After wiring the AC unit, you can perform a system check by turning the power back on and testing the unit. If it’s functioning correctly, it’s likely that the wiring was done properly. However, if there are issues, you may need to recheck your wiring or consult a professional.
How often should I check for leaks in my Goodman AC unit?
It’s a good practice to check for leaks regularly, particularly during routine maintenance checks. This can help detect any potential issues early and prevent major problems down the line.
What should I do if I can’t find my Goodman AC unit’s installation manual?
If you can’t find your Goodman AC unit’s installation manual, you can usually download a copy from the manufacturer’s website. You’ll need the model number of your unit, which can typically be found on a label on the unit itself.

