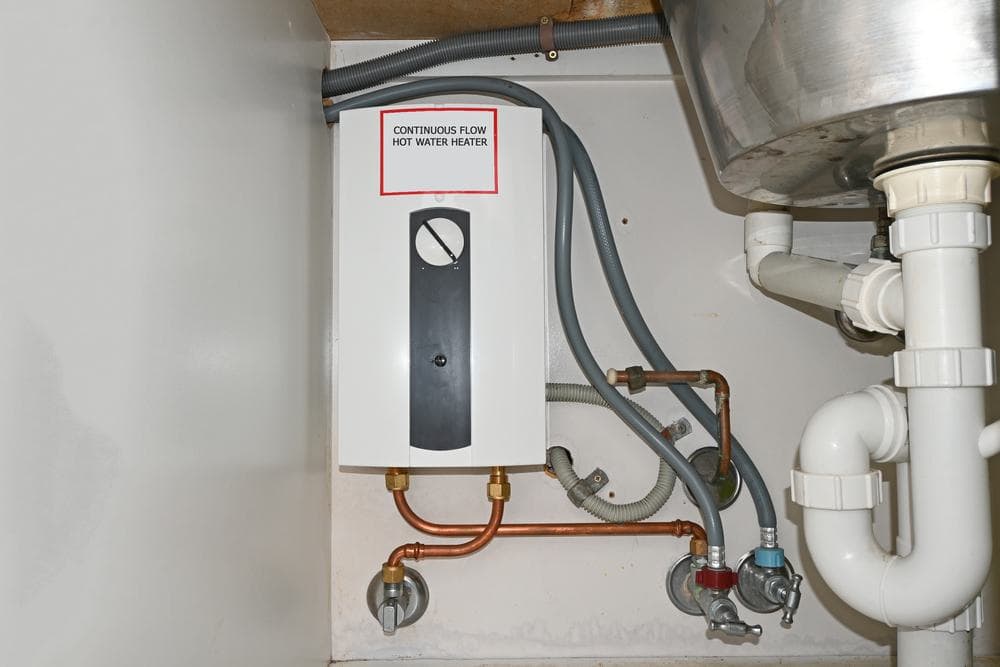
Winterizing your Furrion tankless water heater is an essential task as the colder months approach. Failing to do so can lead to severe damage to your unit due to freezing temperatures. This comprehensive guide will walk you through the step-by-step process to ensure your unit remains safe and operational, even during the harshest winter months.
To winterize a Furrion tankless water heater, begin by setting the system to city water and applying air to the system to blow it out. Open all your faucets and blow out any water, then drain your low point drains. Remove the drain plug and filter to allow the unit to drain, then run non-toxic RV antifreeze through the unit. Turn off the electrical power and gas supply, then shut off the water supply and allow the water to cool. Finally, disconnect the water pipes and use an air compressor to complete the winterization process.
Why Winterize Your Furrion Tankless Water Heater?
Winterizing your tankless water heater is crucial to prevent damage caused by freezing temperatures. Water can become trapped inside the pipes and the heater. If this water freezes, it can expand, causing damage to the internal components of the heater. Many warranties for hot water heaters may not cover damages related to cold weather. Therefore, failure to properly winterize your unit can result in costly repairs and more headaches than you can handle.
Materials and Tools Needed
Before you start the winterization process, gather the following tools and materials:
- Non-toxic RV antifreeze
- Air compressor
- Water heater bypass kit
- Blow out plug
- Pressure regulator (if using an air compressor)
- Water pump bypass
Step-by-Step Guide to Winterize a Furrion Tankless Water Heater
Step 1: Set the System to City Water
The first step in winterizing your Furrion tankless water heater is to set it to the city water setting.
Step 2: Apply Air to the System
Next, you’ll need to apply air to the system to blow it out. This can be done using a setup made up of an air compressor and a blow out plug. It’s important to note that you should not exceed 30 psi when doing this.
Step 3: Open Up all Your Faucets and Blow out Any Water
Once you’ve applied the air, you should go inside your RV and open up all your faucets to blow out any water. After this, close the faucets.
Step 4: Open Up Your Low Point Drains and Drain Them
After blowing out the water from your faucets, you should open up your low point drains and drain them as well.
Step 5: Remove the Drain Plug and Filter
The next step is to remove the drain plug and filter from the unit to let the unit drain.
Step 6: Use RV Antifreeze
After draining the unit, you can run RV antifreeze directly through the unit to winterize it. This should be done by a non-toxic antifreeze that is recommended by your manufacturer.
Step 7: Turn Off the Electrical Power and Gas Supply
Before the winterization process begins with your RV, it’s important to turn both the gas and the electrical power off. Turning the power and the gas off helps stop the water heater from trying to reheat any residual water.
Step 8: Shut Off the Water Supply and Allow the Water to Cool
Before disconnecting the water pipes, make sure all the water has finished draining out. It’s a good idea to place a bucket underneath the tankless water heater to catch any leftover water and prevent spills. The inlet and outlet water connections will need disconnecting too before proceeding to use the air compressor to complete the winterization process.
Post-Winterization Maintenance
After winterizing, when spring arrives, you’ll need to de-winterize your system by flushing out the antifreeze and sanitizing the system to remove any bacteria or mold that could have grown during the months in storage.
Safety Measures to Follow
Always ensure to turn off both the gas and the electrical power to the water heater before beginning the winterization process. Always refer to the manufacturer’s instructions when winterizing your water heater. This will provide specific guidance based on the model of your water heater.
Remember, these steps should be performed at the end of the camping season or whenever the RV will be exposed to temperatures below freezing for an extended period. Proper winterization can prevent damage to the water heater and other components of the RV’s water system, saving you from costly repairs in the future.
To ensure you’ve effectively winterized your Furrion tankless water heater, it’s always a good idea to consult with a professional. They can provide additional guidance and can help identify any potential issues that may arise during the winterization process. Following these steps and tips will help keep your Furrion tankless water heater in top shape and ready for use when the warmer weather returns.
Frequently Asked Questions
What type of antifreeze should I use for winterizing my Furrion tankless water heater?
You should use a non-toxic RV antifreeze for winterizing your Furrion tankless water heater.
Can I winterize my Furrion tankless water heater by myself, or should I hire a professional?
While the steps provided in the guide can be followed by an individual, if you’re not confident or comfortable performing these steps, it’s recommended to hire a professional.
Do I need to winterize my water heater even if I live in a region where it doesn’t get too cold?
Winterization is primarily needed in regions where temperatures drop below freezing. However, if your RV will be unused for a long period, it’s a good idea to winterize to prevent any potential damage.
How often should I winterize my Furrion tankless water heater?
You should winterize your Furrion tankless water heater at the end of the camping season or whenever the RV will be exposed to temperatures below freezing for an extended period.
What if I forget to winterize my Furrion tankless water heater?
If you forget to winterize your Furrion tankless water heater and it is exposed to freezing temperatures, it can cause severe damage to the internal components of the heater. This might result in costly repairs and may void your unit’s warranty.


