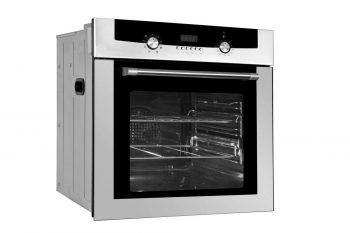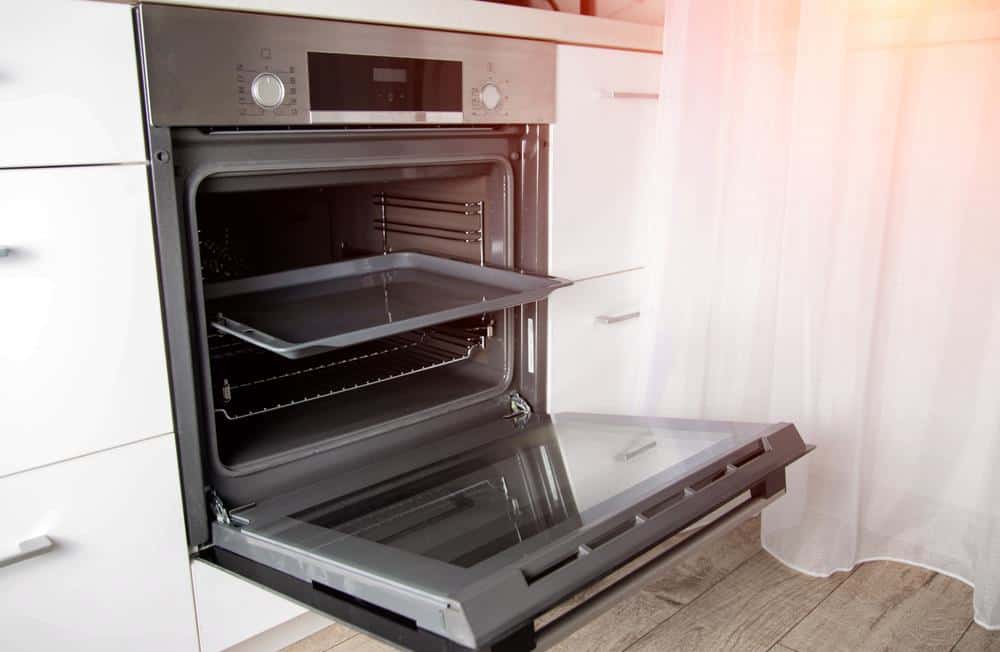
Your oven door handle plays an integral role in the usage of your oven. It allows you to open and close the oven door safely and comfortably. But what happens when this handle becomes loose or even breaks? Don’t worry! This comprehensive guide will walk you through the process of how to tighten an oven door handle, providing you with detailed steps, options, and solutions to maintain your oven door handle in the best possible condition.
To tighten an oven door handle, you’ll need a screwdriver that fits the screws on your oven door handle, a damp cloth for cleaning, and possibly replacement screws. First, ensure your oven is turned off and unplugged. Open the oven door, release the hinges, and remove the inner door panel to access the handle screws. Tighten the screws, clean the screw ports if necessary, then reassemble the oven door and reattach it. If the handle remains loose, you may need to seek professional help.
Why Do Oven Door Handles Become Loose?
Oven door handles can become loose for a variety of reasons. One of the most common causes is the expansion and contraction of screws during the heating and cooling process of the oven. Over time, the screws attaching the handle to the oven door may become loose or even damaged. Regular use of the oven door handle can also cause it to wear down, leading to a loose handle. In some cases, the threads may be stripped, or the plastic may be cracked, causing the handle to become loose. If your oven is old or overused, the screws may break or loosen due to the deterioration of parts.
Tools Needed To Tighten an Oven Door Handle
Before you begin the process of tightening your oven door handle, make sure you have the necessary tools on hand. You will need the following:
- A screwdriver that fits the screws on your oven door handle. This is typically a Phillips-head screwdriver.
- A damp cloth for cleaning the screws, if necessary.
- Replacement screws if the existing ones are damaged.
Step-by-Step Guide to Tightening Your Oven Door Handle
Step 1: Safety First
Before starting, make sure to turn off your oven and unplug it to avoid any accidents.
Step 2: Open the Oven Door and Release the Hinges
Open the oven door and locate the hinges at the bottom of each side of the oven. Release the hinges to separate the door from the oven.
Step 3: Remove the Inner Door Panel
Depending on your oven model, you may need to remove screws from the side that faces inwards to the oven. Carefully remove the inner door panel to access the handle screws.
Step 4: Tighten the Handle Screws
Locate the screws that secure the oven door handle. Using a specialized screwdriver that fits the screws, tighten them. Be careful not to over-tighten the screws, as this may strip the plastic. If the screws are damaged, you may need to replace them.
Step 5: Clean the Screw Ports
If needed, use a damp cloth with some cleaning solution to clean the ports for the screws.
Step 6: Reassemble the Oven Door
Place the inner door panel back onto the outer door and secure it with the screws you removed earlier.
Step 7: Reattach the Oven Door
Align the hinges with their respective slots on the oven and secure them in place. Make sure the door is properly attached and the hinges are locked.
When to Seek Professional Help
If the handle remains loose after tightening the screws, it may be necessary to contact a certified service technician to schedule an appointment for repair. The threads could be stripped, or the plastic could be cracked, necessitating professional help.
Maintenance Tips to Prevent a Loose Oven Door Handle
Regular maintenance can help prevent your oven door handle from becoming loose in the future. Here are some tips:
- Regularly check and tighten the screws.
- Replace worn or damaged screws.
- Keep the handle and screw ports clean.
- Consider using a thread-locking adhesive if the screws continue to loosen.
By following this comprehensive guide, you can easily tighten your oven door handle and prevent it from becoming loose in the future. Remember, safety should always be your primary concern, so if you’re unsure about any step, don’t hesitate to seek professional help.
Frequently Asked Questions
What type of screwdriver do I need to tighten the oven door handle?
Typically, a Phillips-head screwdriver is used to tighten the screws on an oven door handle. However, it’s best to check the type of screw used on your specific oven model.
What do I do if the screws on the oven door handle are damaged?
If the screws are damaged, they should be replaced. You can find replacement screws at a local hardware store or online. Make sure to take one of the damaged screws with you to ensure you buy the correct size and type.
How often should I check the screws on my oven door handle?
It’s a good practice to check the screws on your oven door handle every few months or so. If you notice the handle becoming loose in between these checks, tighten the screws immediately.
Can I use any kind of thread-locking adhesive on the screws?
Yes, you can use a thread-locking adhesive if the screws continue to loosen. However, ensure you choose a product that can withstand high temperatures, as the oven can get very hot.
What if the handle is still loose after I’ve tightened the screws?
If the handle remains loose after tightening the screws, it could be that the threads are stripped or the plastic is cracked. In this case, it’s advisable to contact a certified service technician for a professional repair.

