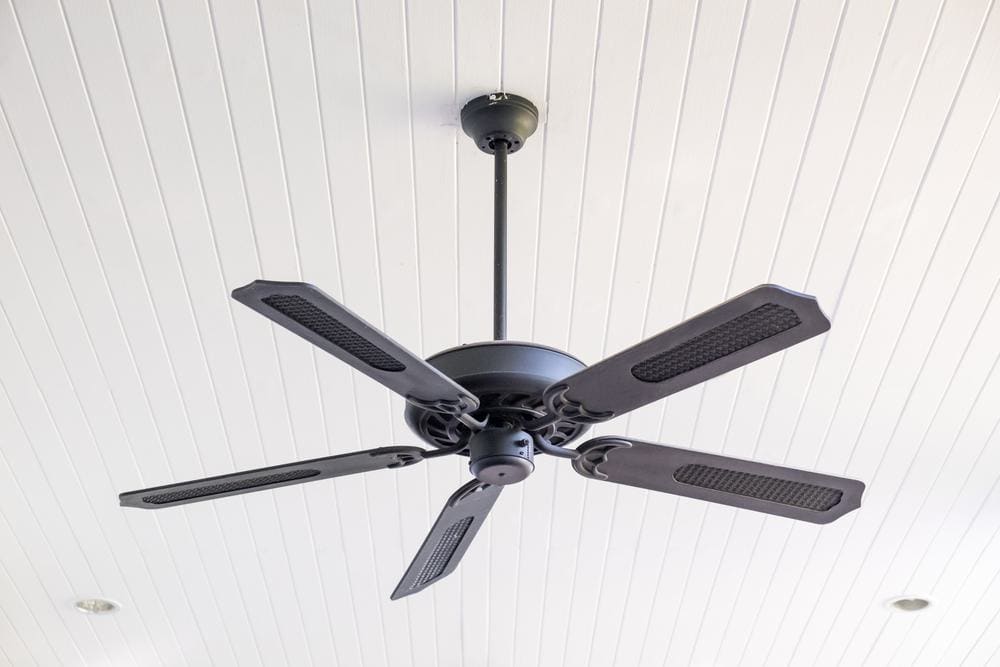
In the world of home automation and comfort, ceiling fans have come a long way. They’re no longer just devices with rotating blades that circulate air. Modern ceiling fans are smart devices, providing not just cooling but also lighting, and all of these can be controlled with a remote. Among many brands, Honeywell stands out due to their high-quality and user-friendly ceiling fans and accessories. This article will guide you through the process of syncing a Honeywell Ceiling Fan remote, troubleshooting common issues, and maintaining your remote for long-term use.
To sync a Honeywell Ceiling Fan remote, first ensure the power is off and install the receiver according to your fan model’s instructions. Set the fan speed to HIGH and the light to ON manually. Press and hold the “FAN OFF” button on the remote for 3 seconds until the fan turns on at high speed and the light blinks 3 times. Within 30 seconds, press the FAN OFF button again to turn off the fan. Test the remote by adjusting the fan speed and turning the lights on and off. If the fan responds correctly, the syncing process was successful.
Necessary Materials and Tools
Before we delve into the syncing process, let’s first gather the materials and tools required:
- Honeywell Ceiling Fan remote control and receiver
- Ceiling fan with compatible wiring
- A qualified electrician for installation (recommended)
- Screwdriver or ballpoint pen for setting dip switches
- CR2032 lithium batteries for the remote control
Preliminary Steps
Before starting the syncing process, it’s essential to take some preliminary steps:
- Backup your data: Always create a backup of your data to prevent any potential data loss during the synchronization process.
- Ensure compatibility: Verify that your ceiling fan and remote are compatible with each other.
- Check network connectivity: Ensure that the devices involved in the sync process have a stable network connection.
- Update software: Make sure that all systems involved in the sync process are running the latest software versions to avoid any compatibility issues.
Syncing Your Honeywell Ceiling Fan Remote
Here is a step-by-step guide on how to sync your Honeywell Ceiling Fan remote:
- Ensure the power is off: Turn off the power at the circuit breaker before working on the receiver or ceiling fan.
- Install the receiver: Follow the installation instructions for your specific Honeywell Ceiling Fan model to install the receiver.
- Set fan speed and light: Manually set the fan speed to HIGH and the light to ON using the pull chains.
- Activate the syncing process (Smart Sync): Press and hold the “FAN OFF” button on the remote for 3 seconds. The fan will turn on at high speed, and the light will blink 3 times. This confirms that the Smart Sync setting is active. You now have 30 seconds to press the FAN OFF button again to turn off the fan.
Your Honeywell Ceiling Fan remote should now be synced with the fan.
Verifying the Syncing Process
After completing the syncing process, the fan should respond to the commands from the remote. To test this, try adjusting the fan speed and turning the lights on and off using the remote. If the fan responds correctly, then the syncing process was successful.
Troubleshooting Common Issues
If you encounter any issues during the syncing process, here are some common problems and their solutions:
- Local changes not synced: Conflicts or failed uploads can cause local changes not to sync. To resolve this, navigate to View > All items > Items that need attention and address any conflicts or failed uploads.
- Slow syncing: If syncing is taking longer than usual, try limiting simultaneous uploads or closing unnecessary applications that consume bandwidth.
- Incompatible file names: Some files may not sync due to incompatible file names. Rename the files or relocate them to a different folder to shorten the file path.
- Insufficient storage: Check the current free space on both local and cloud storage and delete or move files as needed.
Maintenance and Regular Checks
To ensure the remote continues to function properly, regular checks and maintenance are recommended. Replace the batteries as needed and keep the remote clean and free from dust.
By following the above steps, you should be able to successfully sync your Honeywell Ceiling Fan remote and troubleshoot any issues that may arise. Remember, if you’re unsure about any part of the process, it’s always best to consult with a professional. Happy syncing!
Frequently Asked Questions
Can I sync more than one Honeywell Ceiling Fan with the same remote?
Yes, you can. However, all fans must be within the remote’s range and must have the same dip switch settings as the remote.
What is a dip switch on a Honeywell Ceiling Fan remote?
A dip switch is a small switch in a dual in-line package (DIP) that can be used to change the operating mode of the device. In a Honeywell Ceiling Fan remote, dip switches are used to set a unique frequency so the fan and remote can communicate.
What is the range of a Honeywell Ceiling Fan remote?
The range of a Honeywell Ceiling Fan remote can vary depending on the model, but typically, it’s around 40-50 feet.
What do I do if my Honeywell Ceiling Fan remote is not working after syncing?
If your remote is not working after syncing, check the battery and make sure it’s installed properly. If the problem persists, you may need to reset the remote and sync it again.
How can I reset my Honeywell Ceiling Fan remote?
To reset your Honeywell Ceiling Fan remote, you’ll need to disconnect the power at the circuit breaker, wait for a few minutes, and then reconnect the power. After that, you can sync the remote again following the steps provided in the article.

