The purpose of your dryer vent hose is to move hot air from the dryer and expel it outside. As such, if your dryer vent hose falls off or comes loose, your clothes won’t get dry, the dryer won’t work right, and the temperature and humidity of the laundry room go sky-high, amongst other things. But why does the dryer vent hose fall off or come loose, and how do you fix it?
Your dryer vent hose comes loose often because it needs to be adequately secured. Clamping it down properly should fix the issue. Here’s how to clamp the hose down properly:
- Slide the dryer out.
- Disconnect the electrical power.
- Inspect the vent hose.
- Place a hose clamp on the vent hose.
- Slide the hose into the exhaust pipe.
- Secure the vent hose.
- Reconnect the electrical power.
- Slide the dryer back into place.
- Test-run the dryer.
- Contact a professional if the problem persists.
If there is any damage to the hose, fix it before it causes other damage to your laundry room due to high humidity and heat build-up.
This article will walk you through the steps to fasten your dryer vent hose when it is loose and falls off.
Steps To Fix Dryer Vent Hose When It Falls Off or Is Loose
A dryer should vent clothes directly to the outdoors, except if you have a ventless dryer. A ventless dryer is equipped with a condensate drain, eliminating the need for a vent. If you notice that the efficiency of your dryer is reduced, you should inspect and repair the exhaust duct to improve performance and safety.
When you inspect the vent hose, check for lint build-up, and replace the duct with smooth metal dust at least 4 inches in diameter if necessary. If the duct is excessively long going vertically, reroute the duct to the shortest possible route, as the metal ducting should be less than 35 feet long and supported every 12 feet.
Below are the steps to follow to fix your dryer vent hose when it falls off or is loose.
Step 1: Slide the Dryer Out
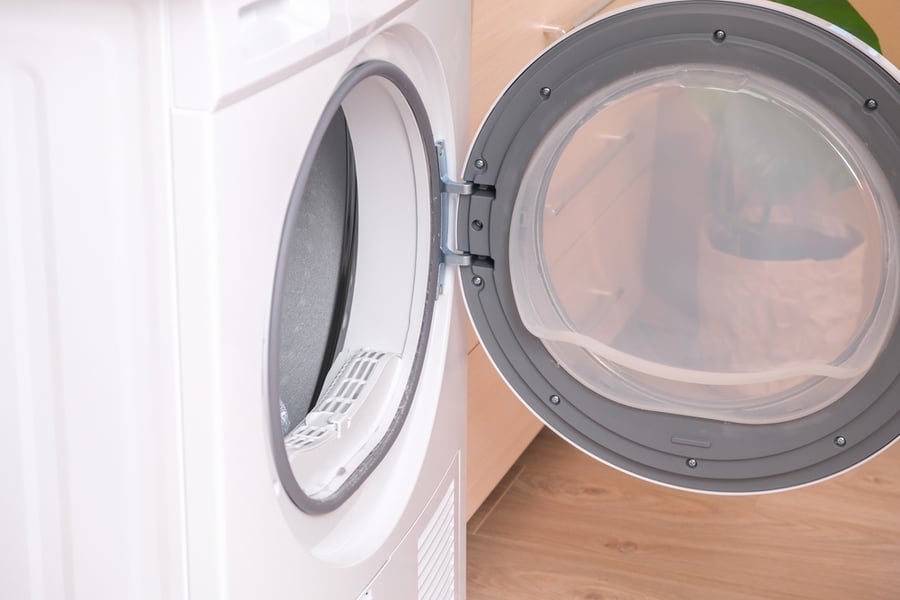
Firstly, slide the dryer out of the way. Moving the dryer will give you access to the electric cord and gas line so you can properly access the back of the dryer. However, it is worth noting that dryers are pretty heavy─ weighing around 150 to 200 pounds. So, getting a second person to assist you while sliding it away from the wall is advisable.
Step 2: Disconnect Electrical Power
With the dryer gently away from the wall, you can reach out to unplug it from the outlet. Doing this first will protect you from electrocution while trying to fix the loose vent hose. If you have a gas dryer, use caution to turn off the gas valve and remove the gas line if applicable. You wouldn’t be able to get behind the dryer if the gas line is still connected.
Step 3: Inspect the Vent Hose
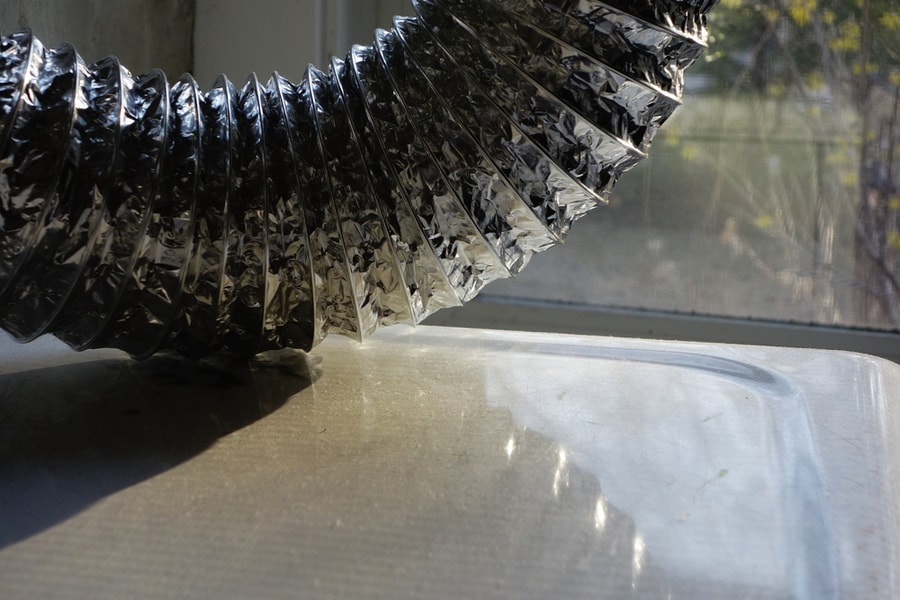
The next thing you want to do is to inspect the condition of the vent hose. Use a flashlight to check behind the dryer to determine if the vent hose has come off or is damaged. If the duct is damaged, you need to source for a replacement, possibly a stronger one this time. But if the hose is disconnected, it should be visible with the loose end probably still having the clamp attached.
Step 4: Place a Hose Clamp on the Vent Hose
Inspect the hose to understand why it came loose. Check if the vent, tubes, or hose are damaged. If damaged, you must replace it before continuing. Ensure you get suitable duct material when getting a replacement.
Step 5: Slide the Hose Into the Exhaust Pipe
To reattach the hose to the exhaust pipe, you need clamps. So, remove the old clamps, and slide in two clamps, one for the exhaust pipe and one for the dryer. Ensure the clamp is positioned correctly so it does not lose again. Ideally, the clamp should be about 3/4 inches from the open end.
Step 6: Secure the Vent Hose
Next, slide the hose into the exhaust pipe and the dryer. Once the hose is in the correct position, tighten it securely. Also, you will need a screwdriver to tighten the clamps. After securing the hose, pull it slightly to be sure it wouldn’t slip off easily again. If it does slip off, then reposition it and retighten it.
Step 7: Reconnect the Electrical Power
Now that the vent hose is secured, you can reconnect the dryer to the electrical power. Also, if you have a dryer that uses gas, use caution to reconnect the gas line and turn the valve back on using the shut-off valve.
Step 8: Slide the Dryer Back Into Place
At this point, you can then gently slide the dryer back into place. While sliding the dryer back into place, try not to compress or bend the vent hose. If the hose is bent or compressed, you may damage it. So, it’s best to have someone assist you when sliding the dryer back into place.
Step 9: Test-Run the Dryer
Now that you have fixed the issue, test-run the dryer. Run a cycle on the dryer and inspect the dryer. If water leaks, and you find lint on the floor, or the room is heating up, the hose must be attached correctly. As such, you need to slide the dryer out again to refasten the hose.
Step 10: Contact a Professional if the Problem Persists
If the dryer still has issues after reconnecting the hose properly, then contact a professional. The problem may be more severe than you think, as the leaks may not be from the hose. It can be that your plumbing system is faulty or that you must fix the dryer.
Conclusion
The dryer vent hose in your laundry room is essential to expel hot air from your laundry, lint from clothes, and so on to the exterior of your house. But if the vent hose is ripped or damaged, you must replace it; otherwise, your laundry room will be sweltering and have a lot of lint and humidity.
With this guide, you should be able to fix the hose problem in no time. But if the problem persists after fixing the hose, ensure you call a professional for a maintenance service.
Frequently Asked Questions
Why Does My Dryer Vent Hose Keep Falling Off?
In most cases, the vent falls off because the clamp is not tight enough. However, there are cases where you may disconnect the vent hose by accident when you pull the dryer away from the wall. And sometimes, when the dryer vent hose is too short, it may cause this issue.
Can I Use Tape To Make a Seal on My Dryer Vent?
While the clamp is sufficient to create enough seals on your dryer vent, you can also use foil duct tape to create an airtight seal. Since the dryer vent will be concealed at the back of your dryer, you don’t have to worry about it ruining the aesthetics of your laundry room.


