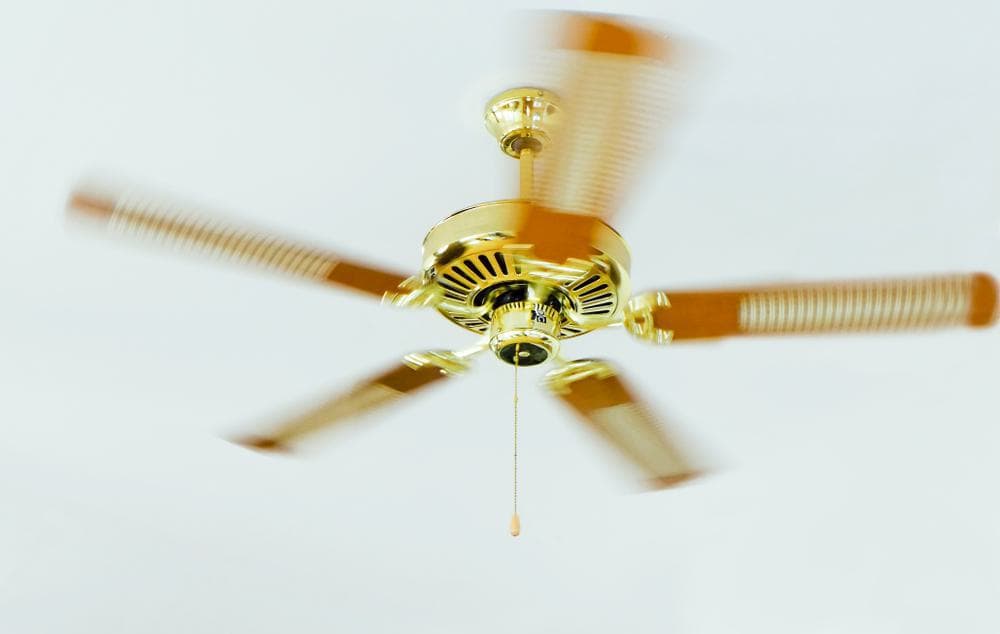
Installing a ceiling fan is an excellent way to improve your home’s comfort and energy efficiency. However, the process of running extra wire for a ceiling fan can be tricky, especially for those who are not well-versed with electrical work. This comprehensive guide will walk you through the process, provide helpful tips, and help you avoid common mistakes.
Running extra wire for a ceiling fan involves turning off the electricity for safety, gathering the necessary tools, and determining the fan’s location. Access the ceiling, install an electrical box, and run the new wiring from the switch box to the fan’s location. Connect the wires according to the manufacturer’s instructions, install the fan, and test it to ensure it’s working properly. Always avoid common mistakes and conduct several tests after installation.
Safety First: Turning off the Electricity
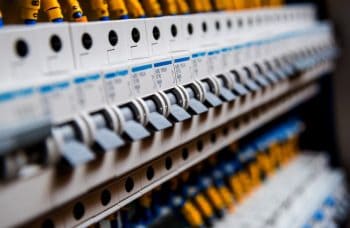
Before starting any electrical work, safety should be your top priority. Always turn off the power at the electrical panel and use an appropriate testing device to ensure no power is present at the light fixture before you begin work. Do not rely on a wall switch to protect you from electrical shock.
Tools and Materials Needed
Gather the necessary tools and materials for this task. These include a screwdriver set, tape measure, hammer, wrenches, pliers, utility knife, level, cordless drill, drill bits, marking knife or carpenter’s pencil, straightedge or ruler, and wire strippers. Depending on your specific task, additional tools and materials may be required.
Running the Wire: Step-By-Step Guide
- Determine the ceiling fan location: The spot should have enough clearance for the fan blades and the ceiling height should be at least 8 feet.
- Access the ceiling: Use attic access or cut a small hole in the ceiling to access the wiring.
- Install an electrical box: Secure it to the ceiling joists, ensuring it’s designed to support the ceiling fan’s weight.
- Run the wiring: Run a new wire from the switch box to the ceiling fan location. Use fish tape to pull the new wiring through the walls and up to the ceiling fan installation location.
- Connect the wires: At the ceiling fan location, connect the wires according to the manufacturer’s instructions. Typically, you’ll connect the black (hot) wire from the switch to the black wire from the fan, the white (neutral) wires together, and the green (ground) wires together.
- Install the ceiling fan: Follow the manufacturer’s instructions to assemble and install the ceiling fan.
- Test the fan: Turn the power back on and test the fan to ensure it’s working properly.
Common Mistakes to Avoid
Avoid common mistakes such as measuring the ceiling slopes incorrectly, forgetting to knock out the old boxes, improper fan assembly before hanging, assembling the fan after fixing onto the ceiling, ignoring wire color coding, not using wire caps or connectors, and not following the manufacturer’s instructions.
Testing the New Wiring
After installation, conduct several tests to ensure the new wiring is functioning correctly. These include Insulation Resistance Test, Polarity Test, Earth Continuity Test, Earth Electrode Test, Visual Inspection, Dead Testing, Assessment of Earthing and Bonding Quality, and Functional Circuit Test (FCT).
Conclusion
Running extra wire for a ceiling fan can be a complicated task, especially for those unfamiliar with electrical work. However, by following these steps, you can ensure a safe and successful installation. Always remember to prioritize safety, use the correct tools and materials, and consult a licensed electrician if you are unsure about any aspect of the installation process.
Frequently Asked Questions
What is fish tape and why is it used in this process?
Fish tape is a tool used by electricians to route new wiring through walls and electrical conduit. It’s long, thin, and flexible, allowing it to navigate through tight spaces easily. It’s used in this process to pull the new wiring from the switch box to the ceiling fan location.
What type of wire should I use for a ceiling fan?
For most ceiling fan installations, a 14/3 or 12/3 wire is used. This type of wire has three conductors inside the cable: a white one (neutral), a black one (hot), and a red one (for the fan motor or light fixture). The choice between 14/3 and 12/3 depends on the circuit’s amperage. The 14/3 is suitable for a 15-amp circuit, while the 12/3 is for a 20-amp circuit.
Can I install a ceiling fan where a light fixture used to be?
Yes, you can replace a light fixture with a ceiling fan. However, you must ensure that the electrical box is rated to support the weight of a ceiling fan. If it’s not, you’ll need to replace it with one that is.
What is the purpose of the various tests conducted after installation?
The tests conducted after installation are meant to ensure that the new wiring and the fan are functioning correctly and safely. These tests check for issues such as incorrect wiring, insulation damage, improper grounding, and other potential safety hazards.
What should I do if I feel uncomfortable doing this task myself?
If you feel uncomfortable or unsure about any part of this process, it’s best to hire a professional. Electrical work can be dangerous if not done correctly, and a licensed electrician has the training and experience to handle this task safely and effectively.

