In the world of home appliances, the dryer is an essential tool that many of us couldn’t live without. However, like any machine, it requires regular maintenance and occasional repairs to keep it running smoothly. One component that often needs replacing is the dryer drum seal. This article will provide a comprehensive guide on how to replace a dryer drum seal, including the tools you’ll need, step-by-step instructions, and tips for maintaining your new seal.
To replace a dryer drum seal, first unplug the dryer for safety. Then, remove the top panel and open the dryer cabinet to access the drum. Carefully lift the drum out and peel off the old drum seal. Clean the drum edge, apply adhesive to the rim, and install the new seal, using clamps to hold it in place while the adhesive cures for 24 hours. Finally, reassemble the dryer and plug it back in. Regular maintenance will help extend the lifespan of the new drum seal.
What is a Dryer Drum Seal?
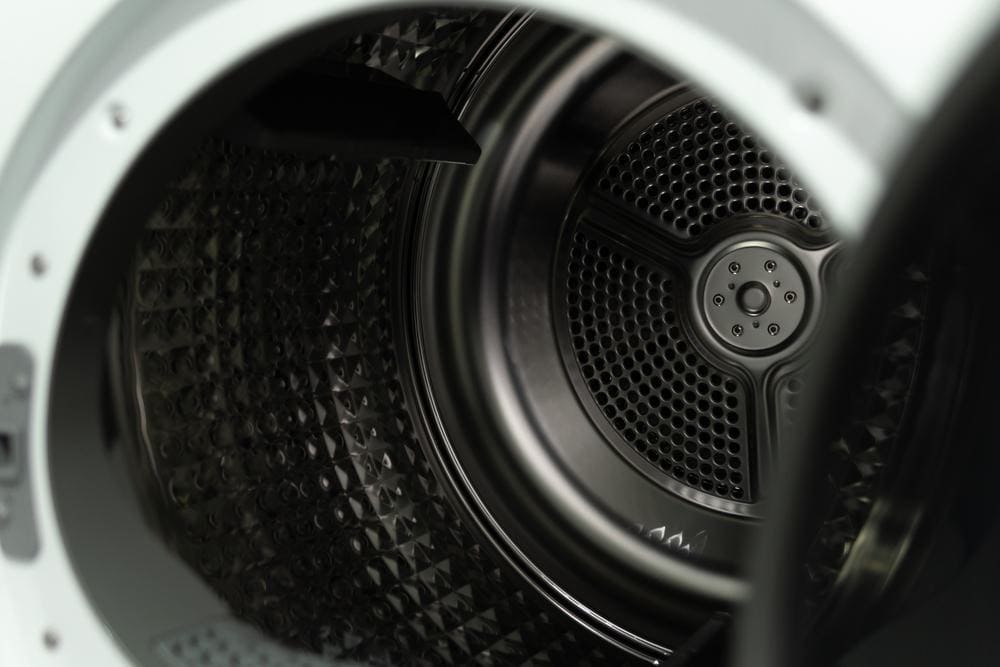
The dryer drum seal is a protective barrier that keeps hot air inside the drum while preventing items from getting caught between the drum and the dryer’s interior. Over time, the drum seal can wear out or get damaged, leading to several problems such as longer drying times, strange noises, and even damage to your clothes.
Signs Your Dryer Drum Seal Needs Replacement
Before we dive into the replacement process, let’s look at some common signs that your dryer drum seal needs replacing:
- Clothes have brown marks on them: This can occur when a worn-out drum seal allows clothes to get caught between the drum and the dryer’s interior.
- Heat escaping from the rear of the dryer drum: This could be a sign that the drum seal is damaged and needs replacement.
- Longer drying times: If your dryer takes longer than usual to dry clothes, it could be due to worn or damaged drum seals.
- Strange noises or vibrations: A failed dryer drum seal and glide bearing can cause the dryer to make unusual noises or vibrate.
If you notice any of these signs, it’s time to replace your drum seal.
Tools and Materials You’ll Need
Here’s what you’ll need to replace your dryer drum seal:
- A new drum felt seal specific to your dryer model
- High-temperature adhesive for attaching the seal
- Screwdriver (Phillips or Robertson, depending on your dryer model)
- Putty knife
- 5/16 nut driver
- Flathead screwdriver
- Side cutters (optional)
- Clamps (optional)
Remember to unplug your dryer or turn off the circuit breakers to avoid electrocution before you start the replacement process.
Steps to Replace a Dryer Drum Seal
Now that we’ve covered the basics, let’s dive into the step-by-step process of replacing a dryer drum seal.
Step 1: Unplug the Dryer
Safety first! Always start by unplugging your dryer or turning off the circuit breakers to avoid any risk of electrocution.
Step 2: Remove the Top Panel
Depending on your dryer model, you may need to remove the top panel or the back guard and console to access the drum. For models with a lint screen on the top, remove the lint screen and any screws around it.
Step 3: Open the Dryer Cabinet
Next, open the dryer cabinet. This step may vary depending on your dryer’s model, so consult your user manual or look up instructions online.
Step 4: Remove the Drum
Carefully lift the drum out of the dryer, taking note of how it is positioned for reassembly later.
Step 5: Peel off the Old Drum Seal
Gently peel the old drum seal from the drum edge. If it is glued, you may need to use a putty knife or a flathead screwdriver to help remove it.
Step 6: Clean the Drum Edge
Remove any remaining adhesive or debris from the drum edge to prepare it for the new seal installation.
Step 7: Install the New Seal
Apply adhesive to the drum rim where the new seal will be placed. Then, align the new seal properly on the drum rim, ensuring it is seated correctly. Use clamps to hold the seal in place while the adhesive cures. Allow the adhesive to cure for 24 hours.
Step 8: Reassemble the Dryer
After the adhesive has cured, remove the clamps and any excess glue. Reinstall the drum, making sure it sits on top of the rear drum rollers. Reassemble the dryer and plug it back in or turn on the circuit breakers.
Maintaining Your New Drum Seal
With your new drum seal installed, you’ll want to ensure it lasts as long as possible. Here are some tips for maintaining your new drum seal:
- Regularly clean the lint filter: This will ensure proper airflow and reduce strain on the drum seal.
- Avoid overloading: Overloading the dryer can cause strain on the drum seal and reduce its efficiency.
- Inspect the drum seal: Regularly check the drum seal for signs of wear, damage, or debris.
- Keep the dryer clean: Perform a thorough cleaning of your dryer’s interior at least once a year to prevent unnecessary strain on the appliance.
By following these maintenance tips, you can extend the lifespan of your dryer drum seal and keep your dryer running smoothly. Whether you’re a DIY enthusiast or a professional technician, this guide provides all the information you need to replace a dryer drum seal. Happy repairing!
Frequently Asked Questions
What is the purpose of the dryer drum seal?
The dryer drum seal serves two main purposes. First, it creates a heat-resistant barrier that keeps the hot air inside the drum, enhancing the dryer’s efficiency. Second, it prevents clothes from getting caught between the drum and the dryer’s interior, which can lead to damage to the clothes and the dryer itself.
How often should I replace my dryer drum seal?
The frequency of replacing your dryer drum seal largely depends on the usage and maintenance of your dryer. However, generally, if your dryer is well-maintained and not overloaded, the drum seal should last several years. Remember to regularly inspect the drum seal for signs of wear and replace it as needed.
Can I use any type of adhesive to attach the new seal?
It’s important to use a high-temperature adhesive when attaching the new drum seal. This type of adhesive is designed to withstand the high temperatures within the dryer, ensuring the seal stays in place during operation.
Can I replace the drum seal on my own, or do I need a professional?
Replacing a dryer drum seal is a relatively straightforward task that can be done by anyone with basic DIY skills, the right tools, and patience. However, if you’re uncomfortable performing this task or if you encounter any difficulties, it’s best to call a professional to avoid damaging your dryer or voiding your warranty.
What if my dryer model doesn’t match the steps provided above?
The steps provided in this guide are general and may not exactly match your dryer model. It’s always best to consult your user manual or look up instructions specific to your dryer model online before starting the replacement process.

