Installing a window AC unit in a travel trailer can seem like a daunting task. However, with the right tools, understanding of the process, and a bit of patience, it can be done efficiently. This comprehensive guide will walk you through the process, provide tips for optimal performance, and help you troubleshoot common problems that might arise after installation.
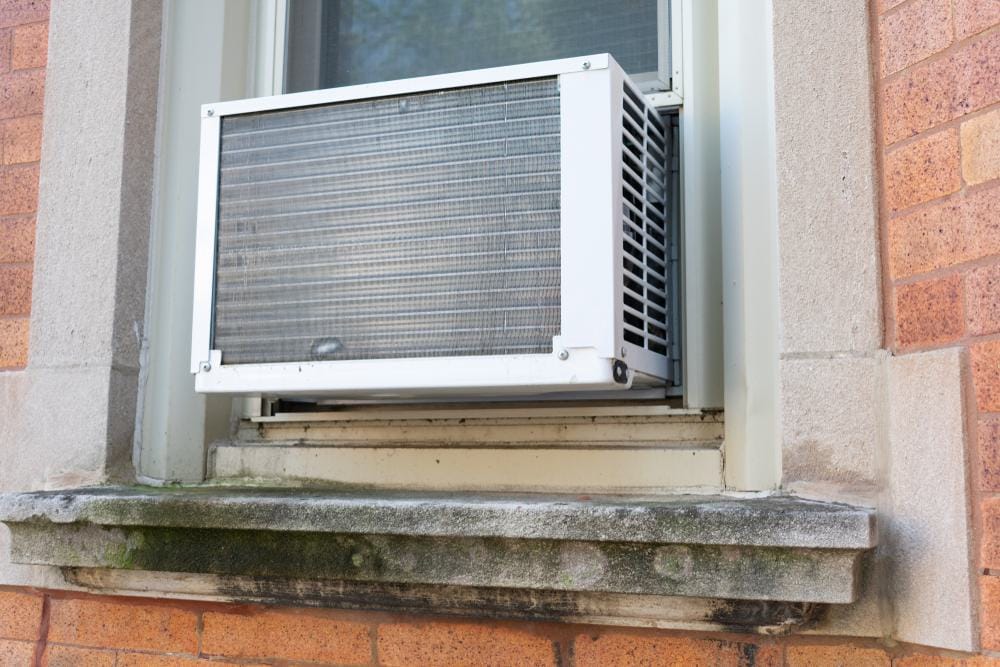
To install a window AC unit in a travel trailer, first choose a suitable location that can support the weight of the AC unit. Measure the dimensions of your AC unit and mark the area on the trailer wall. Cut a hole in the wall according to the marked dimensions. Depending on the weight of your unit, install support brackets or a frame. Slide the AC unit into the hole, ensuring it’s aligned with the air intake and exhaust holes. Insulate around the unit, connect it to the trailer’s electrical system, and test its performance.
Choosing the Right AC Unit
Before diving into the installation process, it’s crucial to choose the right AC unit for your travel trailer. The size of the unit you need will depend on the size of your trailer. A general rule of thumb is needing 500 to 650 BTUs of AC per foot of RV. For example, for a typical 24-foot RV, a 15,000 BTU air conditioner is recommended. However, other factors such as the number of people in the RV, the insulation, and the climate of the location you’ll be traveling to should also be considered.
Essential Tools and Materials
To install a window AC unit in a travel trailer, you’ll need the following tools and materials: – Cordless Drill – Drill Bits – Level – Tape Measure – Screws – Foam Insulating Strip – Foam Weather Stripping – Mounting Support Bracket (if necessary)
Installation Process
Here’s a step-by-step guide to install a window AC unit in your travel trailer:
- Choose the location: Decide where you want to install the window AC unit in your travel trailer. The location should be able to support the weight of the AC unit and should have enough space for the unit to fit.
- Measure and mark: Measure the dimensions of your window AC unit and mark the area on the trailer wall where you’ll be cutting the hole for the unit.
- Cut the hole: Using a jigsaw or another appropriate cutting tool, carefully cut the hole in the trailer wall according to the marked dimensions.
- Install support brackets or frame: Depending on the weight of your window AC unit, you may need to build a frame or install support brackets.
- Insert the AC unit: Carefully slide the window AC unit into the hole you’ve cut, making sure it’s properly aligned with the air intake and exhaust holes.
- Insulate and seal: Insulate around the AC unit to prevent hot air from entering the trailer and to ensure a tight seal.
- Connect to power: Connect the window AC unit to your travel trailer’s electrical system.
- Test the unit: Turn on the AC unit and check its performance.
Safety Precautions
Safety should always be a priority when installing equipment. Some key safety measures to follow include reading the manual, wearing appropriate protective gear, following the steps outlined in the manual, observing general safety precautions, and checking for compatibility issues.
Maintenance Tips
Proper maintenance of your window AC unit is crucial for its optimal performance. Some maintenance tips include cleaning the air filter monthly, checking for insect/animal nests, cleaning the condenser coils once per season, inspecting cooling coils for frost or ice, and scheduling regular professional maintenance.
Troubleshooting Common Problems
Common problems that might arise after installation can include hardware failures, software errors, network problems, or user errors. To resolve these issues, you can check the installation guide, identify symptoms and causes, run Windows Update, unplug extra hardware, repair hard-drive errors, troubleshoot software installation issues, check for compatibility issues, and seek assistance.
In conclusion, installing a window AC unit in a travel trailer is not as difficult as it may seem. With the right tools, understanding of the process, and a bit of patience, you can enjoy a cool and comfortable travel trailer in no time.
Frequently Asked Questions
How do I choose the correct size drill bit for the installation?
The size of the drill bit you need will depend on the size of the screws you’re using for the installation. Usually, the size of the drill bit should be slightly smaller than the diameter of the screw.
How do I know if I need to install support brackets or frame for my AC unit?
If your AC unit is heavy or if the wall of your travel trailer is not strong enough to support the weight of the unit, you should install support brackets or a frame. Always refer to the manufacturer’s guidelines on this.
What type of power source do I need to connect my window AC unit to in my travel trailer?
Most window AC units are designed to run on standard household electricity (110-120 volts). If your travel trailer’s electrical system can provide this, you should be able to connect your AC unit directly. If not, you may need an adapter or a converter.
How often should I schedule professional maintenance for my window AC unit?
It’s generally recommended to schedule professional maintenance for your window AC unit once a year. However, if you’re using your AC unit extensively, you might need to schedule maintenance more frequently.
What should I do if my window AC unit is not cooling my travel trailer effectively?
If your window AC unit is not cooling your travel trailer effectively, it could be due to a number of reasons such as dirty air filters, low refrigerant levels, or a malfunctioning thermostat. It’s best to consult a professional in such cases.


