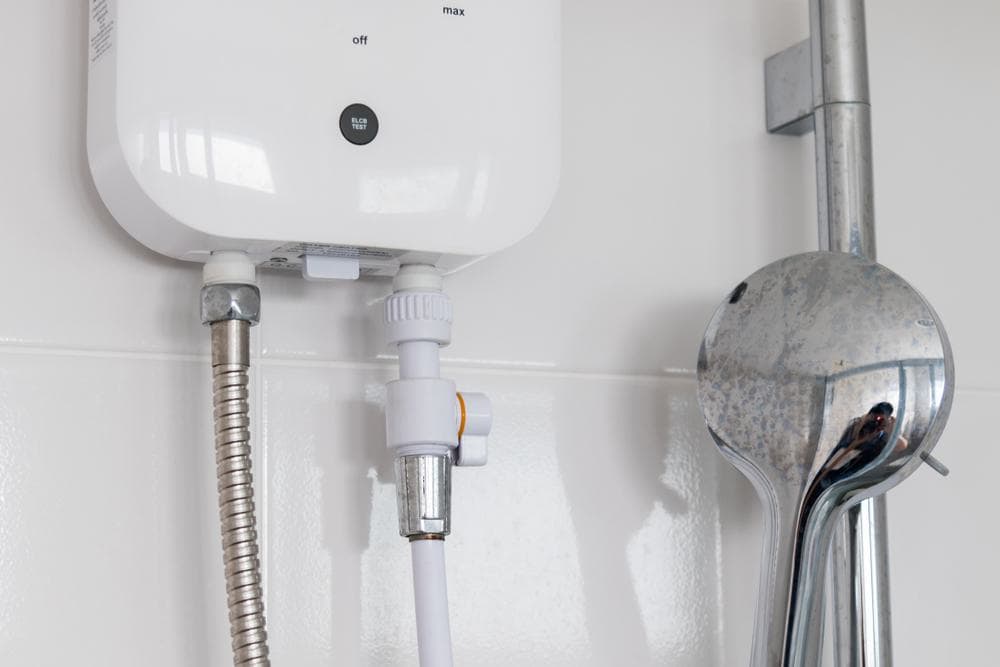
Installing an outdoor Rinnai tankless water heater can be a daunting task, especially if you have never done it before. However, with a clear understanding of the process and a step-by-step guide, you can successfully complete the installation. This comprehensive guide will walk you through everything you need to know about how to install an outdoor Rinnai tankless water heater.
Installing an outdoor Rinnai tankless water heater involves selecting a suitable location, preparing the necessary tools and materials, mounting the water heater, connecting the gas and water lines, installing the venting system, and setting up the temperature controller. It’s important to follow safety precautions as outlined in the manufacturer’s manual and local building codes. Remember, this installation should be performed by a licensed professional. Regular maintenance is also essential to ensure the heater’s efficiency.
Key Features and Benefits of a Rinnai Tankless Water Heater
Before diving into the installation process, it’s important to understand why you would want to install a Rinnai tankless water heater in the first place. Rinnai tankless water heaters are known for their energy efficiency, longevity, space-saving design, quality, and reliability. They offer a continuous flow of hot water, ensuring you never run out of hot water during showers, laundry, or dishwashing. Plus, they are equipped with Wi-Fi monitoring and recirculation technology, enabling you to control and monitor your water heater through a smartphone app.
Choosing the Best Location for Installation
When it comes to installing your outdoor Rinnai tankless water heater, location is key. You need to select a location on the exterior of your house that allows for easy access to gas and water lines, as well as proper venting to the outside. Also, the chosen location should comply with local building codes and regulations.
Necessary Tools and Materials
You will need specific tools and materials for the installation process. Some of the essential items include insulated screwdrivers, wire strippers, pliers, cable cutters, pipe wrench, adjustable wrench, hacksaw, plunger, pipe cutter, Teflon tape, basin wrench, and pipe bender.
Installation Process
The installation process involves several steps, including mounting the water heater, connecting the gas line, connecting the water lines, installing the venting system, installing the temperature controller, turning on the water, turning on the gas, and testing the system. Remember that installation and service must be performed by a licensed professional, and it is essential to follow the manufacturer’s instructions and adhere to safety precautions.
Safety Precautions
Safety should always be a priority when installing a tankless water heater. You should follow all the safety precautions mentioned in the manufacturer’s manual, such as ensuring proper clearances, protecting the unit from extreme weather, ensuring proper ventilation, and adhering to local building codes.
Maintenance and Care
Once installed, proper maintenance and care are required to keep your Rinnai tankless water heater running efficiently. Regular maintenance includes flushing the heater to remove mineral deposits, cleaning or replacing the water line filter, cleaning the air filter, performing an annual inspection, descaling and flushing the system periodically, checking the cold water inlet filter, and ensuring proper water flow through the heater.
Troubleshooting Common Issues
Despite your best efforts, you might encounter some issues with your Rinnai tankless water heater. Common issues include hardware and software conflicts, insufficient disk space, virus checkers, misaligned expectations, lack of preparedness among the project team or employees, and scheduling challenges. To troubleshoot these issues, you can review the installation guide, identify the symptoms and causes, check system requirements, communicate effectively with stakeholders, copy the installation files to your computer, and manage stress and pressure.
In conclusion, installing an outdoor Rinnai tankless water heater requires a careful understanding of the process, proper tools, and adherence to safety precautions. With this comprehensive guide, you can successfully complete the installation and enjoy the benefits of a Rinnai tankless water heater. As always, if you encounter any difficulties or need further assistance, don’t hesitate to seek professional help.
Frequently Asked Questions
How long does a Rinnai tankless water heater typically last?
With proper maintenance and care, a Rinnai tankless water heater can last up to 20 years.
Can I install the Rinnai tankless water heater myself?
While it’s possible to install the water heater yourself, it’s highly recommended to have a licensed professional perform the installation to ensure safety and compliance with local building codes and regulations.
What size of Rinnai tankless water heater do I need for my home?
The size of the Rinnai tankless water heater you need depends on your home’s hot water demand, which is determined by the number of bathrooms and appliances that use hot water. A professional can help you determine the right size for your needs.
How energy efficient is a Rinnai tankless water heater?
Rinnai tankless water heaters are highly energy efficient. They only heat water when it’s needed, which can save you up to 40% in energy costs compared to traditional tank water heaters.
What kind of maintenance does a Rinnai tankless water heater require?
Regular maintenance for a Rinnai tankless water heater includes flushing the heater to remove mineral deposits, cleaning or replacing the water line filter, cleaning the air filter, performing an annual inspection, descaling and flushing the system periodically, checking the cold water inlet filter, and ensuring proper water flow through the heater.
What should I do if my Rinnai tankless water heater is not working properly?
If your Rinnai tankless water heater is not working properly, it’s recommended to troubleshoot the issue following the manufacturer’s manual or seek professional help if necessary.

