Installing a microwave trim kit may seem like a daunting task, but with the right tools and a step-by-step guide, you can transform your kitchen with a sleek, built-in microwave. In this comprehensive guide, we’ll cover everything you need to know about how to install a microwave trim kit.
To install a microwave trim kit, first ensure the kit is compatible with your microwave model and fits in your kitchen space. Gather necessary tools like gloves, screwdrivers, a measuring tape, and a level. Prepare the cabinet and microwave, install the exhaust duct if necessary, and plug in the microwave. Slide the microwave into place, secure it with screws, and attach the trim kit frame. Ensure everything is properly installed and aligned.
What Is a Microwave Trim Kit?
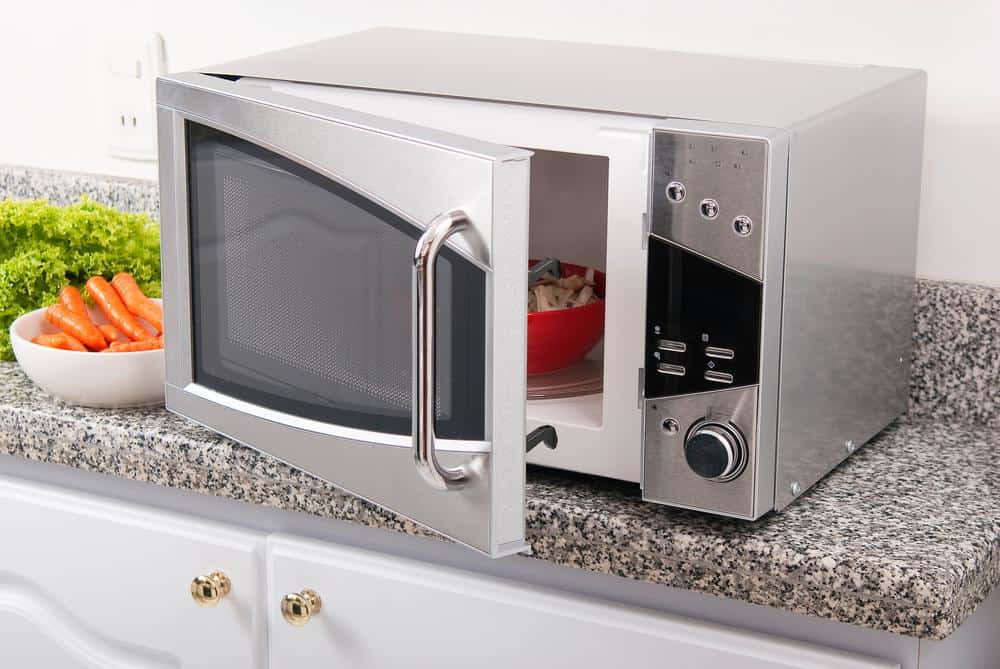
A microwave trim kit is a frame that encases your microwave, giving it a built-in appearance. These kits are designed to match specific microwave models and come in various designs, dimensions, colors, and aesthetics to match your kitchen’s style. Not all microwaves require a trim kit, but if you want to convert a countertop microwave into a built-in one or achieve a more integrated look, a trim kit is necessary.
Why Use a Microwave Trim Kit?
The primary purpose of a trim kit is to provide a built-in look for your microwave while ensuring proper airflow for its operation. Trim kits can save countertop space, enhance the overall design of your kitchen, and secure the microwave in place, preventing it from shifting during use.
Preparation Before Installation
Before you dive into the installation process, there are several key factors to consider:
- Compatibility: Ensure that the trim kit is compatible with your specific microwave model. Check the manufacturer’s recommendations and product specifications to confirm compatibility.
- Size and Dimensions: Measure the available space in your kitchen and the size of your microwave to ensure the trim kit will fit properly.
- Material and Finish: Trim kits are typically made of stainless steel, wood, aluminum, or acrylic. Choose a material and finish that matches your kitchen’s design and other appliances.
- Installation: Some trim kits may require professional installation, while others can be installed by following the provided instructions. Make sure you are comfortable with the installation process or are willing to hire a professional if needed.
Tools Needed for Installation
To install a microwave trim kit, you will need the following tools:
- Work gloves
- Electric screwdriver or drill
- Phillips screwdriver
- Flat-blade screwdriver
- Measuring tape
- Level
- Drill bits (for wall cabinet installations)
Step-By-Step Installation Guide
Follow these steps to install your microwave trim kit:
- Gather necessary tools and materials: This includes your trim kit, microwave, and the tools listed above.
- Measure and prepare the cabinet: Ensure that the cabinet cutout dimensions match the requirements specified in the trim kit instructions.
- Prepare the microwave: Attach the rails to the base plate using the provided screws.
- Install the exhaust duct: If applicable, install the exhaust duct on the microwave.
- Plug in the microwave: Position the microwave near the cutout opening and plug it in.
- Slide the microwave into place: Ensure that it is centered and the rails are aligned with the slots in the trim kit frame.
- Secure the microwave: Install the provided screws into the mounting holes to secure the microwave to the cabinet.
- Attach the trim kit frame: Secure it using the provided long wood screws.
- Check the installation: Ensure that the microwave and trim kit are properly installed and aligned.
Common Installation Problems and Solutions
You may encounter some common problems during the installation process. Here are some solutions:
- Incompatible Hardware or Software: Ensure that the hardware and software you are trying to install are compatible with your system.
- Insufficient Disk Space: Make sure you have enough disk space available for the installation.
- Incorrect Measurements: Double-check measurements before cutting or installing components.
- Corrupted or Incomplete Installation Files: Re-download the installation files from a trusted source if they are corrupted or incomplete.
Maintaining and Cleaning Your Microwave Trim Kit
Once your microwave trim kit is installed, it’s important to maintain and clean it properly. Wipe the trim frequently with a soft damp cloth and polish it with a soft dry cloth to maintain its appearance. Avoid using steel wool pads, as they can scratch the surface. For heavier stains, use a general kitchen cleaner applied with a damp sponge, then rinse thoroughly and dry.
Conclusion
Installing a microwave trim kit can be a rewarding DIY project that enhances your kitchen’s aesthetics and functionality. By following this guide, you can ensure a successful installation and enjoy your new built-in microwave for years to come.
Frequently Asked Questions
Can I use any microwave trim kit for my microwave?
No, trim kits are designed to be model-specific. Ensure that the trim kit is compatible with your specific microwave model by checking the manufacturer’s recommendations and product specifications.
Do I need professional help to install a microwave trim kit?
Some trim kits may require professional installation due to their complexity or the need for specialized tools. However, many kits can be installed independently by following the provided instructions.
Is there a risk of the microwave overheating when using a trim kit?
A properly installed trim kit is designed to ensure proper airflow, preventing overheating. Always follow the manufacturer’s instructions to ensure that the kit is installed correctly.
How often should I clean my microwave trim kit?
Regular cleaning helps maintain the appearance of your trim kit. Wipe it frequently with a soft damp cloth and polish it with a soft dry cloth. For heavier stains, use a general kitchen cleaner.
Can I use abrasive cleaners or steel wool pads to clean my microwave trim kit?
No, abrasive cleaners or steel wool pads can scratch the surface of your trim kit. Always use a soft damp cloth for cleaning and a soft dry cloth for polishing.
Can I install a microwave trim kit on my countertop microwave?
Yes, a trim kit can be used to convert a countertop microwave into a built-in one, giving it a more integrated look in your kitchen. Make sure to check the compatibility of the trim kit with your microwave model.


