Installing a ductless air conditioner can be a cost-effective and energy-efficient way to cool your home. Unlike traditional air conditioning systems, ductless units do not require extensive ductwork, making them ideal for older homes, home additions, or rooms where ductwork installation is not feasible.
In this comprehensive guide, we will walk you through the step-by-step process of installing a ductless air conditioner, discuss its benefits and drawbacks, provide maintenance tips, and offer troubleshooting solutions.
Installing a ductless air conditioner involves selecting the location for indoor and outdoor units, installing the mounting bracket, drilling a hole for the refrigerant lines, hanging the indoor unit, connecting the refrigerant lines, installing the outdoor unit, connecting the electrical wiring, insulating the refrigerant lines, and finally testing the system. Regular maintenance is crucial post-installation to ensure efficient operation. Remember, handling refrigerant lines and making high-voltage electrical connections can be dangerous and may require a licensed professional. Always follow the manufacturer’s instructions.
Benefits and Drawbacks of Ductless Air Conditioners
Before diving into the installation process, it’s essential to understand the advantages and disadvantages of ductless air conditioners.
Benefits
- Personalized Comfort: Ductless air conditioners allow for individual temperature control in different rooms, enhancing comfort.
- Energy Efficiency: These systems use variable-speed compressors that continuously adjust to maintain a consistent temperature, thereby enhancing energy efficiency.
- Improved Indoor Air Quality: Ductless systems can improve air quality by filtering out allergens and pollutants.
- Easy Installation: Ductless air conditioners can be installed quickly and efficiently, without the need for extensive ductwork.
- Cost Savings: By using energy more efficiently, ductless systems can result in significant cost savings in the long run.
Drawbacks
- Higher Upfront Cost: Ductless air conditioners can be more expensive upfront than traditional forced air conditioners.
- Aesthetic Concerns: The indoor units can be bulky and may not blend well with the interior design of your home.
- Maintenance: Ductless systems may require more frequent maintenance, such as cleaning filters, compared to traditional HVAC systems.
Installation Process
Tools and Materials
Before you begin, ensure you have the necessary tools and materials.
- Bracket installation kit and outdoor condenser stand
- Discharge hose
- Refrigerant piping or tubing
- Air filter housing bracket kit
- Manifold gauge or micron gauge
- Vacuum pump
- R410a adapter for mini-split systems
- Cordless drill
- Hole saw
- Allen wrenches
- Flare tool (optional)
- Torque wrench (optional)
- Nitrogen tank and regulator
- Digital micron gauge
- Digital scale
- 45° flare tool
- Torque wrenches for flare nut connections
- Refrigerant manifold gauges
- Refrigerant recovery tank
- Refrigerant recovery machine
- R410A mini-split adapter (1/4″ SAE male x 5/16″ SAE (1/2″-20 UNF) female)
- Adjustable wrench
- Level
Steps
Here are the steps involved in installing a ductless air conditioner:
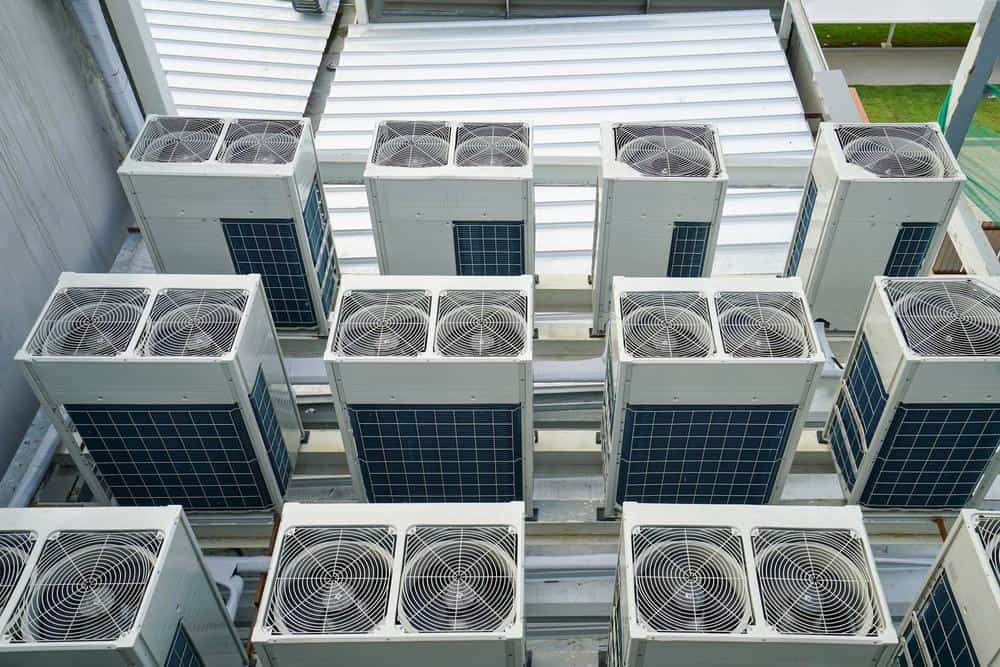
- Choose the location for the indoor and outdoor units: Select a suitable spot for the indoor air handler, preferably on an exterior wall, and ensure there is enough space for airflow and servicing. The outdoor condenser should be installed on a stable surface, such as a pad or bracket, with sufficient clearance from walls or ceilings.
- Install the mounting bracket: Mark the stud locations on the wall and fasten the bracket to them with screws.
- Drill a hole for the refrigerant lines: Using a hole saw, drill a hole through the wall at a slight downward angle, adjacent to the lower right-hand side of the mounting plate. Insert a wall sleeve if desired.
- Hang the indoor unit: Mount the indoor unit on the mounting plate while running the refrigerant lines, wiring, and drain tubing through the hole to the outside.
- Connect the refrigerant lines: Secure the refrigerant lines to the connectors on the indoor unit and then the outdoor unit using a torque wrench.
- Install the outdoor unit: Place the outdoor condenser on the pad or bracket, ensuring it is level and secure.
- Connect the electrical wiring: Follow the manufacturer’s instructions for connecting the electrical wiring between the indoor and outdoor units. This may involve connecting the communication wire and live voltage electricity.
- Insulate the refrigerant lines: Both refrigerant lines must be insulated separately to prevent condensation and energy loss.
- Test the system: Turn on the air conditioner using the handheld remote or control panel to ensure it is functioning properly.
Please note that handling refrigerant lines and making high-voltage electrical connections can be dangerous and may require a licensed professional in some states. Always refer to the manufacturer’s instructions for specific details on how to install your ductless air conditioner.
Post-Installation Maintenance and Troubleshooting
After installing the ductless air conditioner, regular maintenance is crucial to keep the unit running efficiently and prolong its lifespan. Regular maintenance includes cleaning the exterior, replacing or cleaning filters, checking refrigerant levels, inspecting the outdoor unit, cleaning the drain line, and scheduling annual professional maintenance.
If you encounter any issues with your ductless air conditioner, refer to the troubleshooting tips provided above or consult a professional for assistance.
Conclusion
Installing a ductless air conditioner can be a complex task, especially for beginners. However, with the right tools, materials, and guidance, you can successfully complete the installation. Remember to follow the manufacturer’s instructions carefully and consult a professional if needed. Regular maintenance and troubleshooting can ensure your ductless air conditioner operates efficiently, providing you with comfortable and clean indoor air.
Frequently Asked Questions
What is the average lifespan of a ductless air conditioner?
The average lifespan of a ductless air conditioner is between 10 to 15 years, but with regular maintenance and proper care, it can last up to 20 years.
How often should I clean or replace the filters in my ductless air conditioner?
It’s recommended to clean the filters every month and replace them every three months. However, the frequency may vary depending on the air quality in your home and the manufacturer’s instructions.
Can I install a ductless air conditioner myself, or do I need a professional?
While the installation of a ductless air conditioner is less complex than a traditional HVAC system, it still requires some technical knowledge and skills. If you’re comfortable handling refrigerant lines and making high-voltage electrical connections, you can attempt the installation yourself. However, for safety and proper installation, it is often recommended to hire a licensed professional.
Is a ductless air conditioner suitable for cooling an entire house?
Yes, a multi-zone ductless air conditioner, which has multiple indoor units connected to a single outdoor unit, can effectively cool an entire house. Each indoor unit can be controlled independently, allowing for personalized comfort in different rooms.
Can a ductless air conditioner also provide heating?
Yes, many ductless air conditioners have a heat pump function, allowing them to provide both cooling and heating. This makes them a versatile solution for year-round indoor comfort.

