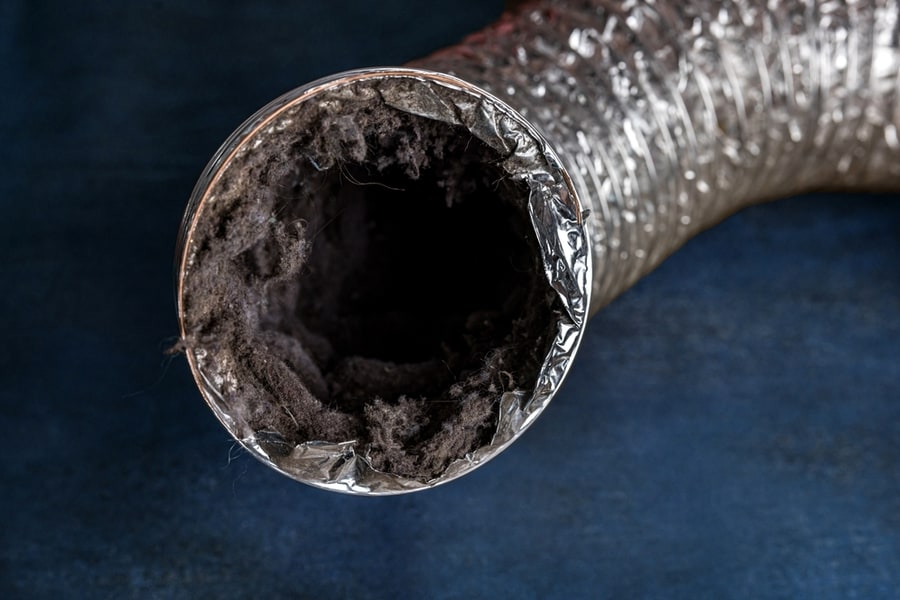
Your dryer’s lint trap works wonders to catch large objects like coins, buttons, loose strings, and candy wrappers. But did you know it only collects about 25% of the lint produced by a laundry load?
That’s because lint tends to come in much smaller particles, allowing a large percentage of the fluffy fabric remnants to pass through the lint trap.
When this happens, all of that lint could find its way into the dryer vent. That poses a problem because accumulated lint could become a fire hazard over time. Too much lint could also clog the vent and reduce your dyer’s performance.
So how can you prevent lint from building up inside your dryer vent?
- Make sure to read your dryer’s manual and ask a professional first.
- Check the lint trap first to see if it’s tightly secured.
- Ensure that the hose is positioned correctly to allow the free flow of air and lint.
- Remove excess dryer hose length to encourage more efficient ventilation.
- Inspect the vent assembly for loosening and replace any damaged parts.
Preventing lint build-up may require some technical know-how. Some of these strategies require an in-depth understanding of dryers and their parts.
Make sure to read the manual first before you try any of the strategies listed below. You might also want to consider calling in a professional for some of the more technical methods.
How To Prevent Lint From Building Up in a Dryer Vent
1. Make Sure Your Lint Trap Is Properly Installed
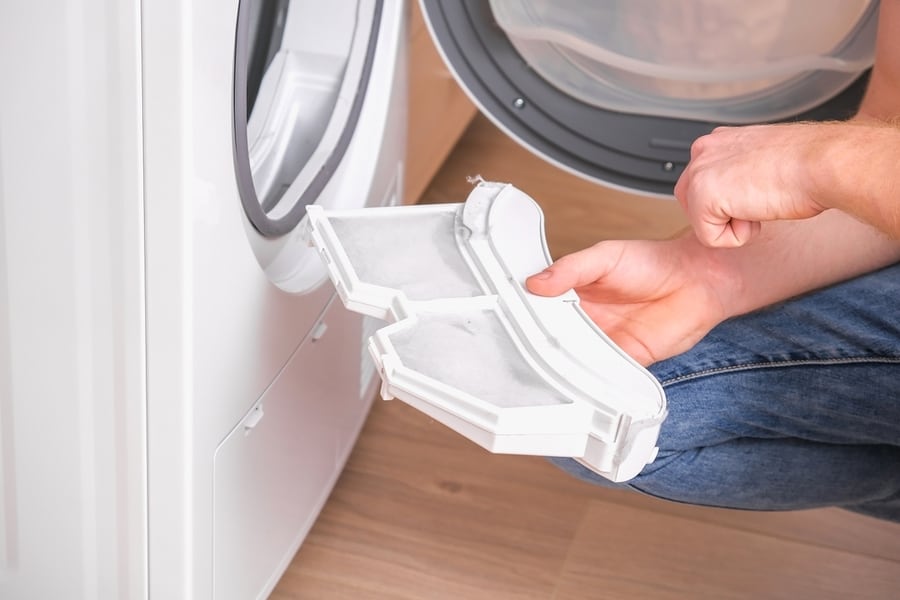
Oftentimes, the lint trap is a removable panel that you can clean. This allows users to remove any fabric fiber build-up that the dyer catches using the designated trap.
The problem is that the lint trap panel may sometimes loosen. This could be due to poor handling or wear and tear.
If you suspect too much lint is making its way into your dryer vent, check to see if the lint trap is secure. Constant cleaning, removal, and disassembly of the lint trap parts may make them loose with time.
If that’s the case, you might consider ordering a spare part from your dryer’s manufacturer.
2. Check the Dryer Vent’s Position
For your dryer to get rid of moisture, it must redirect all that humidity. And that’s what the dryer vent is for. The duct provides an escape for pent-up moisture so that the clothes can air out and dry efficiently.
So as the dryer tumbles and spins the clothes, its fan sucks out the moisture and pushes it out through the dryer vent.
When the dryer vent is positioned correctly, lint shouldn’t be a problem. That’s because a relatively straight vent will allow the particles to pass through all the way to the end of the exhaust.
But lint could accumulate in the bends and turns when your dryer vent is bent or curved in more places than one.
If you don’t have a lot of experience with dryer vents, it’s ideal that you call in a professional to check your duct. You can also try reading through the manual first to see if you can do anything to correctly position the duct for better ventilation and lint removal.
3. Keep the Duct Short
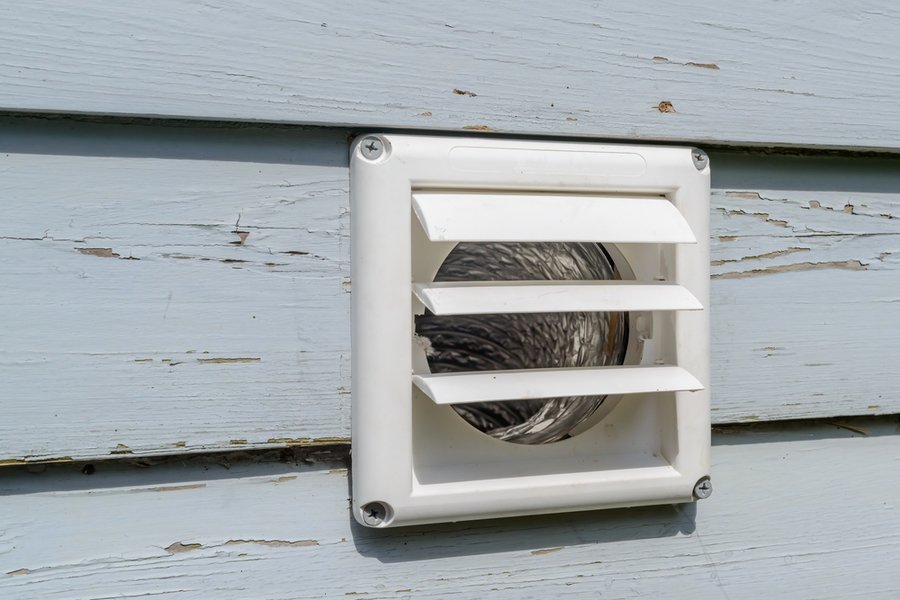
Inside your dryer is a motorized fan that works to suck out moisture and circulate air. This suction power draws out humidity and lint and pushes them out through the dryer vent.
Most of the time, the fan has sufficient strength to expel all of the moisture and fiber to the end of the duct.
However, when the duct is too long, the fan’s suction may lose power leaving lint and moisture stagnant in the middle of the vent. This causes the particles to accumulate where the surge of the fan’s power loses its force.
If this is the case with your dryer, you might have to consider cutting the vent short.
Many users have been able to adjust their dryer vent hose’s length with nothing more than tin snips, painter’s tape, measuring tape, and a utility knife. But again, if you don’t have a lot of experience with DIY projects like this, you might want to consider calling in an HVAC specialist.
Most of the time, these experts charge between $30 to $50 per hour to fix and adjust your dryer vent’s length. The job should take no more than a few minutes to an hour to complete.
4. Inspect for Loose Parts
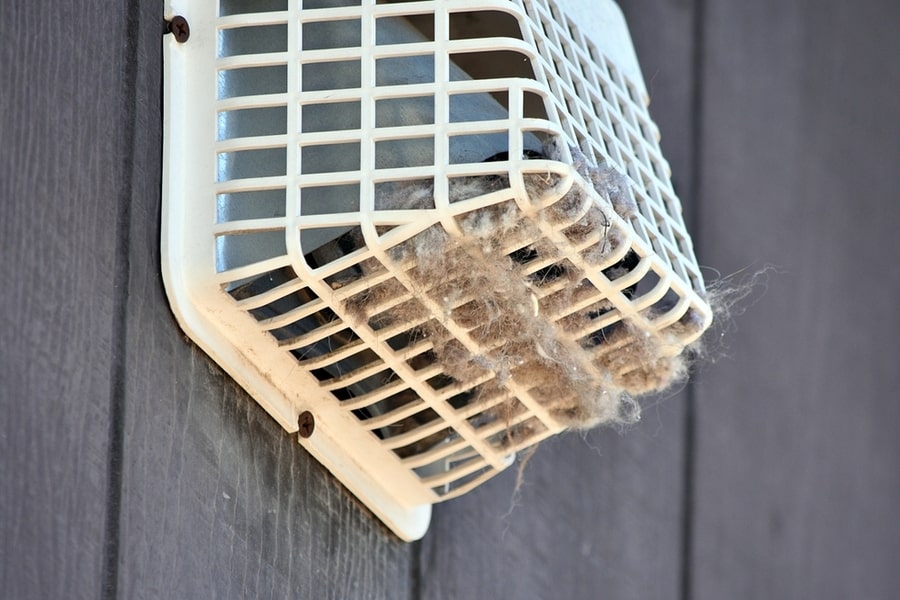
If your dryer hose is positioned properly and is just the right length, then all of that lint build-up might be an issue of loose assembly. The fan’s suction may lose power when there’s an ill-fitting part along any area of the dryer vent assembly.
As the surge of air forces its way through the hose, the loose part causes air to leak. This complication then reduces the strength of the air’s movement, causing lint to settle and accumulate before it reaches the vent’s end.
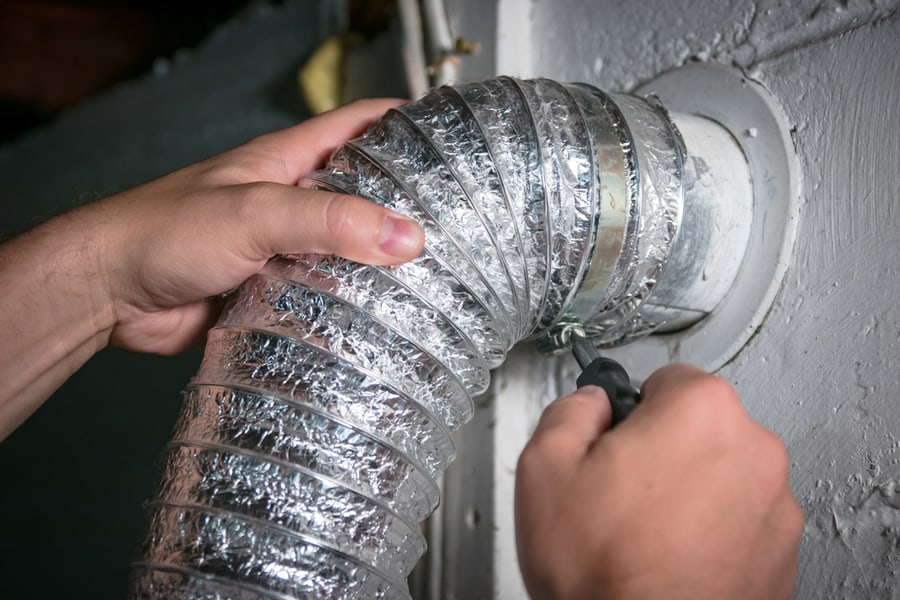
In most cases, the vent’s hose clamps will require replacement. Unlike the previously mentioned strategies, this method should be simple enough for the average dryer owner to execute without issues.
- Using a screwdriver, loosen the fastener screw.
- Detach the hose and check for any damage to the duct material.
- If it’s fit to continue using, replace the hose over the wall vent.
- Secure a new fastener with a screwdriver and make sure it’s as tight as possible.
- Run the dryer and feel over the hose connection to check for air leaks.
Takeaway
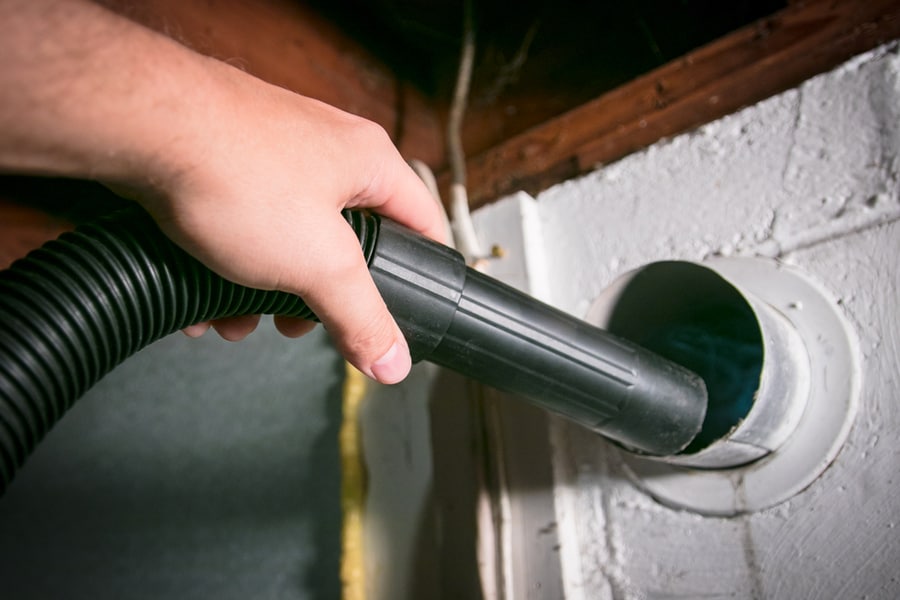
You’d be surprised how much of a problem a lint-clogged dryer vent can become in the future. If allowed to persist, this accumulation of laundry fibers can even become a fire hazard. So don’t wait before you get to work on that dryer hose problem.
Sometimes, all you’ll need to do is check for loose parts. Other times, you might need the help of a professional. Whatever solution works for your situation, fixing that dryer vent to prevent lint build-up can help keep your dryer working properly and safely.
Frequently Asked Questions
How Often Should You Clean Your Dryer Vent?
Experts recommend cleaning your dryer vent at least once a year. If you’re familiar with the process, you can do it yourself. But for a more thorough cleaning, you may want to hire an HVAC professional to do the job for you.
How Do You Reduce Lint on Clothes?
- Place clothes in the dryer inside out.
- Hand wash fabrics that could produce lots of lint.
- Use a dryer sheet whenever possible.


