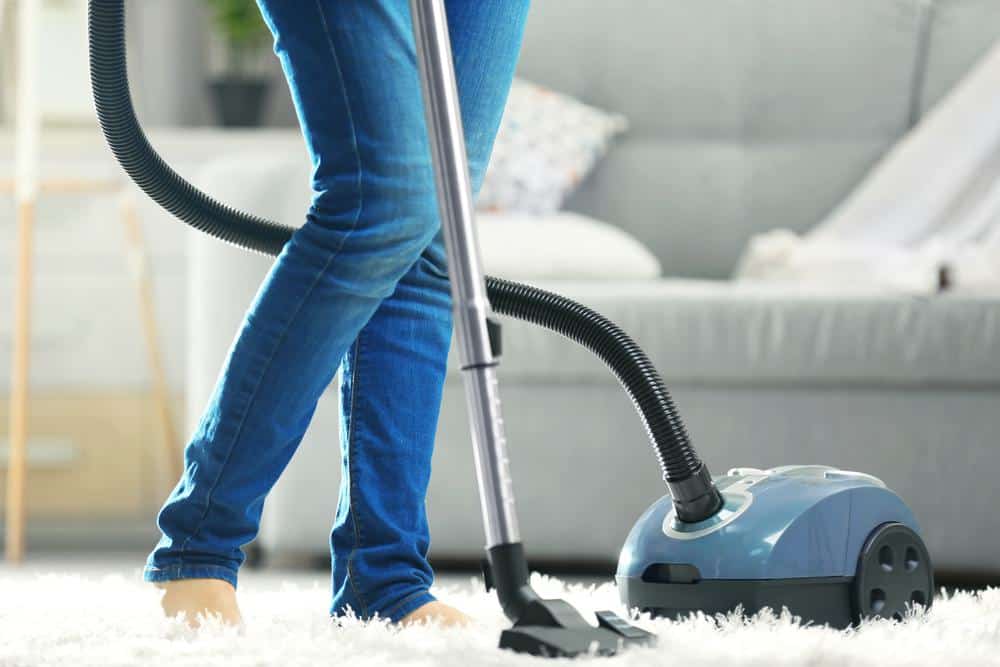
When it comes to vacuuming, one of the most overlooked aspects is the art of wrapping the vacuum cord. Properly wrapping your vacuum cord not only maintains the longevity of the cord, but also ensures the safety and efficiency of the vacuum cleaner. Let’s dive into the correct methods of wrapping a vacuum cord, the importance of doing so, and how to avoid common mistakes.
To wrap a vacuum cord, first unplug the vacuum cleaner. Begin at the machine end, leaving several inches of slack. Wrap the cord in a figure-8 pattern around the cord hooks, doing so gently and loosely to avoid damage. Always ensure the vacuum is off and unplugged before wrapping the cord, and avoid common mistakes such as wrapping too tightly or pulling on the cord while vacuuming.
The Essential Steps in Wrapping a Vacuum Cord
While wrapping a vacuum cord might seem straightforward, there are several steps to ensure it is done correctly.
- Unplug the vacuum cleaner: Always make sure the vacuum cleaner is turned off and unplugged from the power source before you begin to wrap the cord.
- Begin at the machine end: Hold the end of the cord closest to its connection point on the vacuum, leaving several inches of slack.
- Use a figure-8 pattern: Wrap the cord in a figure-8 pattern around the cord hooks. This method helps prevent knots and twisting, allowing the cord to unravel straight when needed.
- Wrap gently and loosely: Make sure to wrap the cord gently and loosely to prevent any internal damage or kinks.
The Importance of Proper Vacuum Cord Wrapping
Properly wrapping a vacuum cord contributes to the appliance’s overall maintenance in several ways:
- Prevents cord damage: Wrapping the cord properly helps avoid fraying, kinks, and other damage to the cord.
- Reduces repair costs: By correctly wrapping the cord, you can minimize the need for repairs, saving you money in the long run.
- Enhances safety: Properly wrapped cords are less likely to cause accidents like tripping or electrical shocks.
- Improves vacuum performance: A twisted or disfigured cord can affect the vacuum’s performance. Properly wrapping the cord ensures that it remains straight and functional, allowing the vacuum to operate efficiently.
Common Mistakes and How to Avoid Them
When wrapping a vacuum cord, there are several common mistakes that people make:
- Wrapping the cord too tightly: This can damage the protective layers of the electrical wires inside the cord and cause kinks or creases. Always wrap the cord loosely to prevent damage.
- Coiling the cord in a single direction: This can cause the cord to twist and tangle, making it difficult to unravel. Use a figure-eight or over-under wrapping method to prevent twists and kinks.
- Pulling on the cord while vacuuming: This can cause tension on the cord, leading to kinks, cuts, and loosened wires. Always use the vacuum handle to maneuver the vacuum cleaner, rather than pulling on the cord.
Safety Precautions
While wrapping vacuum cords, there are several safety precautions to keep in mind:
- Avoid strain on the cord: Do not wrap the cord too tightly around the hooks or device, as this can strain the connection at the device and damage the cord.
- Do not pull or yank the plug by the cord: Always use a firm grip on the plug end, not the cord, when plugging in and unplugging the vacuum.
- Inspect the cord for damage: Before using the vacuum, check the cord for any visible signs of wear or damage, such as frayed wires, cuts, or exposed metal.
By following these steps and precautions, you can prolong the life of your vacuum cord, ensure safety, and improve the overall performance of your vacuum cleaner. Happy vacuuming!
Frequently Asked Questions
What is a figure-8 pattern in cord wrapping?
A figure-8 pattern involves wrapping the cord in the shape of an ‘8’. This method helps prevent the cord from twisting and knotting. Start by looping the cord around one hook, then cross over to the opposite hook, creating an ‘8’ shape. Continue this pattern until the entire cord is wrapped.
What is the over-under wrapping method?
The over-under technique is a method of wrapping cords to prevent them from tangling. You alternate between an overhand loop and an underhand loop. This method keeps the cord from twisting because each loop counteracts the twist of the previous loop.
How often should I inspect the vacuum cord for damages?
It’s a good practice to inspect the vacuum cord for any visible signs of wear or damage before each use. This includes checking for frayed wires, cuts, or exposed metal. Regular inspection can help prevent accidents and prolong the life of your vacuum cleaner.
Can I replace a damaged vacuum cord myself?
While it’s possible to replace a damaged vacuum cord yourself, it’s not recommended unless you have experience with electrical repairs. Incorrectly replacing a cord can lead to safety hazards, including electrical shocks or fires. It’s always best to consult with a professional or contact the vacuum manufacturer for assistance.
What should I do if the cord is too short to reach the entire room?
If the vacuum cord is too short to reach the entire room, it’s best to use an extension cord. Make sure the extension cord is rated for the power needs of your vacuum cleaner to avoid overheating or electrical issues. Always make sure the extension cord is fully unwound before use to prevent it from overheating.


