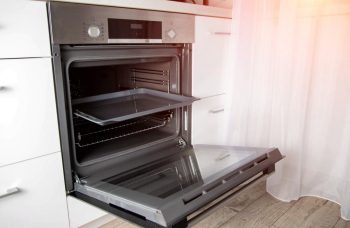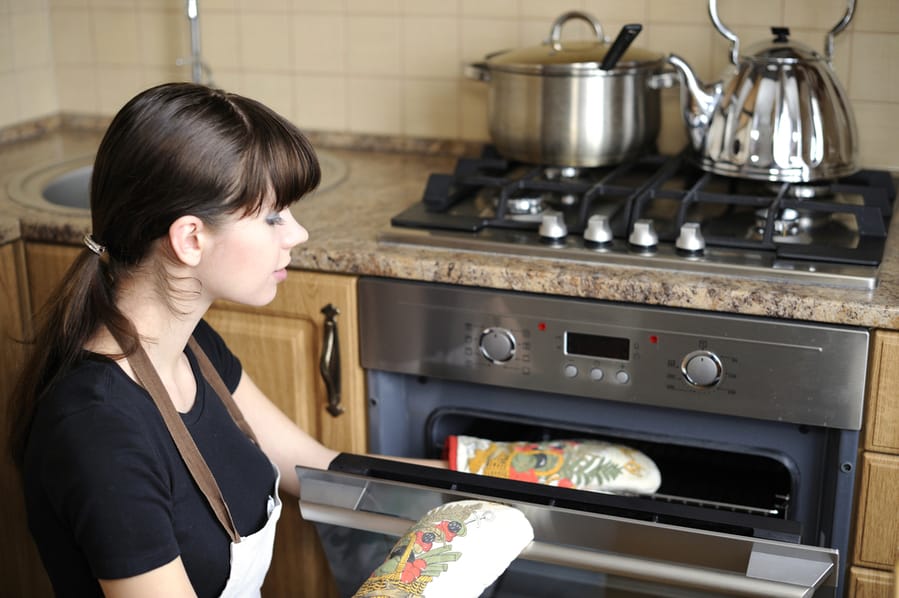
You can not run a kitchen without an oven. So whether you are baking your favorite cookies or roasting a chicken for dinner, the oven is an essential kitchen appliance that we rely on.
However, have you ever struggled with lighting your oven? Most gas ovens require you to light them, especially the older models, manually, and you might find it difficult to do.
Maybe it is because you have recently moved into a new home with a gas oven and are unfamiliar with the process, or you are simply looking for a more efficient way to get your gas oven up and running.
Whatever the reason is, this article will help. You can cook your favorite meals with a few easy steps with your gas oven. So, let’s get started.
Ovens are an essential part of the kitchen and the house. They help you bake and cook all the delicious meals you and your family enjoy.
Lighting a gas oven may seem tricky and confusing, but it is very simple.
You can successfully turn on your gas oven with the following easy steps:
- First, find the pilot light hole.
- Next, find the pilot light ignition button or knob.
- Press and hold that button/knob.
- Light the pilot light with a flame.
There is more detail to the steps and a few safety precautions involved. But it is as easy as it sounds.
You can light your gas oven effectively and easily with a little effort.
This article provides a step-by-step guide to lighting up a gas oven and the safety precautions you should consider. You will also learn some helpful tips on maintaining your gas oven.
Safety Precautions
Before we dive into the steps for lighting a gas oven, you need to consider the following safety measure to light up your oven safely and effectively.
Let’s discuss some safety precautions you should take before starting:
- First, ensure the oven is off: Before you attempt to light your gas oven, ensure that the oven is turned off. If there is a gas leak, even a small spark can cause an explosion. Therefore, double-check that the oven is turned off before you begin.
- Ensure ventilation: Gas ovens produce carbon monoxide, which can be dangerous if inhaled in large quantities. Therefore, ensure the room is well-ventilated by opening windows or turning on the exhaust fan.
- Keep flammable objects away: Keep any objects like paper, plastic, or cloth away from the oven to avoid accidental fires.
- Do not light up the lighter if you notice a strange smell: Sometimes, when you leave the gas pilot on before ignition, the gas keeps leaking into the area. Do not turn on the gas oven or light a match/lighter near it if you notice any pungent smell. It may result in an uncontrolled fire and can be fatal for you and your family.
Step-by-Step Guide to Lighting a Gas Oven
Lighting a gas oven may seem like a difficult and hazardous task.
If you do not have prior experience lighting up gas ovens.
Here are ten easy steps to help you with the job:
Step #1: Locate the Oven’s Pilot Light
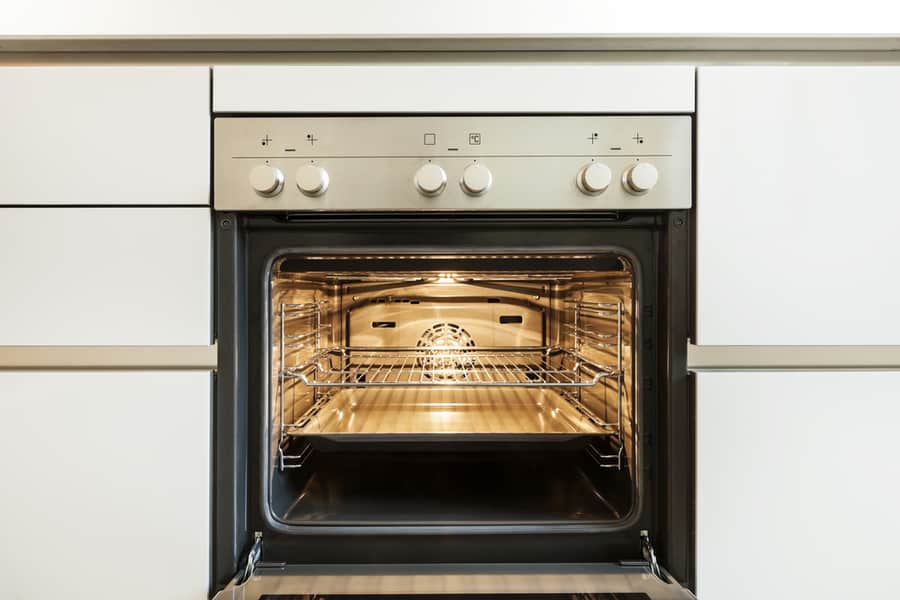
The pilot light is a small flame always burning inside the oven. You will need to find the pilot light to light the oven. Be sure to find it before you start the gas.
Starting the gas while you search for the pilot light will result in a gas leak and may eventually lead to an uncontrolled gas explosion when you ignite it.
The oven’s pilot is usually at the front center near the door or the back corner. Some ovens label the oven’s pilot, making it easy for the user to locate.
Some ovens have broiler drawers, and the pilot is near the drawer. Check the instruction manual for your oven. The oven pilot light should be at the back of the broiler drawer.
Step #2: Remove the Oven Grates
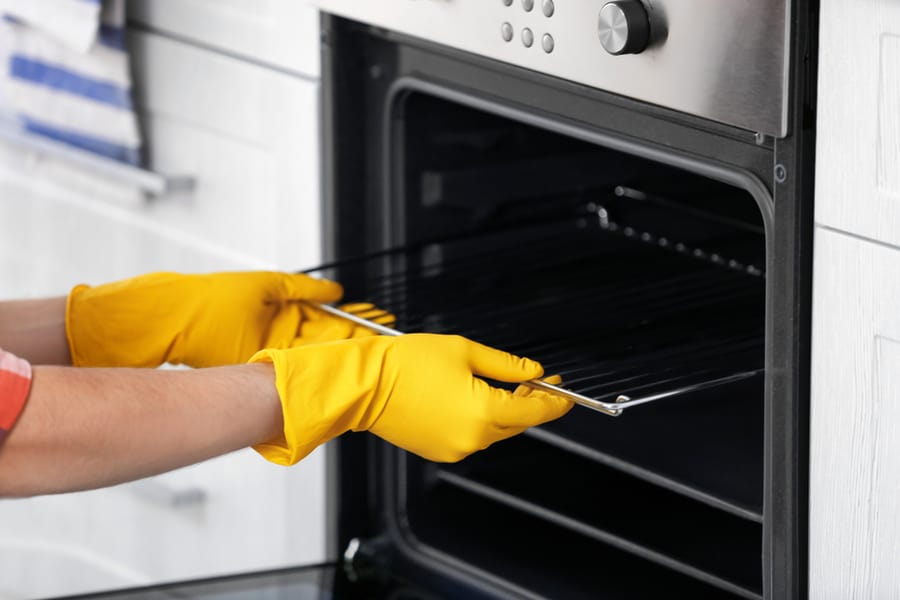
This step is optional but helps clear the vicinity to light the pilot easily. Sometimes, the grates block your way to the pilot light, making it tricky to navigate around the bars to reach the light hole.
If you are not careful enough, it can start an accidental fire or make you trip or fall. Therefore, removing the oven grates for your safety and convenience is advised.
Carefully pull the grates out of the oven and set them aside. You may need an extra set of hands for this task. Ask your friends or family to help.
Step #3: Locate the Pilot Light Button/Knob
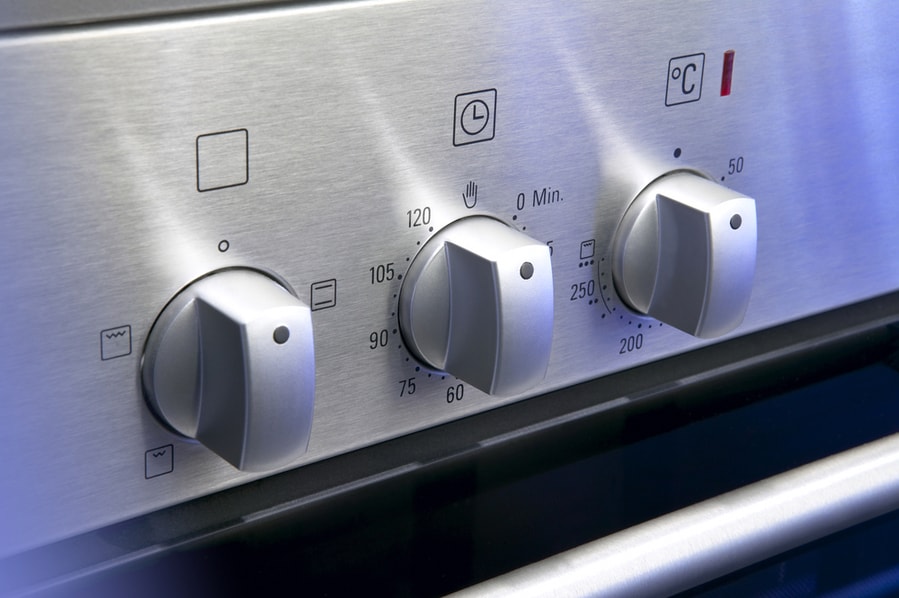
Once you have removed the grates, look for the pilot light button or knob. It is usually located at the bottom of the oven, near the pilot light, or on the oven’s control panel.
If you can not find the pilot light button of your oven, check the instruction manual or contact the manufacturer.
Step #4: Push and Hold the Pilot Light Button/Knob
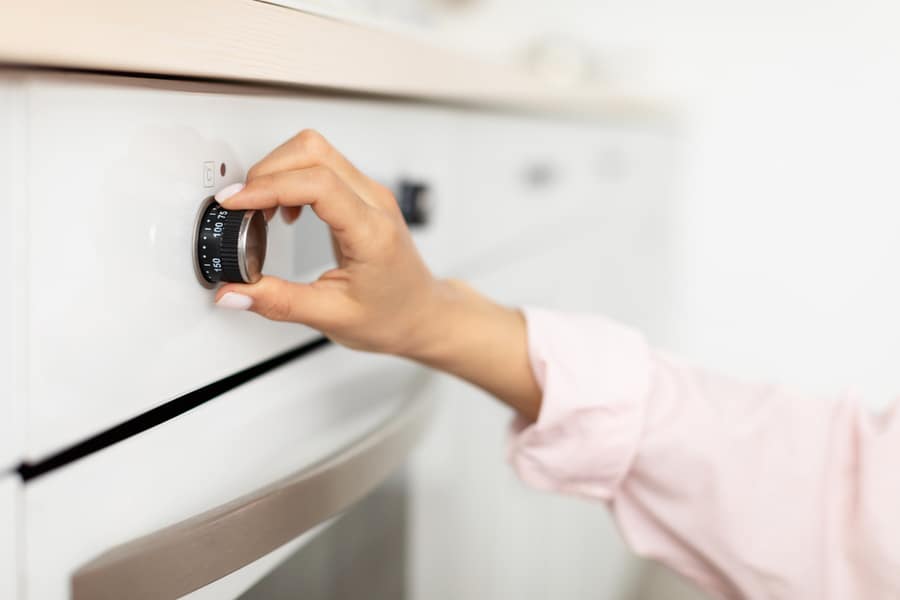
Push the pilot button and hold it down for a few seconds. This will allow the gas to flow to the pilot light. If your oven model has a knob instead of a button, turn the knob towards the ‘ignite’ settings.
Push and hold the knob for a few seconds to allow the gas to flow and stay in the pilot hole.
Step #5: Light Up the Pilot Light
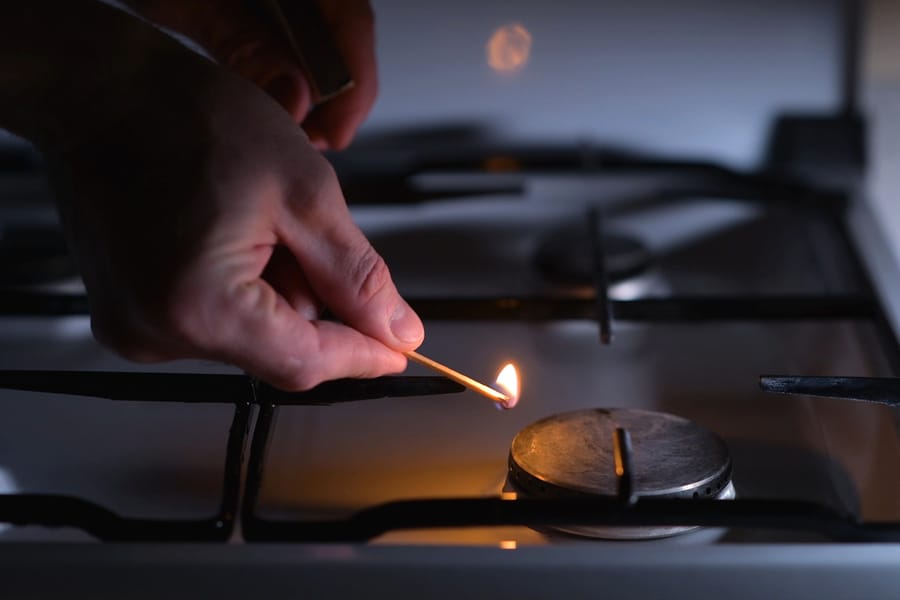
Once you have held down the pilot light button or knob for a few seconds, use a long matchstick or lighter to light the pilot light. Be sure to be careful while lighting the pilot up.
Sometimes, the gas has high pressure, which may lead to a bigger flame, and if you have anything that may catch fire nearby, the chances of accidental fire are high. So always be careful when handling fire.
Step #6: Continue Holding the Pilot Light Button/Knob
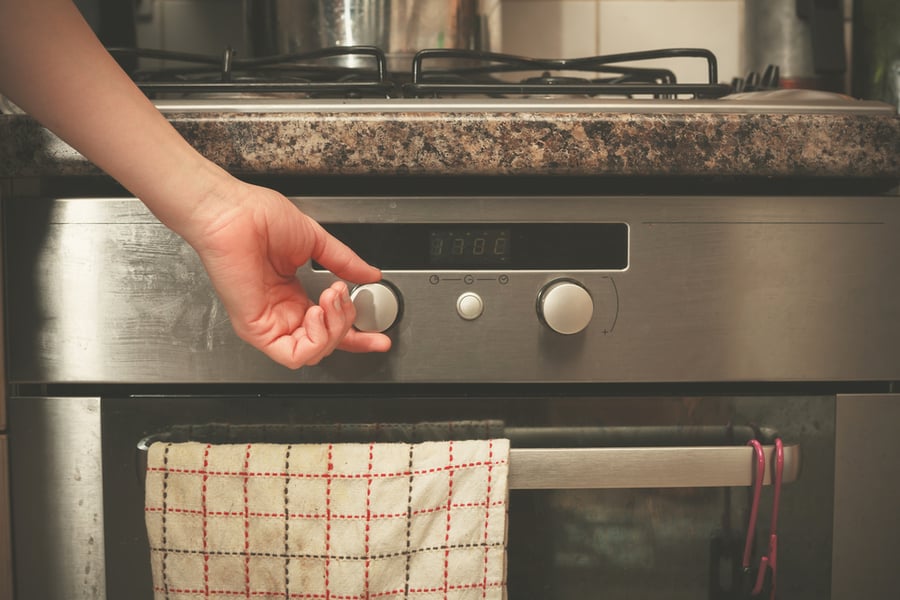
Hold the pilot light button or the knob for about 20-30 seconds. This will keep the gas flowing to maintain a uniform flow.
Holding the pilot knob or button after lighting the pilot hole is responsible for giving the pilot light enough time to heat the thermocouple, which is responsible for keeping the gas flowing to the oven.
Step #7: Release the Pilot Light Button/Knob
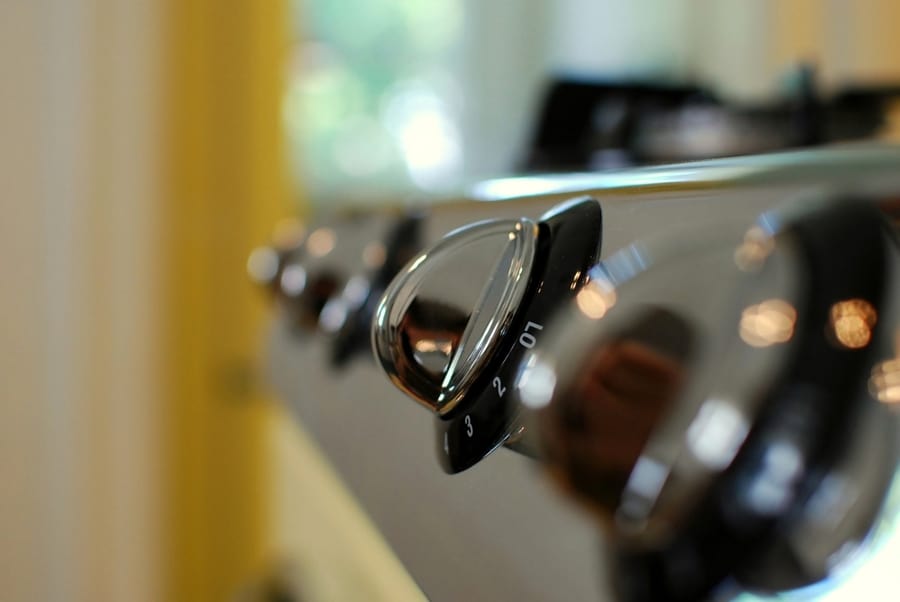
After holding down the pilot light button for a few seconds (after you have lit up the pilot light), release it. You should see the pilot light continue to burn.
If the pilot light gives out, you must repeat steps 4, 5, and 6 in sequence until you have a continuous flame burning.
Be careful while igniting the flame and hold the knob for 20-30 seconds (if the flame disappears after holding the button for 20-30 seconds).
Step #8: Turn On the Oven
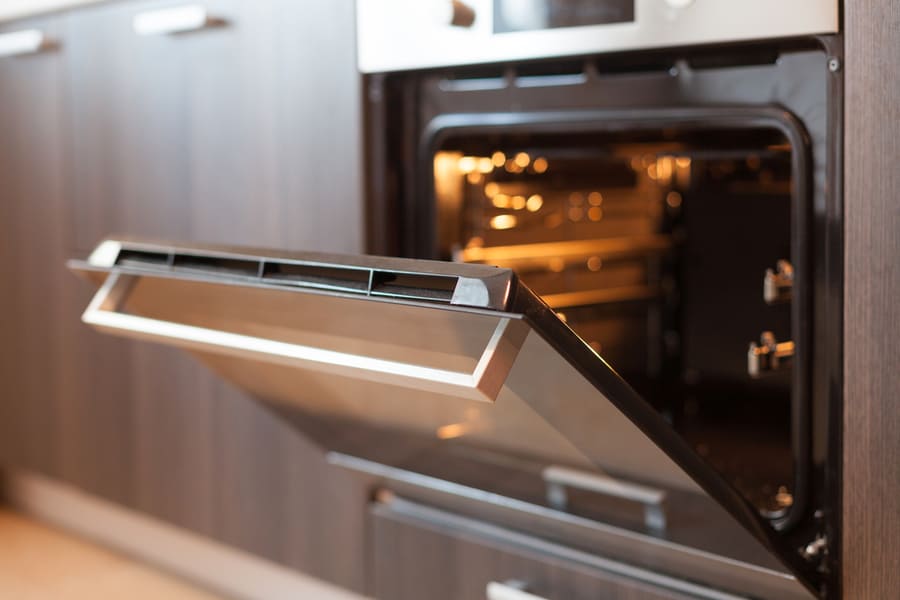
Once you are sure that the pilot will continue to burn and the gas flow is constant, it is time to turn on the oven. Then, finally, you can turn the oven control knob to the desired temperature.
Some oven models may have temperature control buttons to control the temperature. Either way, set the oven to the temperature of your choice. You should hear the gas flowing into the oven, and the burner should light up.
This is an indication that the oven has turned on and started heating.
Step #9: Replace the Oven Grates
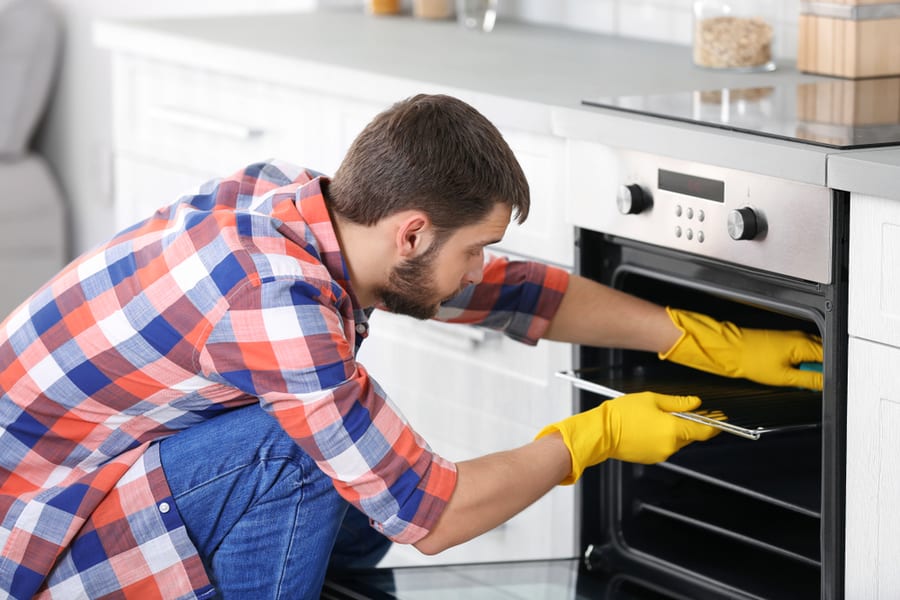
If you removed the oven grates previously, it is time to put them back. Now that the pilot has lit up and the oven is heating perfectly, put back the grates that you set aside so that you can bake your cookies or pies.
You may skip this step if you did not remove the oven grates previously and successfully lit the oven pilot.
Step #10: Bake Your Favorite Food
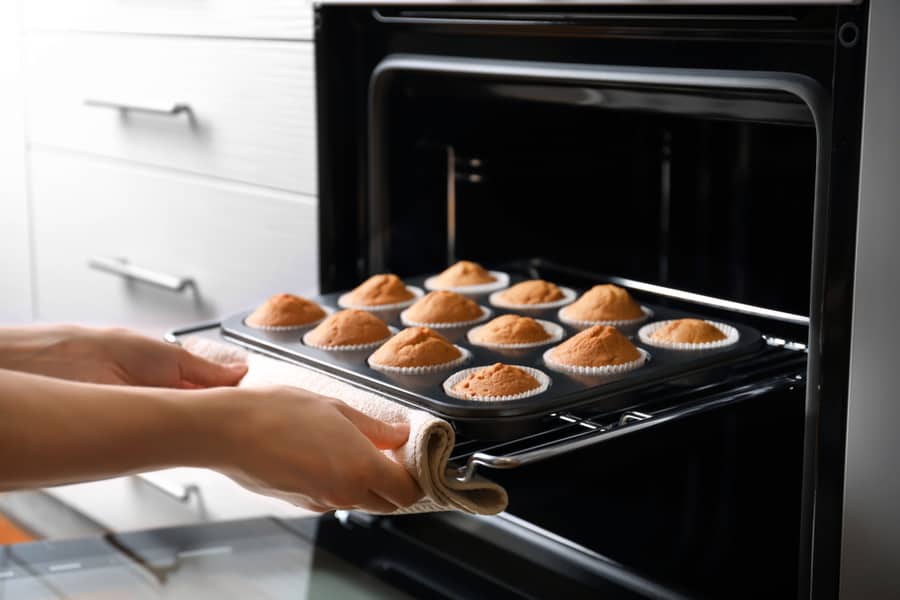
The oven is up and running at this point. All there is left to do is for you to start baking. Bake your favorite cookies or a warm pie for your family. Make a pizza for the movie night or roast a turkey if an event is coming up.
By this time, you know how to light up a gas oven, so it will not be difficult to light it up next time.
Remember always to follow safety precautions when dealing with gas appliances and to contact a professional if you experience any problems or have concerns. Happy baking.
Tips for Maintaining Your Gas Oven
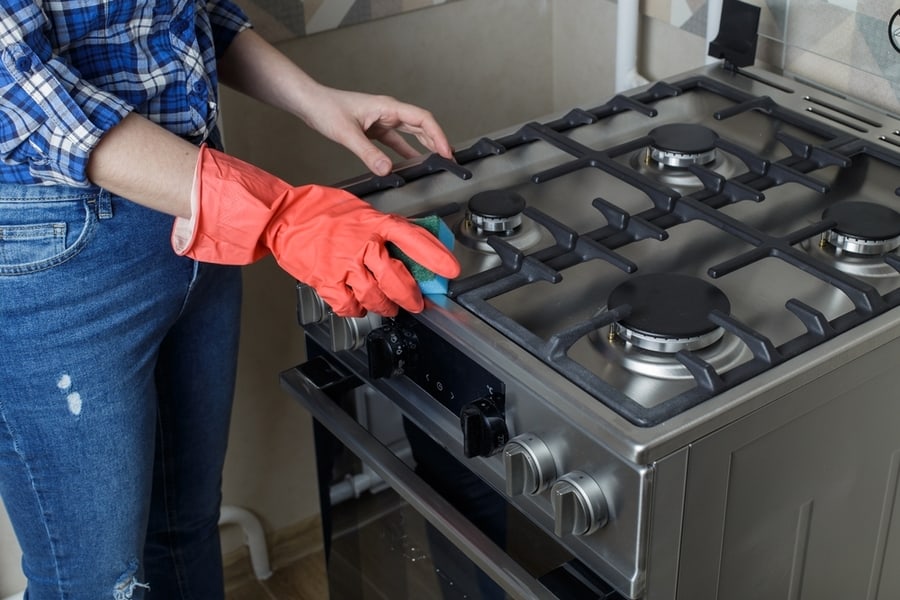
Maintaining a gas oven is essential to ensure it works efficiently and safely for a long time.
Following these tips ensures that your gas oven is clean, efficient, and safe.
- Clean your gas oven regularly: Clean your gas oven regularly to prevent the buildup of food residues, grease, and dirt. Use a soft cloth or sponge and a mild cleaner to wipe the inside and outside of the oven. Avoid using harsh chemicals that can damage the oven’s surfaces.
- Check the gas connection: Check the gas connection regularly to ensure no leaks. You can do this by spraying a mixture of water and dish soap on the gas connection and watching for bubbles. If you see any bubbles, it indicates a leak, and you should call a professional immediately.
- Inspect the burners: Check the burners of your gas oven regularly to ensure that they are clean and functioning correctly. If you notice any blockages or damage to the burners, call a professional to repair or replace them.
- Use the self-cleaning feature: Most gas ovens have a self-cleaning feature that uses high heat to burn off any food residue and grease. Use this feature regularly to keep your gas oven clean and working efficiently.
- Check the oven’s temperature: Use an oven thermometer to check the temperature of your gas oven regularly. If the oven is not heating to the desired temperature, call a professional to check and repair the thermostat or other heating element.
- Replace the oven light bulb when needed: If it is not working, replace it immediately. A working light bulb will allow you to see the food inside the oven and prevent accidents.
- Avoid using oven cleaners on the oven’s control panel: The control panel of your gas oven is sensitive and can be damaged by harsh chemicals. Avoid using oven cleaners on the control panel, and use a soft cloth and mild cleaner instead.
Conclusion
Lighting a gas oven is a simple process that requires a few steps and some caution. Always take the necessary precautions before lighting your gas oven to avoid accidents.
Once you have located the pilot light, follow the rest of the steps, and you can light your gas oven easily. Also, you must maintain your gas oven to ensure its integrity and longevity.
Clean the oven regularly and check for grease or grime buildup on the pilot light. Following the steps and tips, you can cook your meals safely and efficiently using your gas oven.
Frequently Asked Questions
What Should I Do if My Pilot Light Goes Off After I Release the Knob?
You should press and hold the knob or pilot buttons for 20-30 seconds after igniting the pilot light. If your pilot light turns off even after you have pressed and held it for 20-30 seconds, you need to try holding the knob for longer.
If the knob still turns off after releasing, get the gas connection to the oven checked by a professional. A leak or a faulty supply line may be causing this problem.
Is It Necessary To Use a Long Matchstick or a Long-Nozzle Lighter To Light My Gas Oven?
It is not necessary, but it helps with the task. You may use anything you find convenient as long as it is safe and does not cause any uncontrolled fires.

