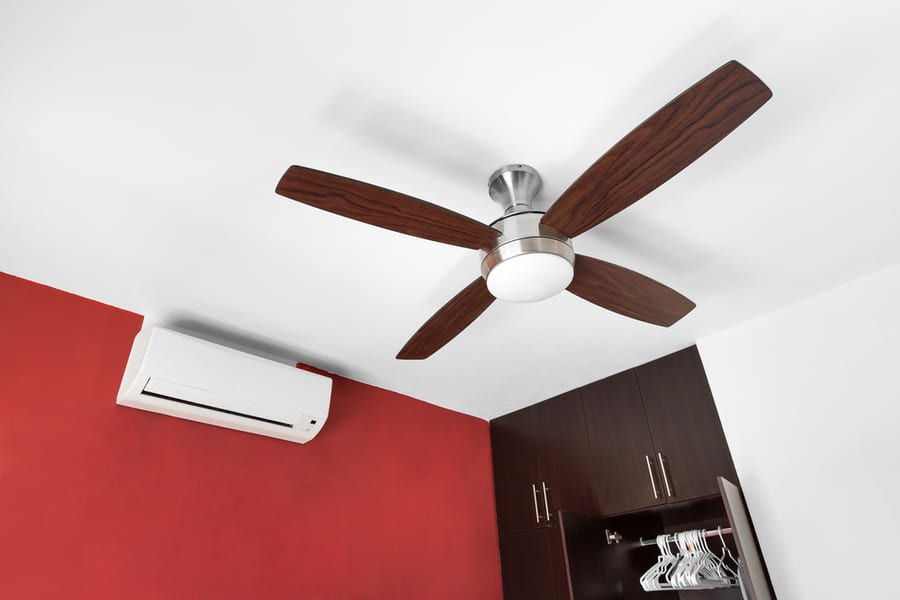
Imagine you’re tired after a hectic day, and you lay on your bed to hear a noisy ceiling fan. A complete mood killer, right?
To save you from scratching your head, we’re here to show you how to fix a noisy ceiling fan.
But before hopping to fixes, you must know why your fan makes sounds in the middle of the night.
To start with, most fans are secured by 3–4 screws per fan blade.
If, by chance, any of these screws are loose, you will get a blade tick sound.
Fan noises can be bothersome, and if not treated, it gets worse.
But the good news is that you can fix your noisy ceiling fans in just 10–15 minutes without the help of any technician.
Other than the ticking sound, there are chances your fan is making humming, scraping, or grounding noise.
However, fret not since you can get rid of all of these annoying sounds by:
- Cleaning the ceiling fan
- Checking loose screws
- Tightening loose screws of fan blades
- Oiling your fan
- Checking the fan canopy
So it’s time to read the potential ways to fix your noisy ceiling fan. In addition, we’ll go through some tips and tricks you must employ to ensure your fan doesn’t make any strange noises in the middle of the night.
5 Ways To Fix Noisy Ceiling Fans
Here is a list of the top 5 ways to fix your noisy fans:
1. Clean the Ceiling Fan
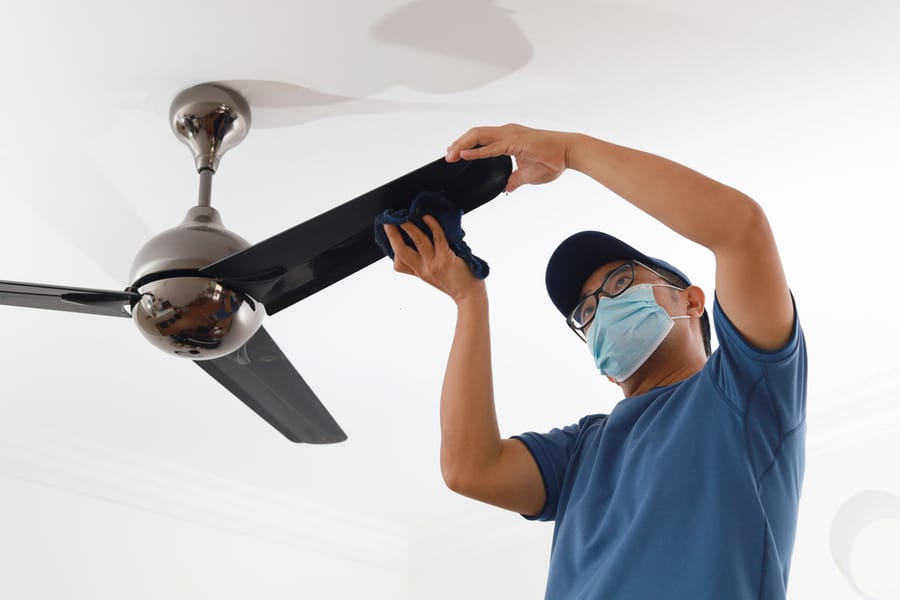
The dust is the first thing you must look at when your fan starts to make weird sounds.
Check if your fan has any dust. If yes, then it’s time to clean your ceiling fan.
Here’s how you can easily do that:
- Take a ladder or a stool to reach your ceiling fan’s highest point.
- Now, wipe the housing and canopy of the ceiling fan to free them from dust and debris with the help of a wet cloth.
- Check the blades for potential traces of dust and debris. Scrub them, and don’t forget to clean the underside of the blades.
- When you’re done cleaning, turn on your fan and listen to the noise. Sometimes all that’s needed to silence a noisy ceiling fan is a thorough cleaning.
When cleaning your fan blades, ensure you have multiple wet clothes at hand because there is a lot of dust on the blades since you left them unclean for a few months.
2. Check the Light Screws
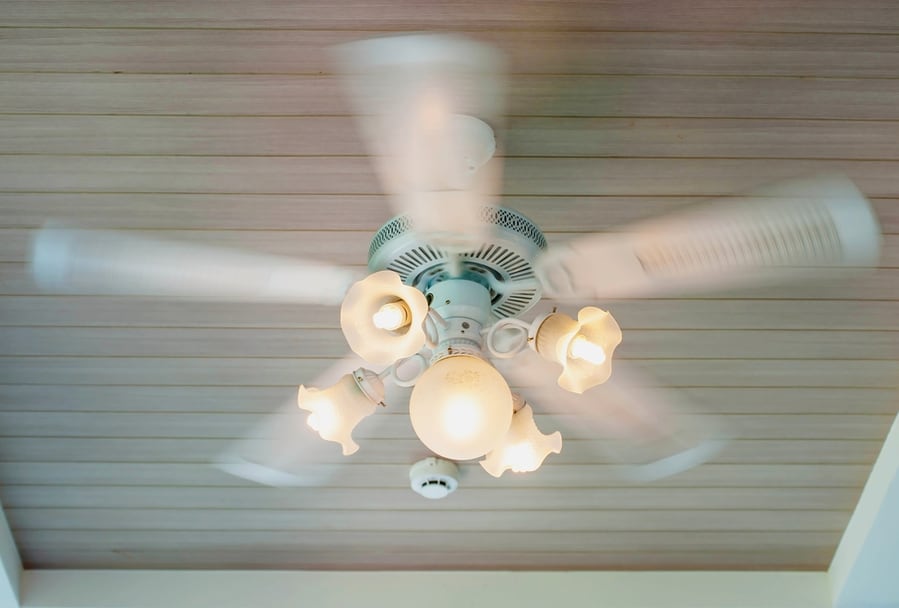
The second step is to check the light screws. Many ceiling fans come with light fixtures fastened to the fan’s housing, which slackens with time.
Therefore, ensure that the shades, bulbs, and globes in your fan’s light fixture are securely fastened.
However, to lessen the noise produced by a light kit, take these actions:
- Gather the appropriate bolts and screws to install the light kit onto the fan housing.
- Climb a step stool or a ladder to reach the light kit.
- Take off the globe or cover. This is the perfect moment to clean the housing for your light kit and, if necessary, replace any dead bulbs.
- Replace the globe with the light kit. To secure the light kit, tighten the screws. At last, make sure to look around the fan to find all fasteners.
- After securing the light kit, turn on your fan to check whether the noise is eliminated.
A thumbscrew is used to fasten most globes and shades and can be tightened by hand.
However, ensure you are not overtightening the screws since your glass might break.
In addition, you can use a thick rubber band to wrap around the base before tightening the screws to ensure that the globe is securely fastened to the fixture.
3. Tighten the Screws of the Fan Blades
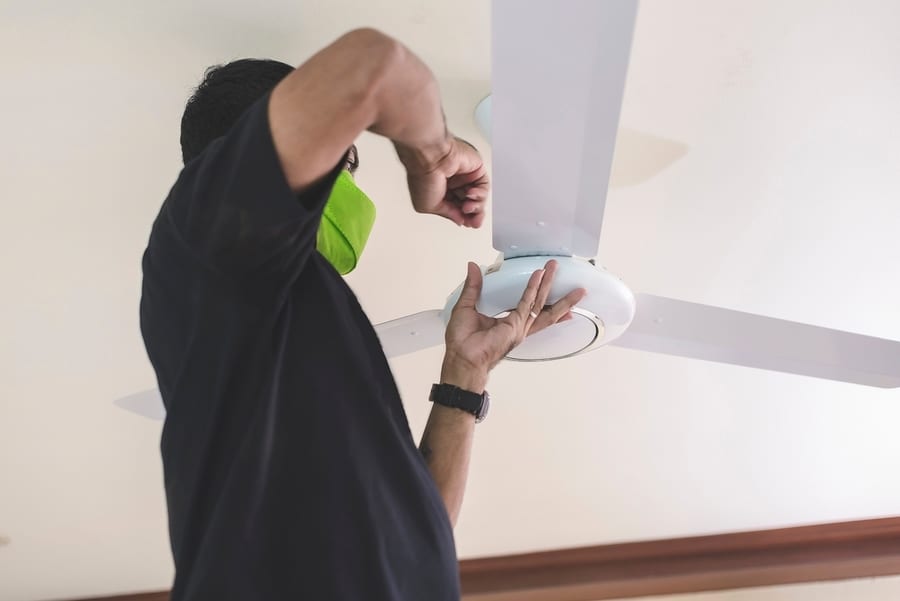
If your ceiling fan is making a clicking sound, it could be because the fan blades are not properly attached to the motor.
A standard set of screwdrivers is all that is needed to solve this issue.
Here’s how to tighten screws for fan blades:
- Take a step stool or a ladder to reach the fan blade’s height. Ensure it is not heavy enough since you’ll be moving it throughout the tightening process to reach different blades.
- Now find the screws that secure your fan’s blades or the motor casing. You can find them on the tip of each blade, just next to the motor.
- When you’ve found the screws, tighten them with a screwdriver. Avoid overtightening them, as this could lead to damage.
- Do the same thing with the rest of the fan blades, but move your ladder to a safe place this time. After tightening these screws, listen for noise from your fan.
4. Do Oiling of Your Fan

If you’ve tried out all the fixes and your fan still makes noise, then you should oil your ceiling fan.
Adding oil or lubricant to the internal parts can eliminate the annoying sound.
- Find your fan’s hole, which is usually close to the rod.
- Inspect your fan’s oil level. Place the pipe cleaner’s tip into the hole about 1/2 inch deep. Your fan requires oil immediately if the result is dry. However, check your model before doing so, as some fans require you to perform this yearly.
- In case of any oil leaks, clean the fan housing and oil hole. It would be best if you also use this opportunity to clean the fan’s motor.
- After adding the oil, test the fan at a low speed.
It is essential to refer to your owner’s manual because various fans require different types and amounts of oil. You can use all-purpose oils available on the market.
Most fans need only 1–2 ounces of oil. However, do not use commonly available penetrating lubricants like WD-40 since it has properties that can damage your fan’s motor.
5. Check the Fan Canopy
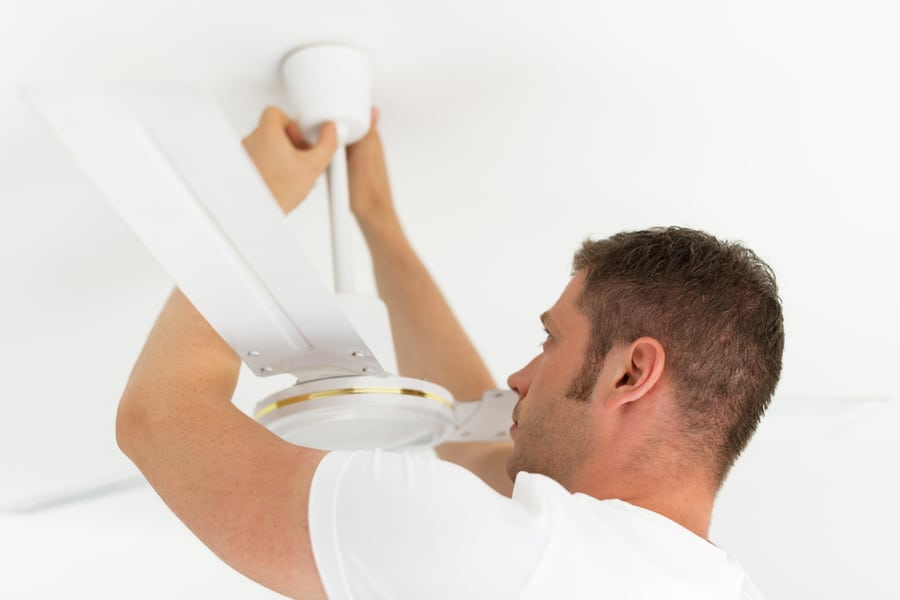
Fan canopy can also cause your fan to make noise in the middle of the night, disturbing your sleep.
Therefore, it should be checked at the earliest possible time.
The canopy is against the ceiling, just at the top of your fan. Here’s how you can check it:
- Check by wriggling it with your hand while using a ladder or a step stool. A tightening may be necessary if there is a movement.
- Check the canopy for fasteners. To secure the canopy, a screwdriver or other tool can be used to tighten the bolts.
- Manually tighten the fan canopy. In rare situations, the canopy has a threaded interior that enables hand-tightening.
- After securing the canopy, run your fan to check it.
How To Stop Ceiling Fan From Making Noises
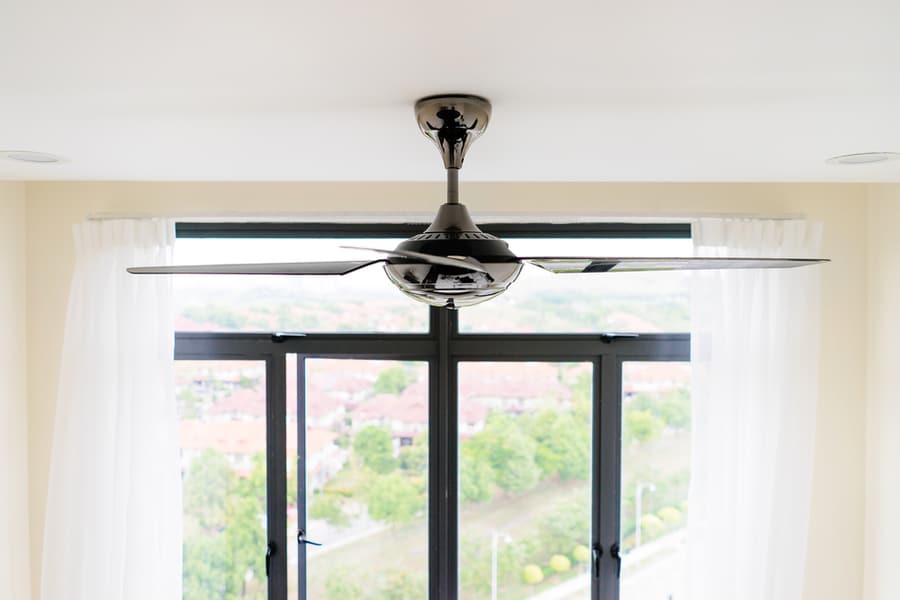
By performing routine maintenance, you can avoid a noisy ceiling fan.
You can do the following things to make sure your fan functions smoothly:
- Increasing the oil after checking the level (on selected fans)
- Getting rid of the dust from the blades’ top and bottom
- Seeing whether the fan sways
- Ensuring that each screw is tightly fastened
- Checking and changing the fan remote’s batteries
- Maintaining the light source
Preventative maintenance on a fan is ideal just before the spring and summer, when it will be most used.
Regular maintenance is quick and easy, and it will keep noises to a minimum so you may relax in a quiet room.
Conclusion
Ceiling fan noise can sometimes be irritating. Therefore, you can fix it by tightening your fan blade’s screws, checking the canopy, and oiling your fan.
Other than this, the electrical box, where the fan is attached, shakes and makes noise.
Therefore, you must check the above fixes to eliminate the noise coming from the ceiling fan.
If still you’re in no luck and your fan makes noise, then it’s time to call a technician or replace your fan.
Frequently Asked Questions
How Come My Ceiling Fan Is So Noisy?
Unbalanced blades can cause your ceiling fan to become noisy as they wobble and make a grinding noise.
Also, dust can accumulate on the blades when a ceiling fan is not in use and throw off the fan’s balance.
Therefore, you should clean the blades with a wet cloth to eliminate any dust or debris causing the imbalance.
Cleaning the blades will help ensure their proper functioning.
Can My Noisy Ceiling Fan Fall?
A ceiling fan has the potential to collapse. This can result from aging, neglect, poor installation, or other flaws.
As a result, you need to monitor the sustenance and safety of your ceiling fans.


