
Your outdoor AC or condenser unit is prone to accumulate dust and debris over time because it’s in the open.
The outdoor unit contains condenser coils, which can reduce the air conditioner’s efficiency when caked with dirt. YouTherefore, it must clean the condenser unit at least once or twice a year for AC efficiency.
While you can hire an HVAC technician, cleaning an outside AC unit involves straightforward steps you can execute if you are a DIY enthusiast. However, it is also a delicate process, and you must be careful not to damage the AC.
- It’s essential to clean your outdoor AC unit once a year before its first use in summer.
- When the outdoor AC unit is dirty, it produces unusually loud noises and takes longer to cool your home, which increases your energy bills.
- The unit works harder than it should, which reduces its lifespan due to increased wear and tear.
- You can clean the condenser unit by yourself. However, it’s a delicate process, and you must follow the necessary steps with caution to avoid damaging components such as the condenser coil fins.
- If you’re unsure how to proceed, engaging a skilled HVAC technician is best.
- Aside from the annual cleaning of the condenser unit, you can maintain its cleanliness by trimming the trees and bushes around it, fencing around it, or installing a leaf mesh over it.
- Also, consider covering the unit during winter.
This article is a guide on how to clean your outdoor AC unit.
We’ll also discuss what happens when the outdoor unit is dirty and provide tips for keeping the outdoor AC unit in excellent condition.
What Happens When an AC Outdoor Unit Is Dirty?
Before we dive into cleaning your outdoor AC unit, we must look at the problems you might face when you don’t clean it.
They include the following:
1. Your AC Will Take a Long Time To Cool Your Home
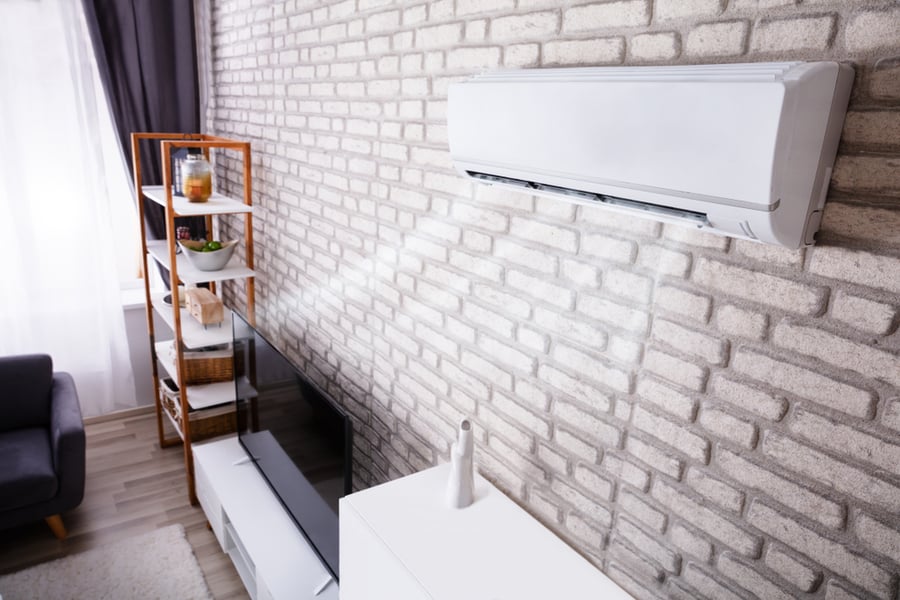
The outside unit of an AC is responsible for dispersing the heat removed from the indoor air.
When dust accumulates on the condenser coils in the outdoor unit, it creates a layer of insulation that prevents heat loss into the environment. Unfortunately, this limits the air conditioner’s cooling capacity and takes a long time to cool the home.
2. Increased Energy Bills

A dirty condenser unit translates to your AC not functioning as efficiently. This increases energy bills as the AC works harder to cool the home.
3. Reduced AC Lifespan
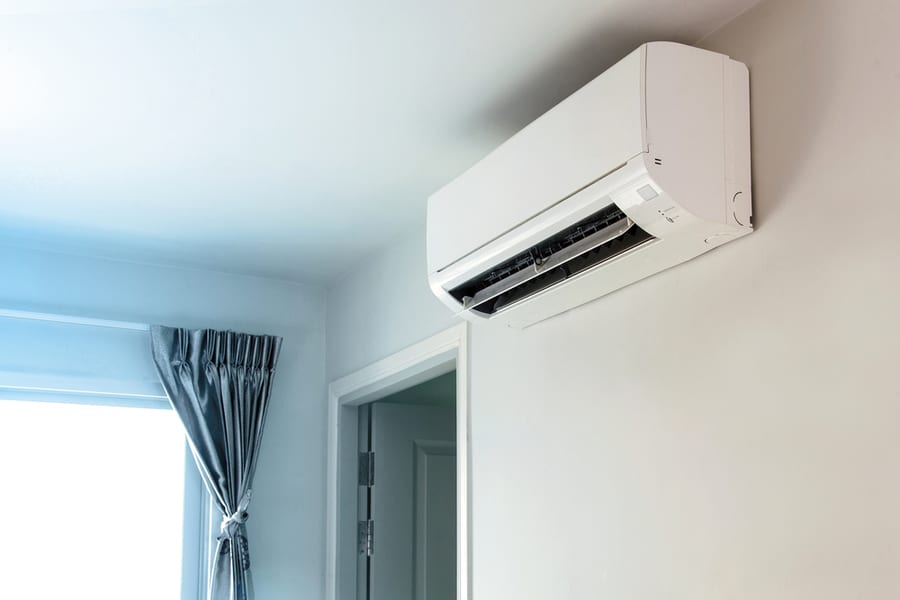
When dirt is in the outdoor unit, it can damage the condenser coil fins, the fan blades, or the motor.
Dirty condenser coils also prevent heat loss, which can cause the compressor to overheat. This can lead to a blown fuse and the system shutting down or short cycling.
4. Unusual Noise From the AC

A dirty outdoor unit can be why your AC makes loud noises non-stop. When twigs, leaves, and gravel get stuck in the outdoor unit, they’ll constantly hit the different parts causing noise and damage.
How To Clean Your AC Outdoor Unit
According to Energy.Gov, it is best to schedule annual air conditioner maintenance, including cleaning the condenser unit.
It is best to do the cleaning in spring before the first use of the AC in summer. While many AC models exist, the basic concepts of cleaning an AC are the same.
Consider the following steps when cleaning your air conditioner’s outdoor unit:
1. Gather the Necessary Cleaning Supplies

For this project, you’ll need the following tools and materials:
- 2 Cans foaming A/C condenser coil cleaner
- Fin repair comb
- Screwdriver/ cordless drill
- Shop vacuum
- Vacuum extension wand
- Nylon scrub brush
- Bucket
- Heavy gloves
- Garden hose and sprayer
- Water spray bottle
- A wet rag.
2. Cut Off the AC Power Supply
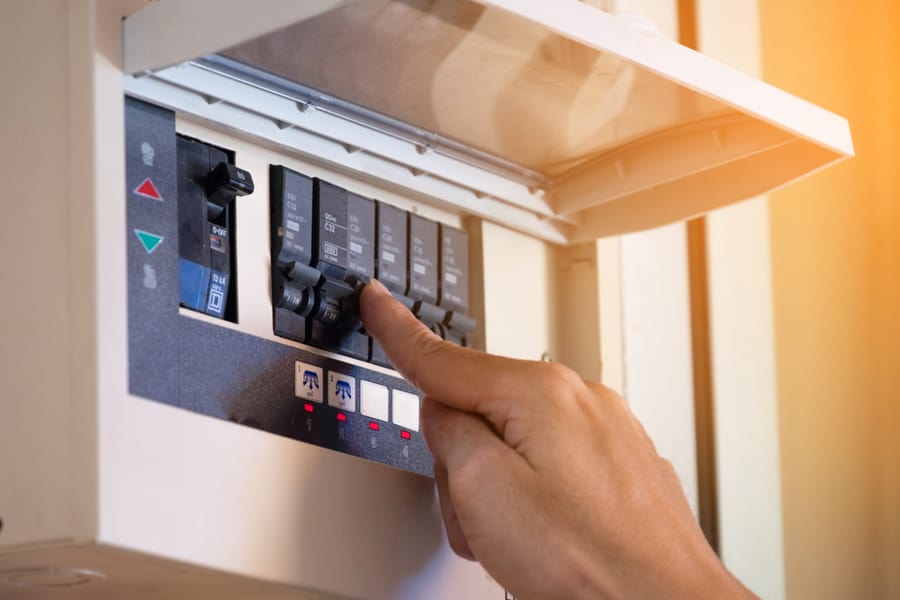
When cleaning your outdoor AC unit, cut off its power supply to avoid electrocution. This means flipping the circuit breaker switch assigned to the AC. Consider using a multimeter to confirm that no current flows through the unit.
3. Remove Large Debris Outside the Unit
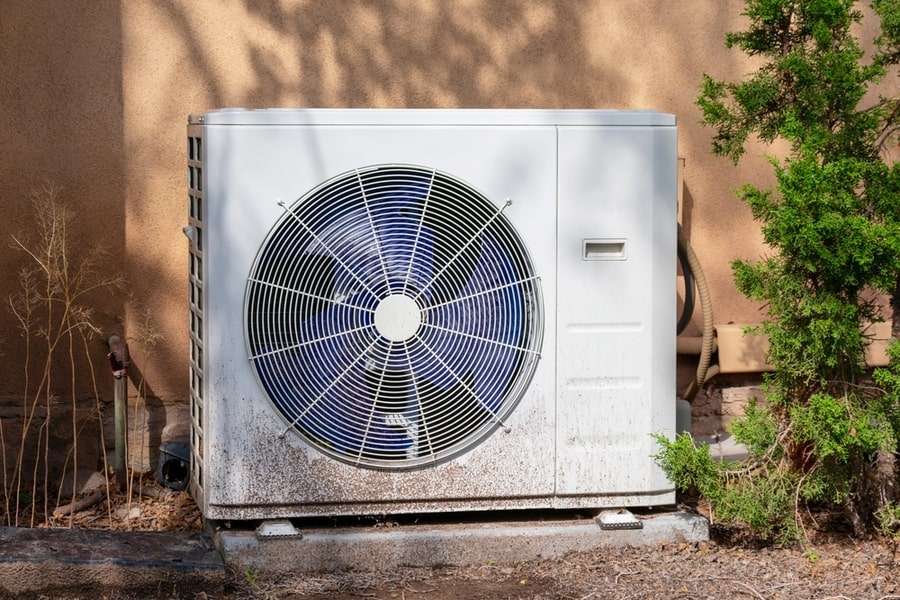
The next step is to remove the debris that has built up on the outer surface of the condenser unit. This could be leaves, twigs, or cobwebs.
4. Remove the Top and Side Panels
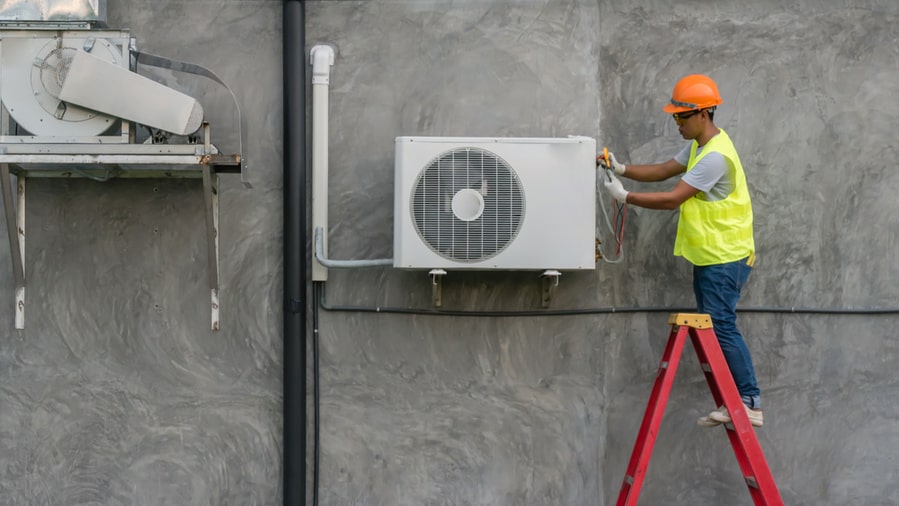
Grab your cordless drill or screwdriver and remove the screws that hold the top and side panels in place. It is best to have a container where you can put the screws to avoid losing them.
Also, avoid damaging the condenser coil fins when removing the panels. It would help to put the panels in order of how you remove them so you can remember where to put them when reassembling.
5. Evaluate the Inside of the Unit
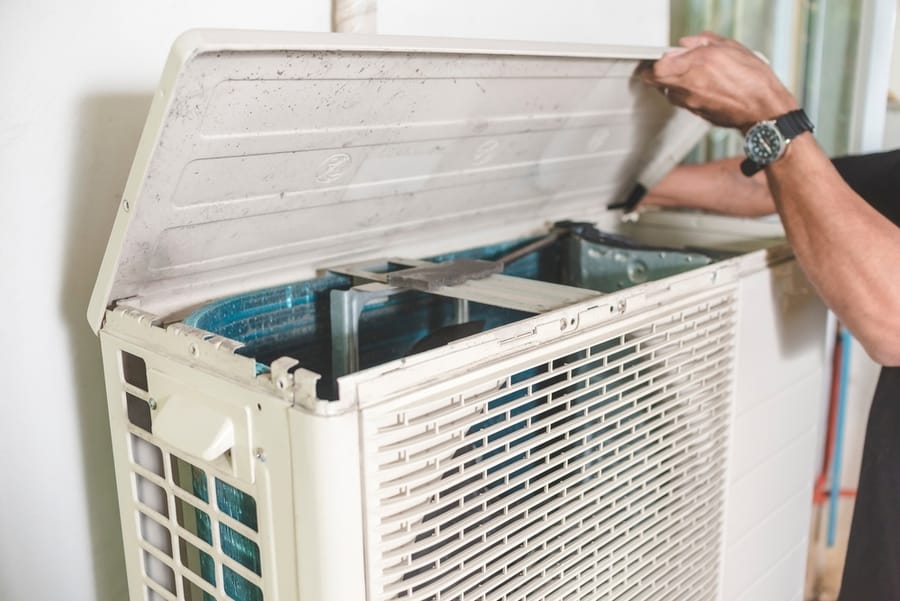
With the protective panels out of the way, you can now inspect the condition of the condenser cabinet.
It is best to contact a skilled technician if you notice advanced corrosion, cracked pipes, or loose wires. Cracked refrigerant pipes could harm you and the environment, and you should not proceed if you notice any.
6. Remove Large Debris
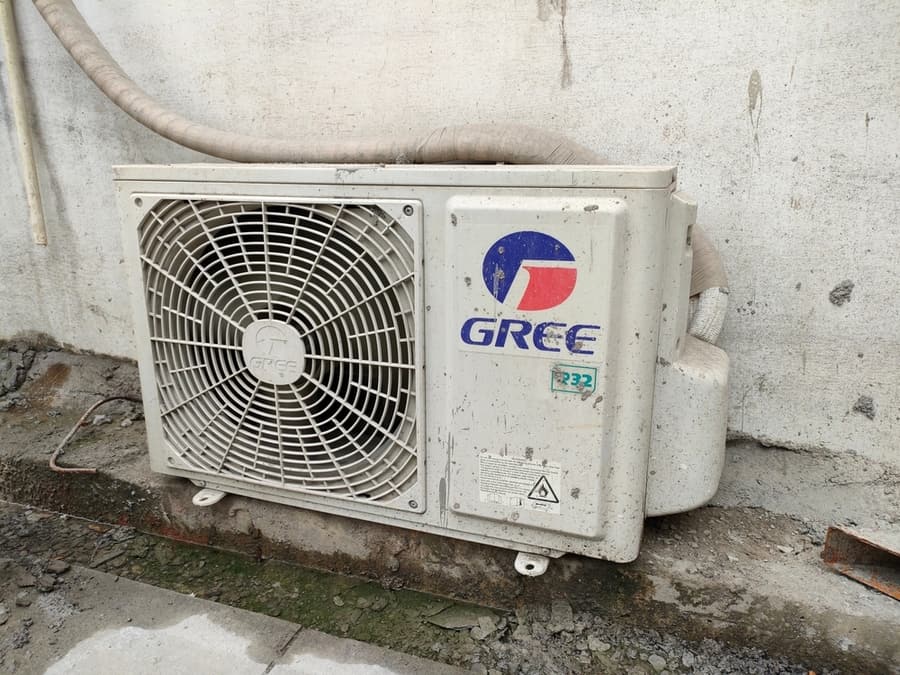
If there are no signs of cracked or leaking refrigerant pipes, you may proceed to remove any large debris, such as leaves, grass clippings, or pebbles, that may be trapped at the bottom of the condenser cabinet.
It would be best if you had heavy gloves on when doing this.
7. Vacuum the Condenser Fins and Cabinet
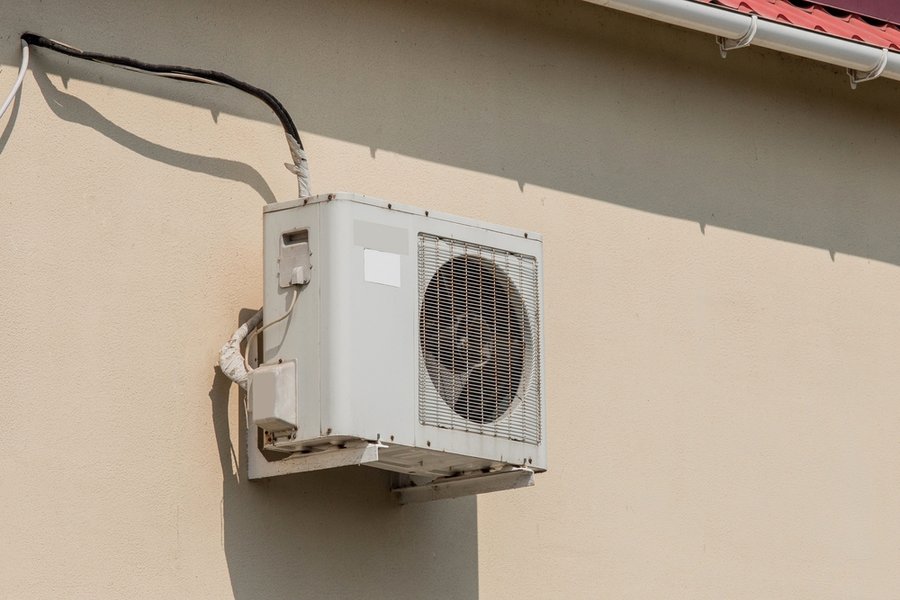
It’s time to grab your shop vac and attach a soft brush attachment. Once you have it ready, vacuum the condenser coil fins, taking caution not to bend them.
Also, vacuum the bottom of the condenser cabinet with an extension wand to remove the loose debris.
8. Fix Bent Condenser Coil Fins
If you notice any bent condenser coil fins, use a fin repair comb to straighten them. You can buy fin repair comb online in any big hardware store.
9. Rinse the Coils
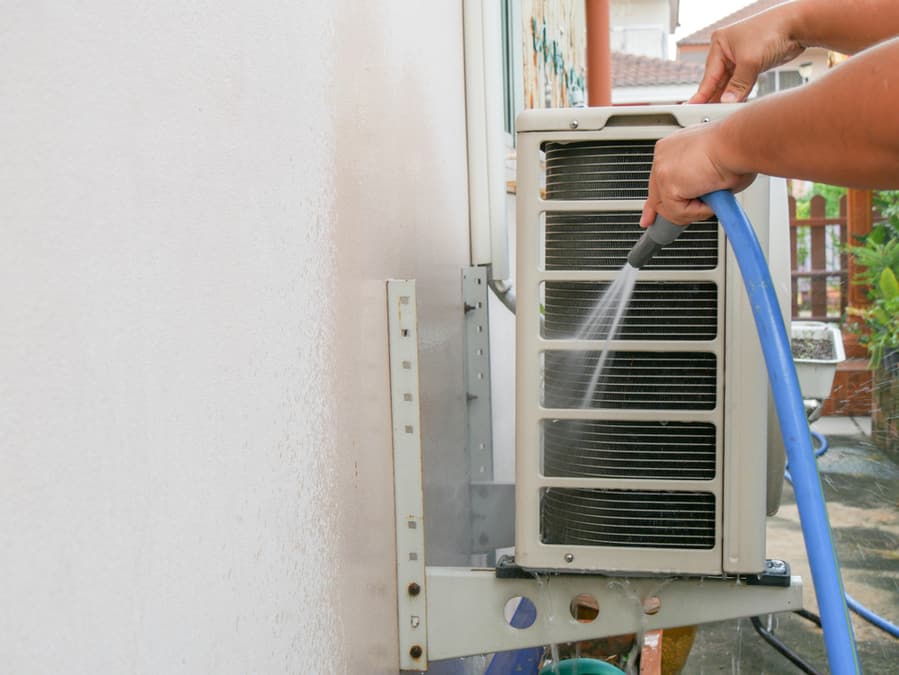
If you use a non-rinse foaming coil cleaner, you may need to rinse the coils after vacuuming. Use a garden hose with a sprayer attachment, ensuring that it’s on a low setting to avoid damaging the condenser coil fins.
You can also use a spray bottle or compressed air if your outdoor unit is not on the ground but suspended outside a window.
9. Apply Foaming Coil Cleaner
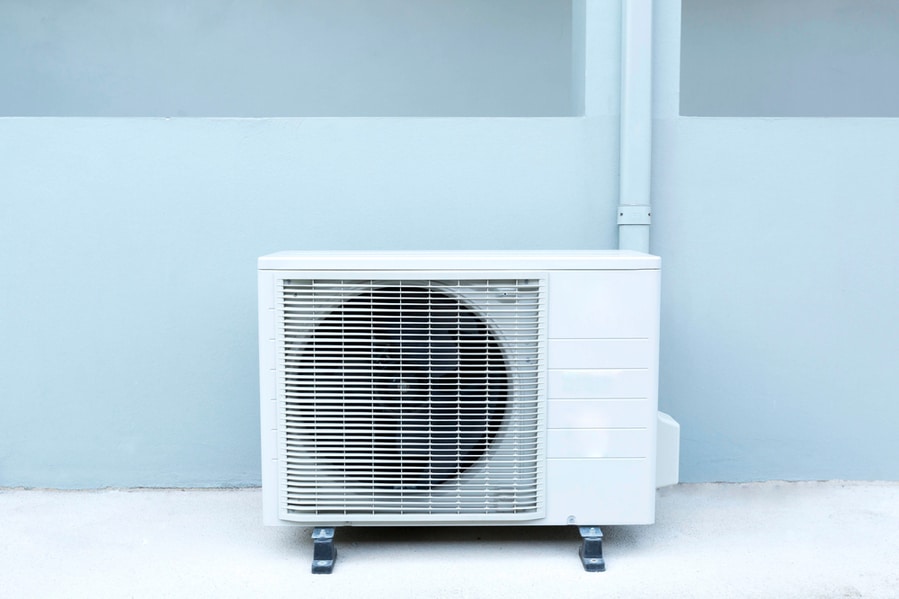
Spray a thick coating of an environmentally friendly foaming A/C condenser coil cleaner from inside the cabinet.
You must spray all four cabinet sides, ensuring the cleaner penetrates through the fins. Avoid touching the coils and fins, and let the coil cleaner work for about five to ten minutes.
Before using the foaming coil cleaner, read the manufacturer’s instructions. While most cleaners are safe to use on aluminum coils, some can cause corrosion on copper coils.
10. Use a Garden Hose To Rinse
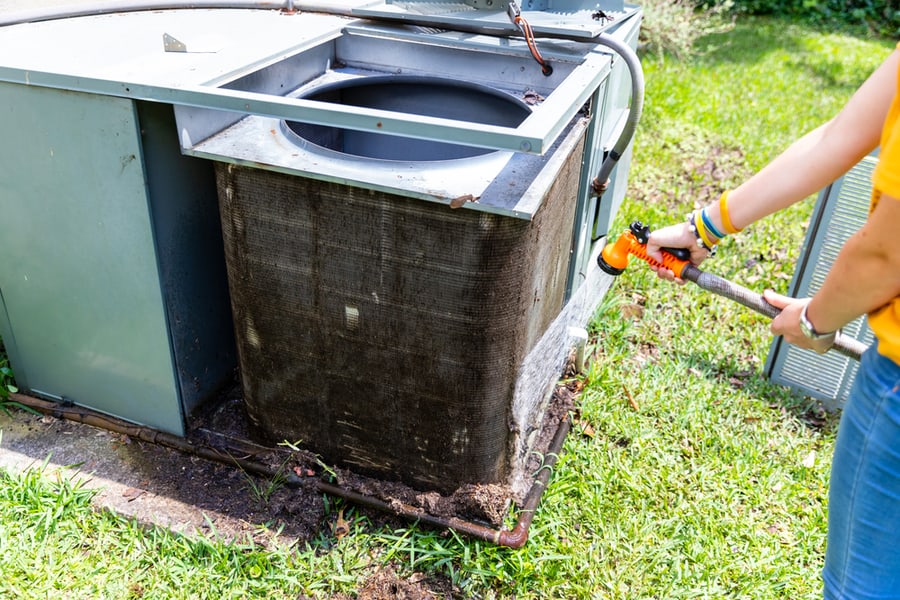
After five to ten minutes, grab your garden hose with a sprayer attachment. However, this step only applies if using the foaming coil cleaner requires you to rinse it. YouIn addition, you must use the sprayer on a low setting to avoid damaging the delicate condenser coil fins.
For maximum efficiency, start by spraying the coils from inside the cabinet to blast the dirt outward. Work on each side, spraying from the top as you work downwards.
Also, ensure you angle the hose strategically as you go back and forth along the side to wash all the dirt hidden in the panel’s crevices.
After working on the inside of the panels, the dirt you blasted out will most likely gather on the outside. So, again, use the garden hose on a wide spray to rinse the outside.
However, avoid directing the water inward to avoid forcing the dirt back into the coils or fins.
11. Wipe the Fan Blades
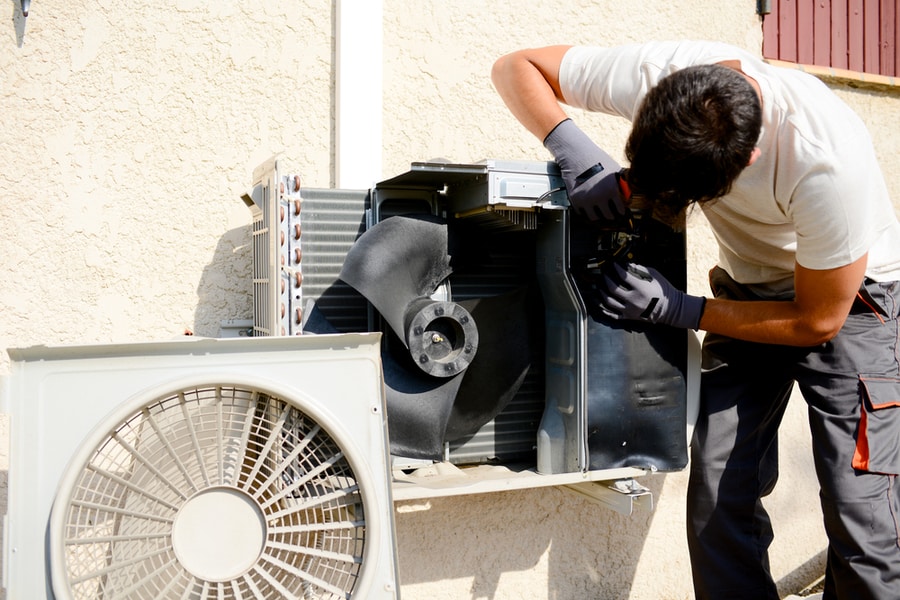
Your outdoor unit is almost clean, but not before cleaning the fan blades. First, use a wet rag to wipe the blades. Also, inspect the fan vents and wipe away any debris build-up.
12. Allow the Unit Time To Dry
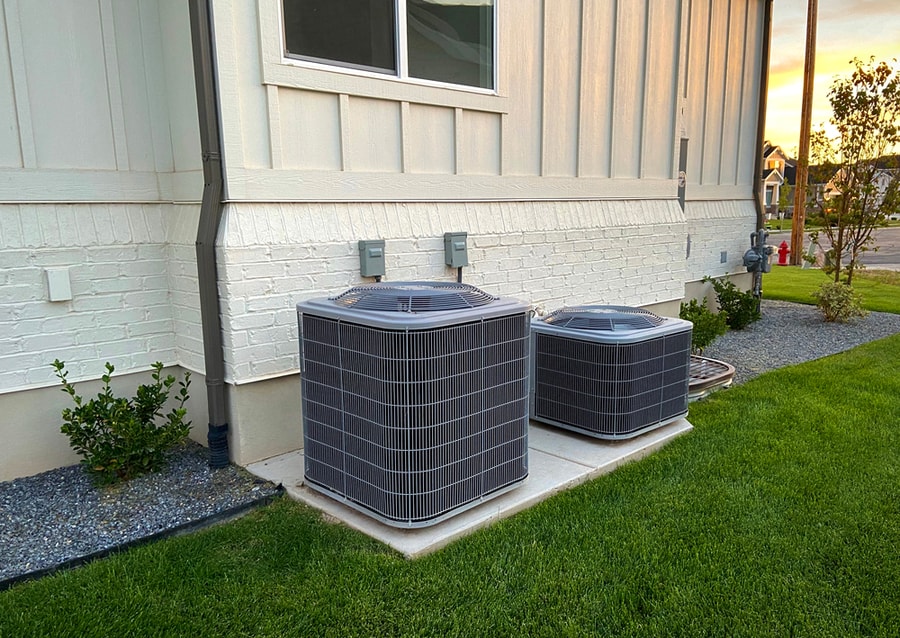
Your outdoor AC unit is clean now, but you must allow it to dry for 30 to 60 minutes before reassembling and turning the power back on.
12. Reassemble the Unit
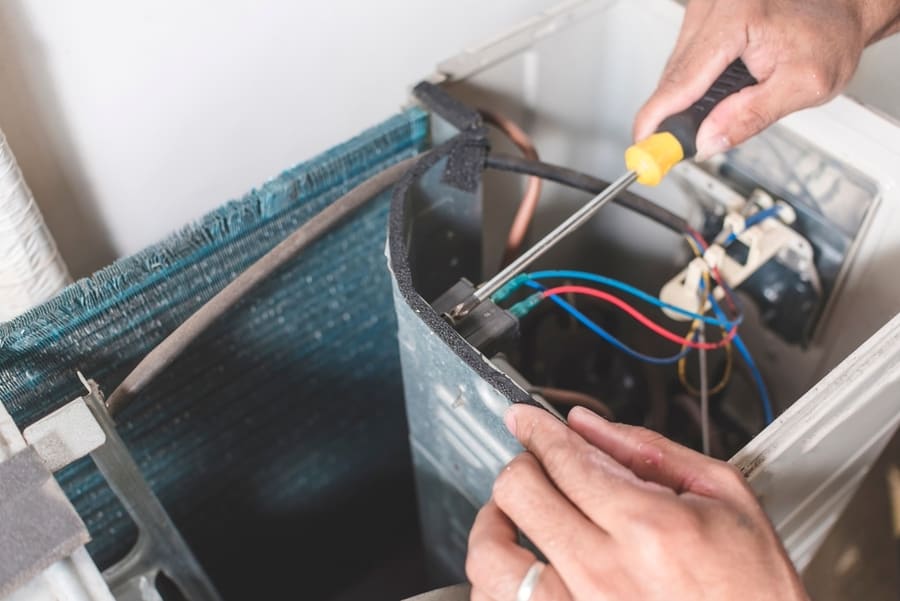
Once you’re satisfied that the condenser unit is dry, return the side and top panels and screw them down. You can turn the power back on and enjoy using an efficient AC all summer.
How To Keep Your AC Condenser Unit Clean

In addition to cleaning your condenser unit, here are other tips to keep it in excellent condition to ensure AC efficiency and durability:
- Keep all bushes or trees near the outdoor unit trimmed all year.
- Install a mesh leaf guard at the top of the A/C cabinet to prevent leaves from entering from the top.
- Finally, consider fencing the area around the condenser unit to prevent it unit from wind-driven debris and small animals.
- However, installing the fence at least two feet from the unit is best to avoid obstruction. Also, ensure the fence has large openings to allow unrestricted airflow.
- Keep the area around the outdoor AC unit as clean as possible by removing stone pebbles, grass, and other debris.
- Consider removing or covering the outdoor unit in the winter. This will help protect it from debris and the effects of winter weather.
Conclusion
Cleaning your outside AC unit will significantly improve the air conditioner’s efficiency, enhancing your home’s comfort and reducing energy bills.
It will also ensure that your AC lasts long without frequent repair costs. We hope that this guide comes in handy the next time you’re cleaning your outside AC unit.
However, you must engage an HVAC technician if you notice corrosion or refrigerant leaks when cleaning the unit. Also, ensure your safety by turning off the power supply to the unit before you start cleaning.
Frequently Asked Questions
What Happens if I Don’t Clean My AC Outdoor Unit?
If you don’t clean your condenser unit, it may become inefficient in cooling your home, and you may pay higher energy bills.
Also, the AC works harder and longer to cool indoor air. This leads to faster wear and tear of the AC components, thus reducing the AC lifespan.
Additionally, you’ll often have to pay for repairs.
Will I Damage My Outdoor AC Unit if I Clean It With Water?
Most condenser coils in the outdoor AC unit are made from aluminum or copper, so it’s safe to clean them with water.
How Often Should I Clean My Outside AC Unit?
It is best to clean your outdoor AC unit at least once a year. The best time to do the cleaning is in spring before you start using the air conditioner in summer.


