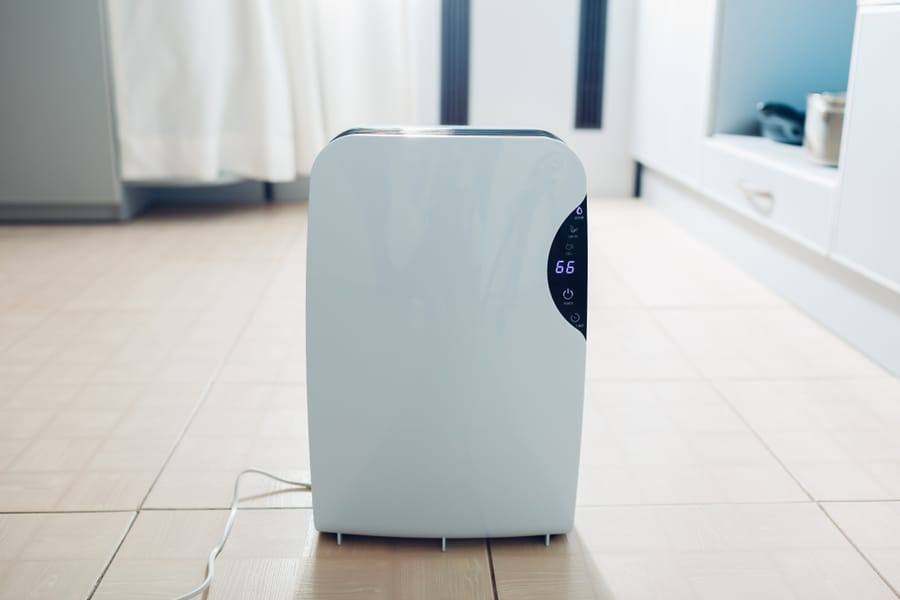
Cleaning your dehumidifier can be painful; there is no gain without pain. However, it can all be in vain if you don’t follow the right approach to cleaning your dehumidifier.
You can skip cleaning if you compromise your health and bank account. However, proper cleaning consists of several steps and would require you to spare at least one hour for this task.
Cleaning a dehumidifier regularly can improve its performance and increase its longevity.
A dirty dehumidifier can harm your house and health more than good.
Therefore, you must follow this quick, easy step-by-step method to clean your dehumidifier.
- Disconnect From Power.
- Separate Individual Parts.
- Start With Tank Cleaning
- Clean Filters and Coils Next.
- Don’t Forget the Fan Blades.
- Use a Vacuum Brush to Get Rid of Dust.
- Let it Dry, and Reassemble the Parts.
- Reconnect to the Power Supply.
We’ll take you step-by-step through cleaning your dehumidifier like a pro. You will notice an instant improvement in the performance and efficiency of your device after cleaning it using the method below.
Clean Your Dehumidifier Like a Pro
People approach this process differently; some like to clean their dehumidifier, while others like to take it apart and clean it.
In our exclusive eight-step method, we will do it in the most efficient way possible.
1. Disconnect From the Power Source
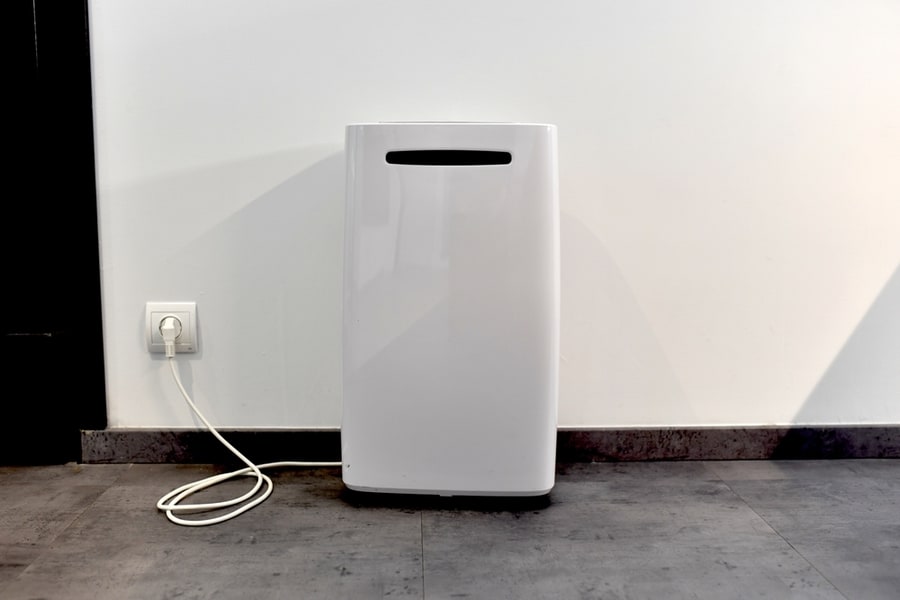
First things first. Ensuring the whole process went smoothly without compromising your safety would be best.
For this purpose, you will want to turn off the power supply to your device. You can do it by unplugging the switch of your dehumidifier from the main power board.
2. Separate Individual Parts
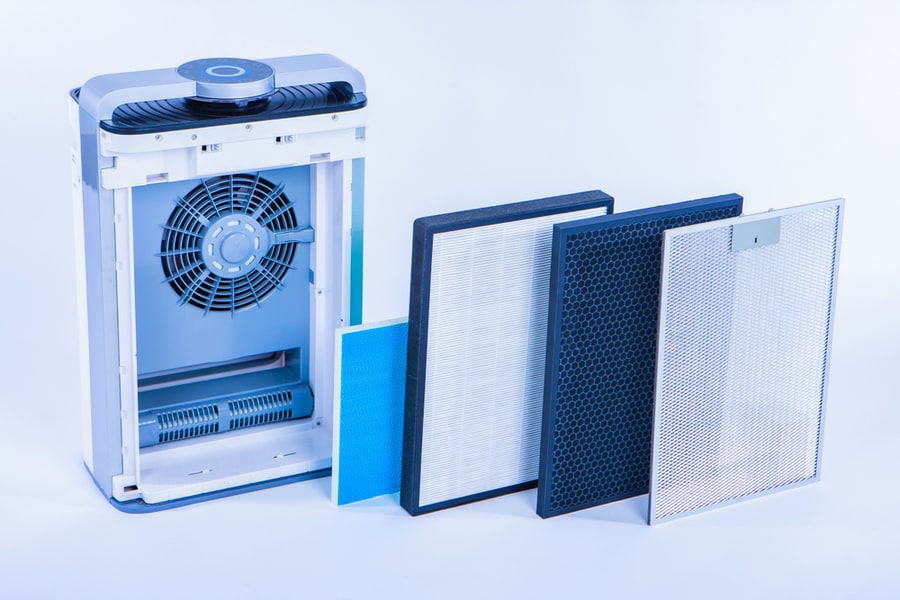
Next, you will move forward with disassembling the individual parts of your device. This step will require you to show your patience and fine motor skills.
Make sure you handle each part with care and open your device. When each part is separated, you will approach each individually for a thorough cleaning.
3. Start With Tank Cleaning
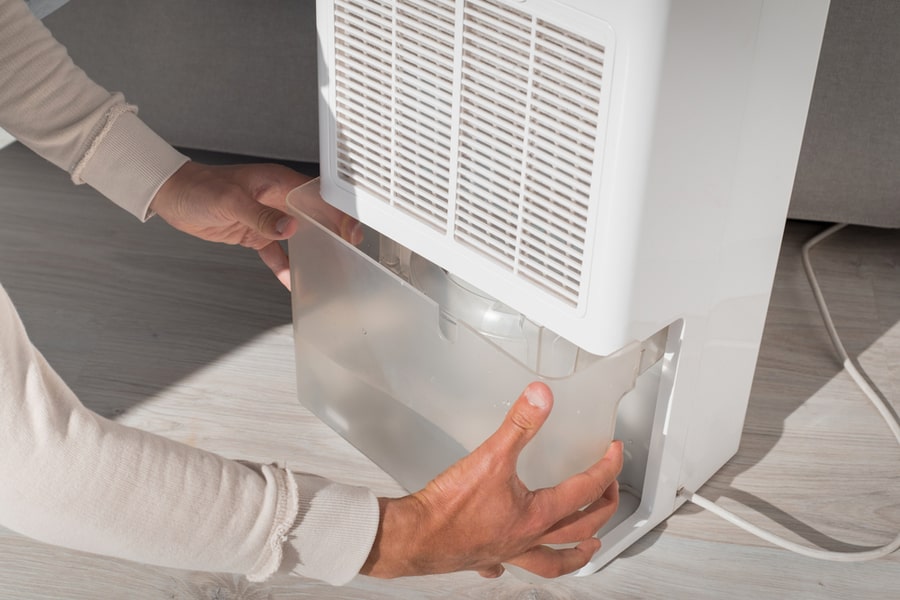
You will now start the cleaning of individual parts with the tank.
Make sure that the tank is drained of all its water and liquid. Then, you will clean it with a cleaning agent and let it dry.
You can customize a cleaning agent by mixing baking soda in equal portions of water.
Take a soft sponge to apply the agent on the tank and clean it from all sides. Then, wind it up by cleaning it with a wet cloth dipped in water at least twice.
4. Clean Filters and Coils
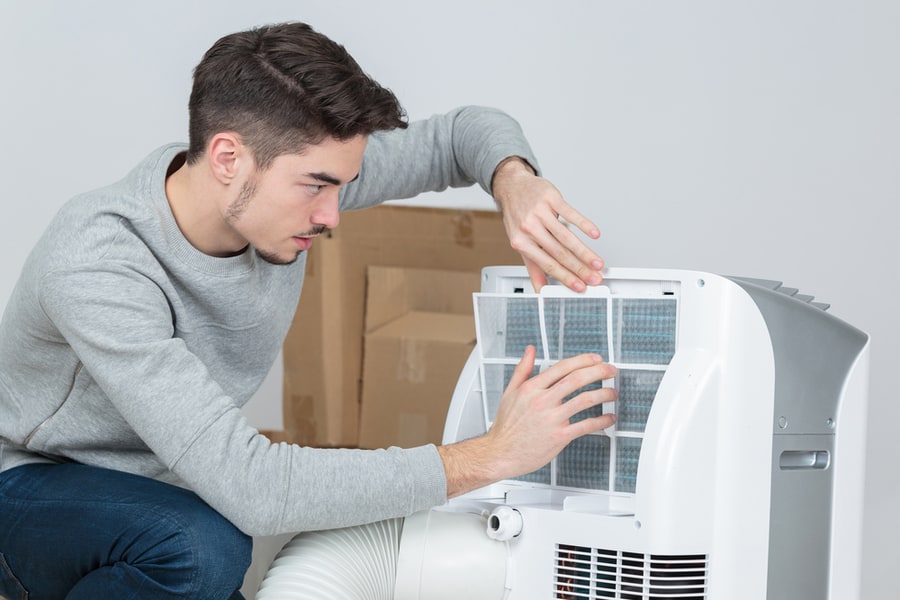
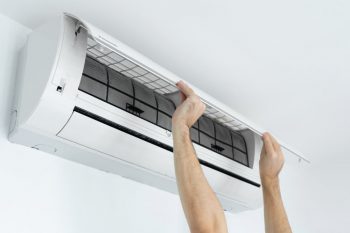
Next in the process is cleaning the filters and the coils. Filters should be changed on an annual basis. You can keep them smoothly functioning throughout the year by cleaning them and removing all dirt and debris.
You will also want to clean the dehumidifier’s coils to smooth the moisture flow. Make sure that any external material does not block the coils. If they are clogged, first unclog them and then continue the cleaning.
5. Don’t Forget the Fan Blades
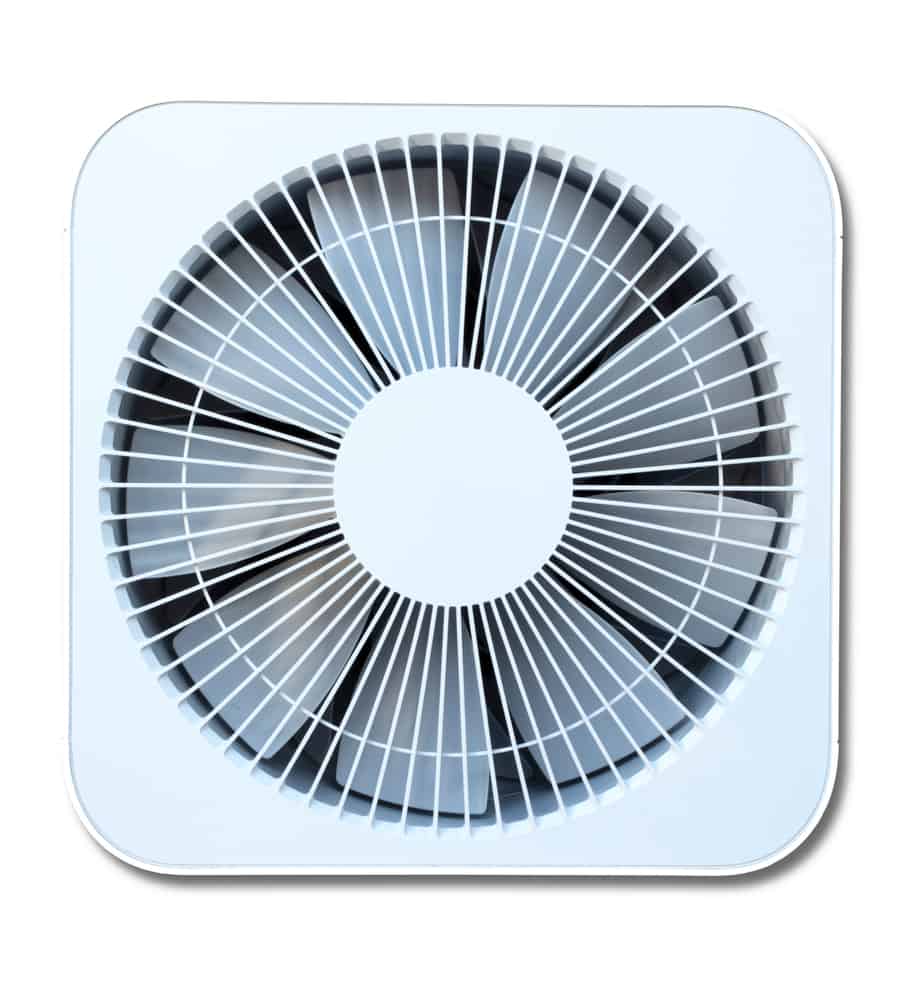
The fan is the part most prone to getting dirty because it is constantly working on sucking the moisture from the air. As a result, dirt and moisture buildup would likely be on your fan blades.
You can use your special cleaning agent to clean the blades of this fan. It will improve its speed as well as performance.
6. Use a Vacuum Brush To Get Rid of Dust
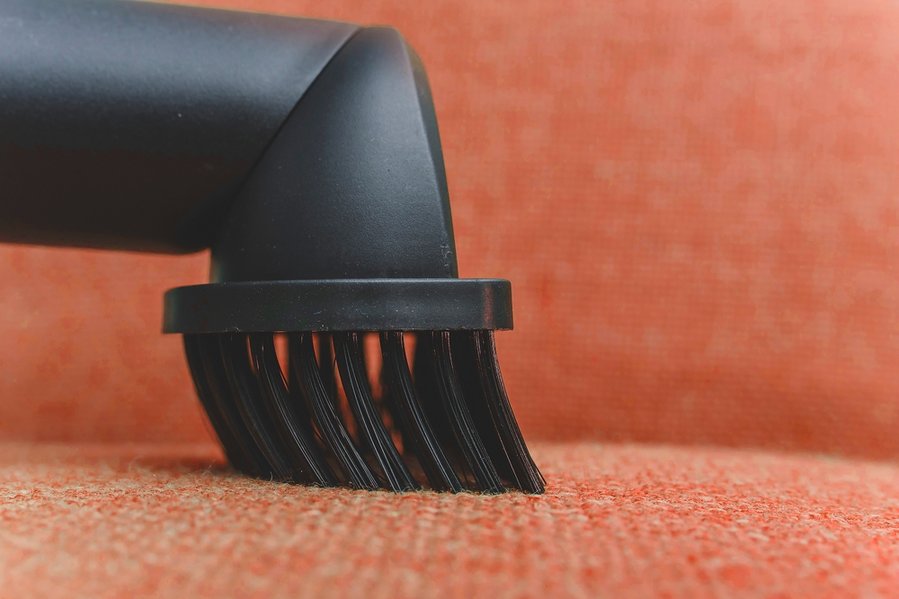
If there’s anything you can bet on regarding cleaning tools, it has to be the vacuum brush. A vacuum brush works just like a vacuum cleaner except in smaller areas.
It can easily access the areas that your vacuum cleaner can not. It will suck the dirt and debris through its substantial power.
You must get this for yourself because it can help you clean the most common home appliances. It tops the list of essential cleaning tools that everyone should have.
7. Let It Dry, and Reassemble the Parts
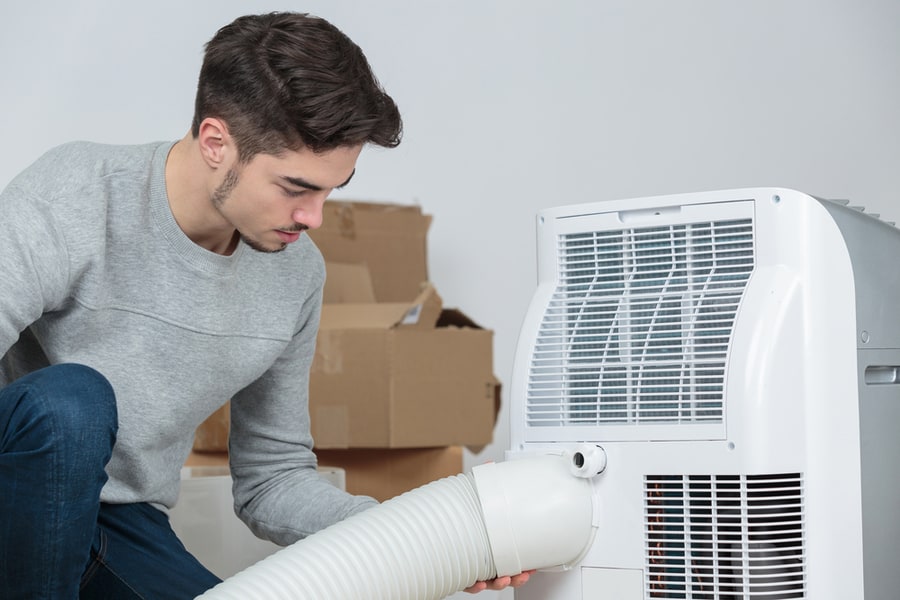
Toward the end, you must reassemble the individual parts only after completely drying the dehumidifier. Again, make sure you use the same screws and parts that you used while opening it apart.
8. Reconnect to the Power Supply
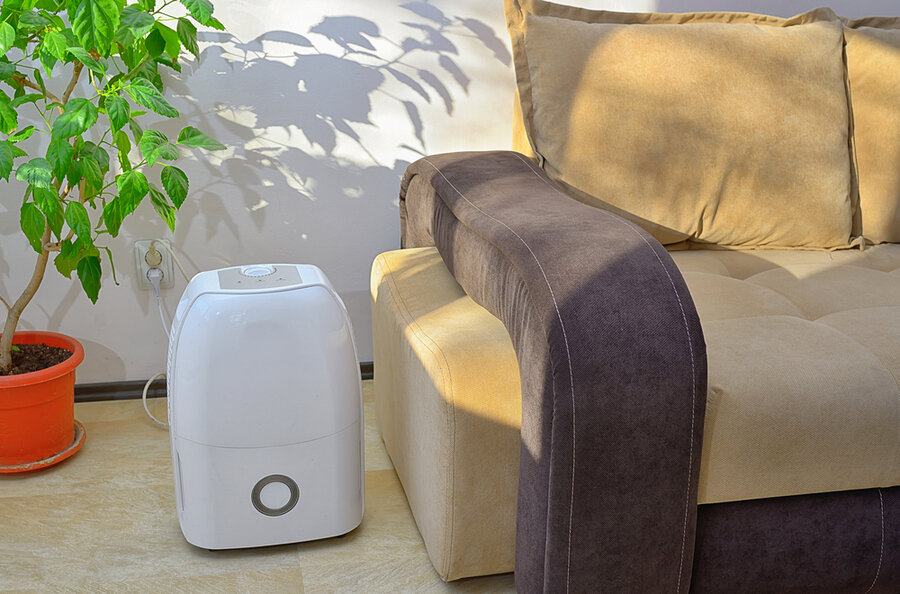
Lastly, you will want to reconnect your device to the power supply and turn your dehumidifier on. If it doesn’t turn on, you need to check the placement of its parts.
If any problem occurs, you can call a professional for help.
Quick Recap
You can thoroughly clean your dehumidifier in a quick eight-step routine. You will start by disconnecting your device from the power supply and disassembling it.
Next, you will clean the tank, the filters, and the coils. You will then want to clean the fan of the device.
Lastly, you will let the device dry for some time and reassemble it. Finally, you will finish the process by connecting the device to the power supply and checking it.
Frequently Asked Questions
How To Clean the Filter of My Dehumidifier?
You can clean it by washing it. Rinse the filter with water and wash off the dirt using a soft sponge or a cleaning detergent.


