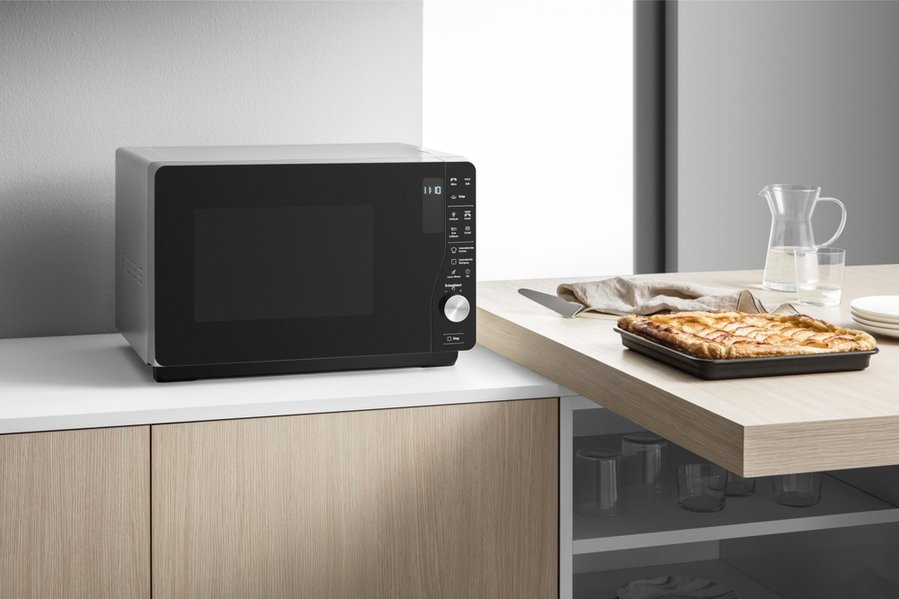
Microwave sensors are electromagnetic radiation that has found their way to many appliances for motion detection, cooking, etc.
Microwave sensor cooking, in particular, is a newer technology that helps you cook food perfectly without guesswork. But how does microwave sensor cooking work?
The working principle of microwave sensor cooking is relatively straightforward; it senses the humidity in your food and adjusts the temperature and cooking time automatically to ensure your meal comes out perfectly every time.
Essentially, microwave sensor cooking works using the following procedure:
- Detects the object
- Senses the moisture content in the food
- Automatically emits heat
- Preset modes
- Auto shut down.
Not all microwaves come with the sensor cooking feature. But with most modern microwaves, you should find this feature included.
With this article, you will learn the steps on how microwave sensor cooking works.
How Do Microwave Sensor Cooking Work?
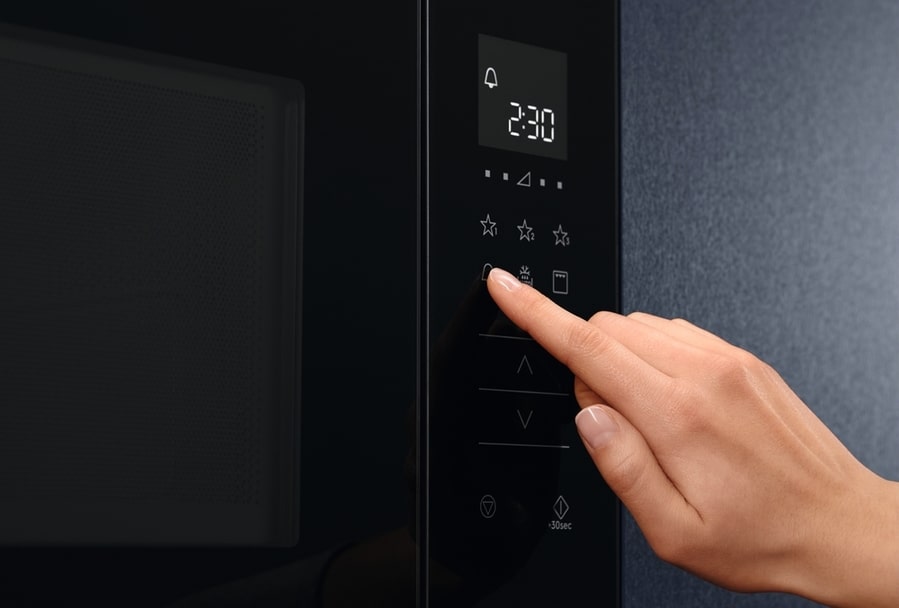
When it comes to cooking, many people are familiar with the standard microwave cooking method. The challenge with this cooking method is that you may overcook or undercook your food.
But microwave sensor cooking is a great way to save energy and time and cook food perfectly without second-guessing yourself. Below, we elaborate on the working principles of microwave sensor cooking.
Step 1: Detect Objects
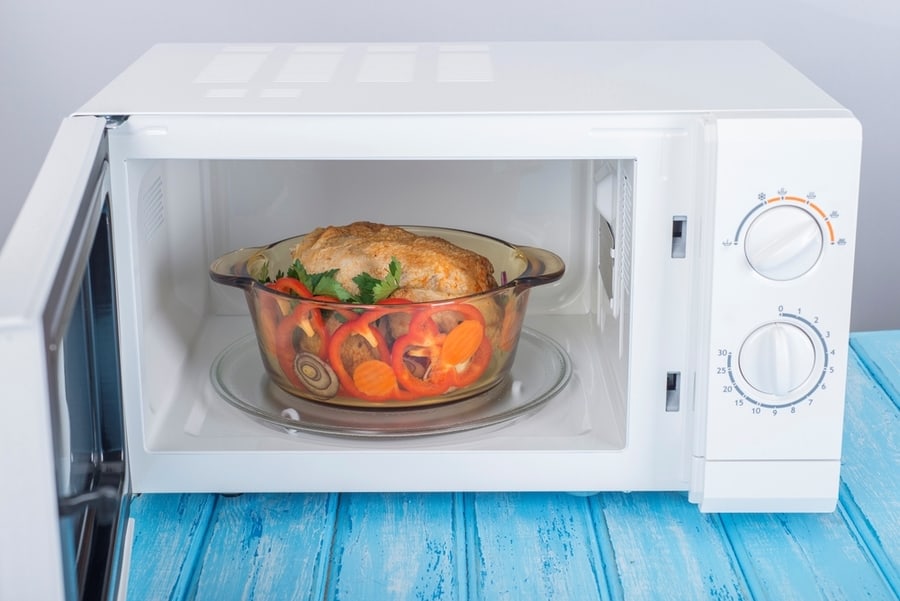
When you place an object in a microwave with a microwave sensor cooking option, it detects that an object was placed.
It can do this by sending constant microwaves, which bounce around the microwave container and reflect it to the sensor.
If there is an object in the microwave, it will influence the doppler effect of the constant electromagnetic radiation sent by the sensors.
The sensors then use the nature of the interruption to paint a digital image in its processor of the quantity of the food item placed in the food.
This detection process is typically short, often taking a few seconds. After the sensor detects that a food item is placed in the microwave, it goes to the next stage to sense the moisture content in the food.
Step 2: Senses the Moisture Content in the Food
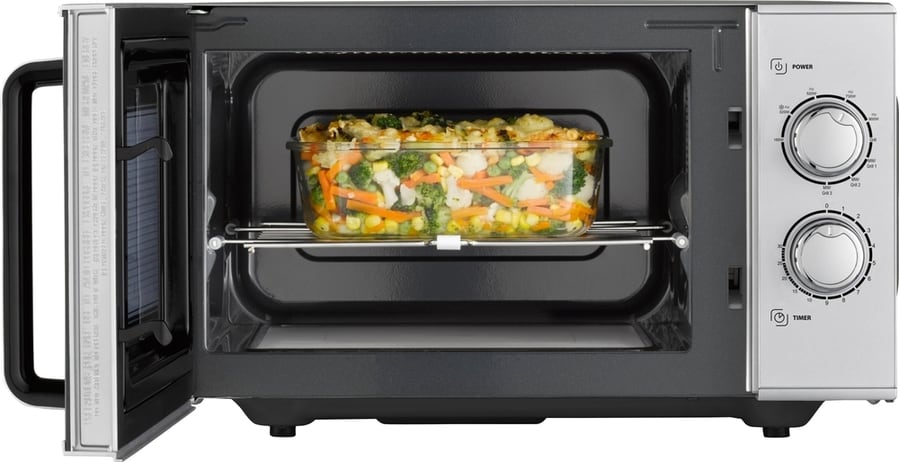
Microwaves with this feature can sense the moisture content in food using sensors. Typically, the sensors are placed at the top and bottom of the microwave.
On some other microwaves, this sensor may be placed at the sides of the appliance. Note that the number of sensors on the appliance varies from one model to another.
The sensor can detect the moisture content in the food based on the amount of water vapor the food emits. The more water vapor the food emits, the more the microwave will want to cook the food.
Step 3: Automatically Emit Heat
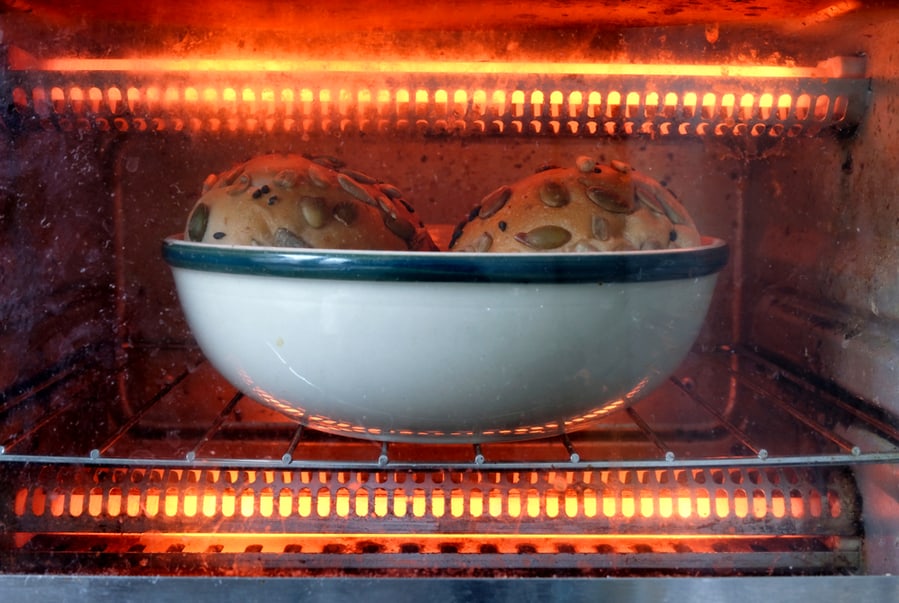
After sensing the moisture in the food, the microwave turns on its heater.
It automatically adjusts the heat used to cook the food based on the moisture content it measures. The higher the vapor pressure, the higher the heat the microwave applies.
Since the microwave features several sensors, it can adjust the heat used to cook the food based on the available moisture content.
So, as the moisture content reduces in the food, the microwave lowers the heat. Often, the top sensor detects when the food is drying out, while the bottom sensor detects when the food is getting too wet.
Step 4: Preset Modes
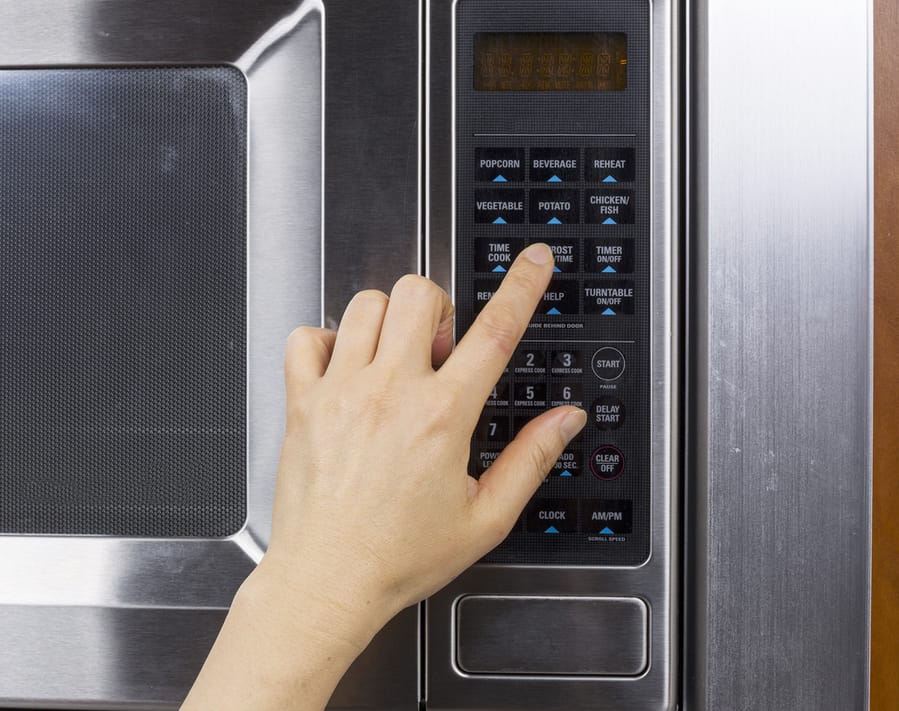
Based on your recipe, the microwave sensor is a smart feature that ensures you don’t have to worry about anything. For example, if you want to defrost and not cook the food, you can use the defrost mode.
The microwave has a preset mode that adjusts the heat level and the timer, so all you have to do is place the food in the microwave and wait for the food to defrost.
Some microwaves have more options than defrosting, such as auto cooking, keeping warm, baking, etc. When you use this feature, you must place the food in the microwave, which automatically detects and adjusts the microwave settings.
Step 5: Auto Shut Down
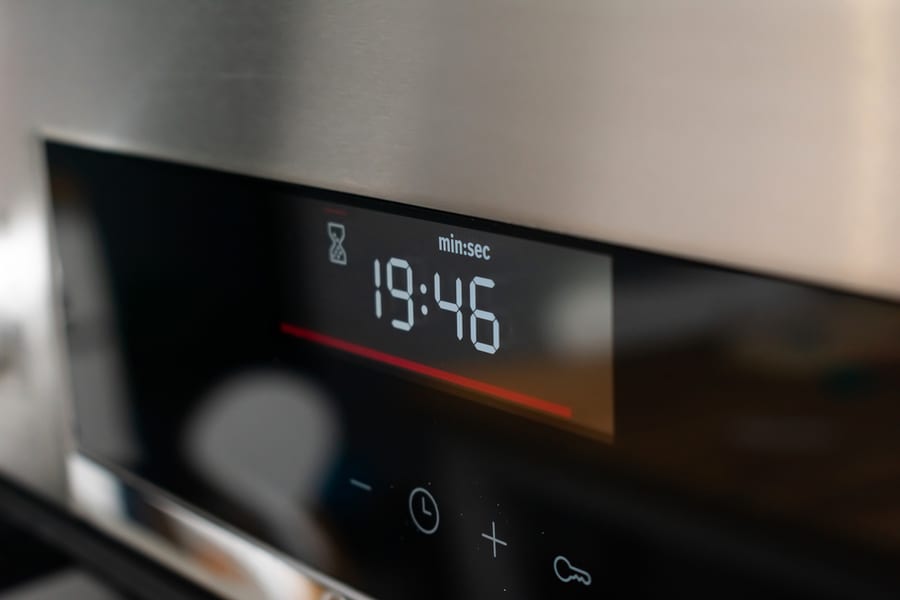
Finally, the microwave sensor cooking comes with the auto shuts down option. This feature allows you to place the food in the microwave, and when it is ready, it shuts down automatically.
What Are the Benefits of Microwave Sensor Cooking?

Microwave sensor cooking offers several advantages over regular microwaving.
One of the most significant benefits of using microwave sensor cooking is that it eliminates the guesswork of cooking. Whether you want to reheat or cook frozen food, your food will come out perfectly every time.
Some of the other benefits of microwave sensor cooking include the following:
- Cooking with the microwave sensor cooking is extremely versatile. You can cook all kinds of food with a microwave sensor, such as meat, vegetables, and desserts.
- Using the microwave sensor for cooking is a great way to save time. With the sensor cooking option, you can cook multiple meals at once. Since you never have to worry about guessing the cooking time, your food never gets overcooked or burnt. You place the food in the microwave, set the timer, and walk away.
- Generally, a microwave is more energy-efficient than conventional ovens; a microwave with the sensor cooking option saves you even more money as it uses less energy overall. As such, you don’t have to spend so much on electricity bills each month. Since it adjusts the temperature and shuts off power automatically, you don’t have to worry about overcooking your food and wasting energy.
Conclusion
A microwave with a sensor cooking option offers more flexibility and convenience. While it may come at an extra cost than a regular microwave, it is worth every penny due to its features.
So, if you can spare the extra cash to get a microwave with sensor cooking, it’s a better option.
Frequently Asked Questions
Can I Put Any Dish or Pot for Sensor Cooking?
Not all pots and dishes work for sensor cooking. But generally, you can use ceramic and glass pots or containers for sensor cooking.
These materials allow the microwave heat to penetrate the food evenly, ensuring you get the best result.
Can Microwave Sensors Cook Complex Recipes?
Yes, you can use the microwave sensor for cooking complex recipes. Since it comes with a timer feature, you can use that to account for the variables involved in the recipe.

