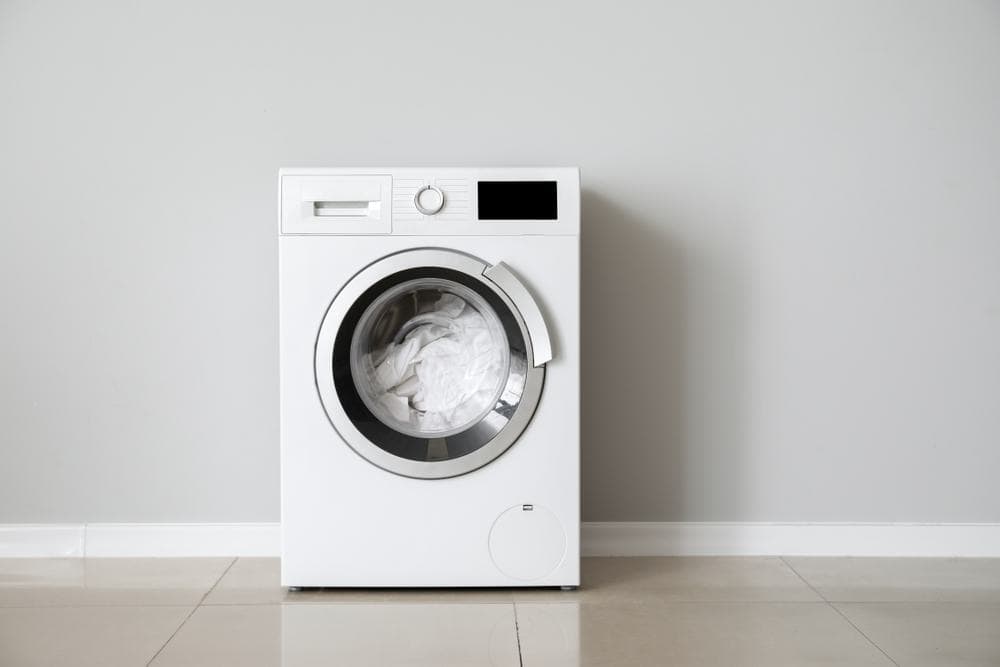
Speed Queen Washer is a renowned brand in the washing machine sector, known for its durability, reliability, and commercial-grade construction. However, like all appliances, it may require some troubleshooting from time to time. One common issue that many users face is the need to force drain the washer. This article provides a comprehensive guide on how to force drain a Speed Queen Washer safely and effectively.
To force drain a Speed Queen Washer, first, ensure the washer is turned off. Locate the drain hose at the back of the washer and place a bucket underneath it. Disconnect the drain hose and allow the water to flow out into the bucket. If the bucket fills up, reconnect the hose, empty the bucket, and repeat the process until all the water is drained. Once done, inspect and clean the drain hose, then reconnect it. Turn the washer back on and run a short cycle to ensure it’s draining correctly. Always follow safety precautions and consult a professional if needed.
Why Would You Need to Force Drain a Speed Queen Washer?
There are several reasons why you might need to force drain your Speed Queen Washer. These include a blocked or faulty drain pump, a clogged drain hose or pipe, a malfunctioning lid switch, a worn-out motor coupler or drive belt, or foreign objects or clogs lodged in the pump or between the basket and the tub. All these issues can prevent the washer from draining properly during its normal cycle, necessitating a force drain.
Risks of Not Properly Draining a Washer
Not properly draining your Speed Queen Washer can lead to several potential damages, including water leakage, clogged drain hose, damage to the pump or belt, excessive suds, and retained water at the bottom of the washer. These issues can cause unpleasant odors, mold growth, and potential damage to the washer’s components.
Step-by-Step Guide to Force Drain a Speed Queen Washer
Before you begin the force draining process, ensure you have the necessary tools at hand. These may include a drain extension kit, pliers, a socket set, and specific service tools provided by Speed Queen.
- Turn off the washer: Ensure the washer is turned off before proceeding.
- Locate the drain hose: The drain hose is usually grey in color and located at the backside of the washer.
- Prepare a bucket: Place a bucket or a large container near the drain hose to collect the water.
- Disconnect the drain hose: Carefully disconnect the drain hose from the washer. Be prepared for water to start flowing out as soon as the hose is disconnected.
- Drain the water: Allow the water to flow out of the hose and into the bucket. If the bucket becomes full, reconnect the hose to the washer, empty the bucket, and then resume draining the water. Continue this process until all the water has been drained from the washer.
- Inspect and clean the drain hose: Check the drain hose for any blockages or kinks. If necessary, clean the hose to ensure proper water flow in the future.
- Reconnect the drain hose: Once the washer is fully drained and the hose is clean, reconnect the drain hose to the washer.
- Test the washer: Turn the washer back on and run a short cycle to ensure that it is draining properly.
Safety Precautions
When force draining a Speed Queen Washer, always disconnect power, turn off the water supply, check for foreign objects, do not bypass safety features, follow the manufacturer’s instructions, wear protective gear, avoid flammable substances, and seek professional help if needed.
Signs of Potential Problems During Force Drain
During the force draining process, watch out for unusual noises, slow draining, gurgling sounds, water pooling or raised water levels, and unusual reactions when using fixtures. These may indicate a problem or malfunction that needs professional attention.
Post-Force Drain Maintenance Tips
After successfully force draining your washer, follow these maintenance tips to prevent future issues: clean the drain pump filter regularly, inspect the drain hose, use the correct amount of detergent, regularly clean the detergent dispenser, check for foreign objects, and schedule regular maintenance.
Conclusion
Force draining a Speed Queen Washer is a straightforward process if you follow the steps correctly and take necessary precautions. However, if you’re unsure about any aspect of the force draining process or face any issues, it’s always best to consult a professional technician for assistance. Regular maintenance and care can help prevent future draining issues and extend the lifespan of your Speed Queen Washer.
Frequently Asked Questions
How often should I clean the drain pump filter on my Speed Queen Washer?
The frequency of cleaning the drain pump filter can vary based on your usage of the washer. However, a good rule of thumb is to clean it once every month to prevent build-up and ensure efficient draining.
What safety gear is recommended when force draining a Speed Queen Washer?
It’s recommended to wear rubber gloves to protect your hands when disconnecting the drain hose and cleaning the drain pump filter. Also, consider wearing safety goggles to protect your eyes from any potential splashes.
What should I do if I see water leaking from my Speed Queen Washer during the force drain process?
If you notice water leaking during the force drain process, it may be due to a loose or damaged hose. Check the connections and replace any damaged parts as needed. If the leakage continues, it’s best to consult a professional technician.
How much detergent should I use in my Speed Queen Washer?
The amount of detergent to use depends on the size and soil level of the load. However, it’s important not to overuse detergent as it can lead to excessive suds and poor drainage. Always follow the detergent manufacturer’s instructions and the washer’s manual for the recommended amount.
Can I use any pliers and socket set for the force drain process?
Yes, standard pliers and a socket set should work fine for disconnecting and reconnecting the drain hose. However, always ensure the tools are in good condition and suitable for the task to avoid damaging your washer.


