Setting up a dishwasher may seem like a daunting task, but with the right tools and a step-by-step guide, it can be a manageable DIY project. In this comprehensive guide, we’ll walk you through the entire process, from choosing the best location for your dishwasher to conducting a final check to ensure it’s operating correctly.
Setting up a dishwasher involves choosing a suitable location, gathering essential tools, installing the dishwasher, and conducting a final check. The location should be near the sink, have easy access to plumbing and electrical connections, and not obstruct work areas. Tools needed include a screwdriver, adjustable wrenches, a level, and a tape measure. Installation involves measuring the dishwasher dimensions, removing the old dishwasher, attaching the electric cord, hooking up the water supply, attaching the drain hose, positioning the dishwasher, anchoring it, and running a test cycle. The final check ensures the dishwasher operates correctly.
Choosing the Best Location for Your Dishwasher
The location of your dishwasher is crucial to its functionality and your convenience. Consider the following factors when choosing the best spot:
- Proximity to the sink: The dishwasher should be placed next to the sink for easier plumbing and to follow the “scrape, rinse, load” method.
- Plumbing and electrical accessibility: The chosen location should have easy access to water supply, drain lines, and electrical connections.
- Cabinet space: Ensure there is enough cabinet space to accommodate the dishwasher without obstructing other appliances or storage areas.
- Noise levels: If you are sensitive to noise, consider placing the dishwasher in a location that minimizes noise disturbance.
- Workflow and walkways: Ensure that the dishwasher door does not block any work areas or walkways when it’s open.
- Storage proximity: The dishwasher should be near the cabinets where dishes, cutlery, and other frequently used items are stored for efficiency.
Essential Tools for Dishwasher Installation
Before you start, gather all the necessary tools:
- Screwdriver
- Adjustable wrenches
- Pliers
- Level
- Tape measure
- Cordless drill
- Socket wrench
- Hammer (optional)
- 1.5-inch drill bit (optional)
- Mop and bucket (for cleaning up any water spills)
- Drop sheet or cardboard (optional, for protecting the floor)
- Tape (optional, for securing connections)
You may need additional materials such as a braided stainless steel water line, Teflon tape, dishwasher installation kit with a 90-degree fitting and water supply line, water line installation kit, and power cord.
Installing the Dishwasher
Once you have your tools, follow these steps:
- Measure dishwasher dimensions: Ensure that the dishwasher will fit in the designated space in your kitchen.
- Remove the old dishwasher (if applicable): Turn off the electricity at the circuit breaker and the water supply at the shut-off valve under the sink. Remove the front access panel, disconnect the wiring connections in the terminal box, and disconnect the old water supply and drain lines.
- Attach the electric cord: Most dishwashers require a dedicated 120/125-volt, 15-amp circuit. Consult the dishwasher manufacturer’s specifications for the exact amp rating and follow the installation instructions for connecting the electric cord.
- Hook up the water supply: Install a water supply line, such as a braided stainless steel line, to the dishwasher’s water inlet valve. Use Teflon tape to ensure a tight seal on the connections.
- Attach the drain hose: Connect the dishwasher’s drain hose to the sink’s drain or garbage disposal, following the manufacturer’s instructions.
- Position the dishwasher: Slide the dishwasher into the designated space, ensuring that it is level and properly aligned with the surrounding cabinets. Adjust the leveling feet if necessary.
- Anchor the dishwasher: Secure the dishwasher to the underside of the countertop or the sides of the cabinet using the provided mounting brackets and screws.
- Test the dishwasher: Turn on the water supply, electricity, and run a test cycle to ensure that the dishwasher is functioning properly and there are no leaks.
Loading and Unloading Best Practices
To ensure the best results when loading and unloading a dishwasher, follow these best practices:
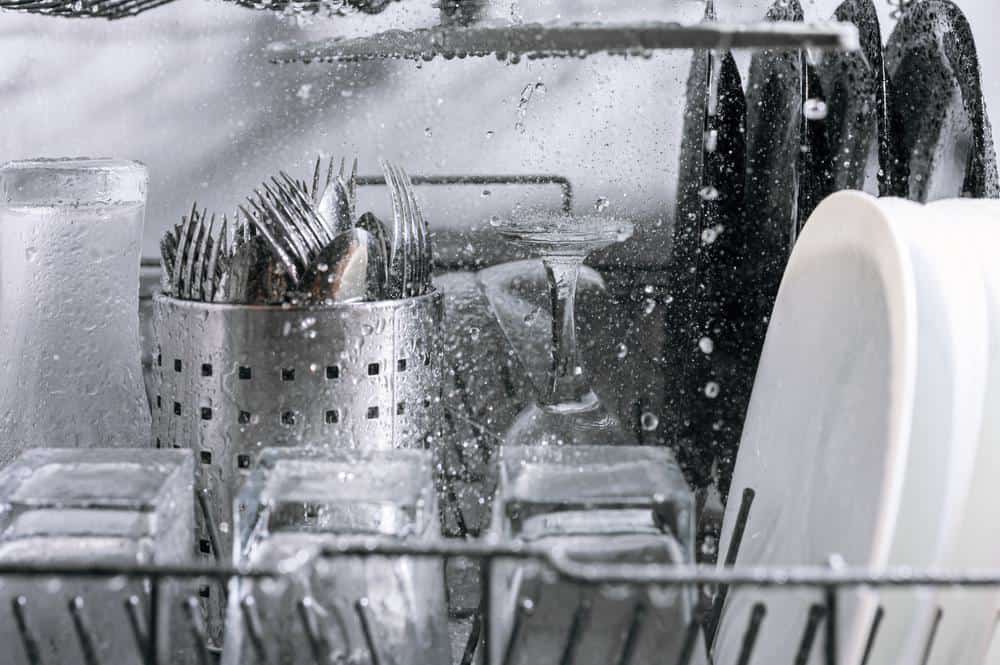
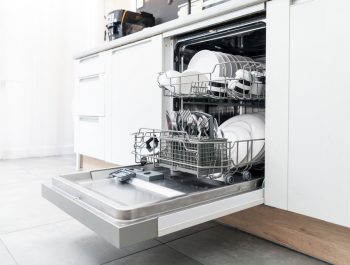
- Loading the dishwasher: Load dishes from back to front. Place items between the dishwasher’s tines, not on top of them. Don’t nest items like Russian dolls. Face dishes toward the center and angle them downward. Place cups, glasses, and small bowls on the top rack, and avoid overcrowding. Load silverware into the silverware basket, avoiding nesting. Place knives with handles up and blades down for safety, and spoons and forks with handles down for proper cleaning.
- Unloading the dishwasher: Unload the bottom rack first, then the top rack. When unloading silverware, be careful with sharp items like knives, and grab utensils by their handles.
Final Checks
Conduct a final check to ensure your dishwasher is properly set up and operating correctly. Check the door and seals, inspect the dishwasher filter, examine the spray arm, check for leaks, test the dishwasher’s draining, verify the electrical connection, and inspect the dishwasher’s performance.
By following these steps, you can ensure that your dishwasher is properly set up and functioning correctly. Regular maintenance, such as cleaning the filter and checking for leaks, will help prolong the life of your dishwasher and keep it running efficiently.
Now you have a comprehensive guide to setting up your dishwasher. Remember, if you’re unsure about any part of the installation process, it’s best to consult a professional.
Frequently Asked Questions
Can I install a dishwasher myself, or do I need a professional?
Yes, you can install a dishwasher yourself. However, it’s important to follow the instructions carefully and have the necessary tools and materials on hand. If you’re not comfortable with plumbing and electrical work, it’s best to hire a professional.
What kind of water supply line should I use for my dishwasher?
A braided stainless steel water line is recommended because it’s durable and less likely to leak. However, you should always check the dishwasher manufacturer’s specifications to ensure you’re using the correct type of water supply line.
What should I do if my dishwasher leaks during the test cycle?
If your dishwasher leaks during the test cycle, turn off the water supply and electricity immediately. Check the connections on the water supply line and the drain hose. If the connections are secure and you’re still experiencing leaks, it’s best to consult a professional.
How often should I clean the dishwasher filter?
Most manufacturers recommend cleaning the dishwasher filter once a month. However, if you notice your dishes aren’t as clean as they should be, check the filter. A clogged filter can affect the dishwasher’s performance.
Is it necessary to rinse dishes before loading them into the dishwasher?
It depends on the dishwasher. Some modern dishwashers are designed to handle food particles, so pre-rinsing isn’t necessary. However, you should scrape off large food particles before loading dishes into the dishwasher. Always refer to your dishwasher’s user manual for specific instructions.


