Cleaning your Kenmore dryer is an essential part of maintaining its efficiency and prolonging its lifespan. Regular cleaning can help to prevent lint buildup, reduce the risk of fire hazards, and ensure that your dryer works optimally. In this comprehensive guide, we will take you through the steps on how to clean a Kenmore dryer effectively.
To clean a Kenmore dryer, first unplug the appliance for safety. Remove and clean the lint filter after every load. Every few months, wash the lint filter with warm water and a nylon brush. Wipe the inside of the dryer drum and clean the moisture sensor strips as needed. Regularly clean the exterior of the dryer and the vent system to ensure proper airflow. For a more detailed cleaning, consider removing the front panel to access the blower and lint chute, or hire a professional.
What You’ll Need
Before you start, gather the necessary tools and cleaning supplies. You will need:
- A paint scraper or standard head screwdriver to open the dryer’s top panel.
- A vacuum cleaner with a hose attachment.
- A dryer duct cleaning kit, which includes flexible brushes with extensions.
- A lint brush or lint trap brush.
- A soft cloth or towel for wiping down surfaces.
Safety Precautions
When cleaning a Kenmore dryer, always remember to:
- Unplug the dryer before cleaning to avoid the risk of electric shock.
- Be gentle around wires and mechanical parts to avoid damaging them.
- Keep track of all screws and parts you remove during disassembly, so you can easily reassemble the dryer after cleaning.
How to Clean a Kenmore Dryer
With your safety precautions in mind, follow these steps:
Cleaning the Lint Filter
Remove the lint filter after every load and clean it with a soft brush or your fingers. Every few months, wash the lint filter with warm water and a nylon brush, then rinse it in hot water and dry it completely before reinstalling it in the dryer.
Cleaning the Dryer Drum
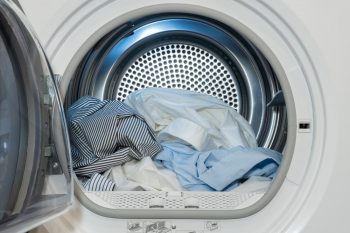
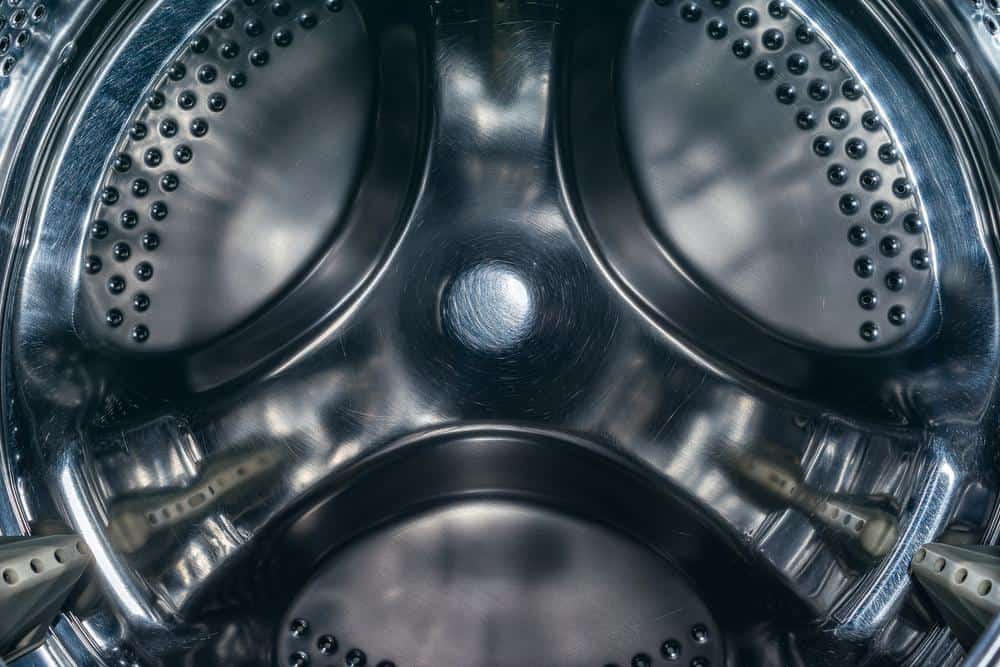
Wipe the entire inside of the dryer drum with a damp cloth to remove deposits and debris. For tough stains and deposits inside the drum, use liquid dish soap with a soft damp cloth or an eraser sponge.
Cleaning the Moisture Sensor Strips
Clean the moisture sensor strips when you notice debris or fabric softener build-up on the metal strips.
Cleaning the Outside of the Dryer
Clean the painted cabinet and door of your dryer using a damp cloth and mild detergent. Unplug the dryer and pull it out from the wall. Clean dust from the slotted vents on the back of the dryer cabinet to ensure proper airflow through the dryer.
Cleaning the Dryer Vent System
Disconnect the flexible vent behind the dryer and vacuum lint and debris out of the flexible vent. Clean lint and debris out of the exhaust vent duct system going to the outside of your home. Clean the outside damper if your dryer exhausts through the side of your house. You can use a leaf blower or a dryer vent brush to clear lint and debris from the duct.
Cleaning the Interior of the Dryer
For a more detailed cleaning, you can also remove the front panel of the dryer to access the blower and lint chute. Make sure to unplug the dryer before attempting any disassembly. If you’re not comfortable with this process, consider hiring a professional to clean your dryer vent system.
By following these steps, you can keep your Kenmore dryer clean and functioning efficiently, reducing the risk of fire hazards and prolonging the life of your appliance. Regular cleaning is key to maintaining your dryer’s performance. This helps to prevent the dryer from working double-time, which can add considerable wear and tear to the machine, leading to malfunctions and needed repairs.
Common Mistakes to Avoid
When cleaning your Kenmore dryer, avoid these common mistakes:
- Not cleaning the lint screen regularly.
- Ignoring the dryer vent.
- Not cleaning the moisture sensors.
- Overloading the dryer.
- Neglecting to sort clothes.
- Not preparing clothes for drying.
By avoiding these common mistakes, you can help maintain your Kenmore dryer’s efficiency, extend its lifespan, and prevent potential safety hazards.
We hope this comprehensive guide helps you clean your Kenmore dryer effectively. By following these steps and precautions, you can ensure that your dryer remains efficient and safe to use. Happy cleaning!
Frequently Asked Questions
How often should I clean my Kenmore dryer?
A thorough cleaning of your Kenmore dryer should be done at least once a year. However, the lint filter should be cleaned after every load.
Can I use any vacuum cleaner to clean the dryer vent system?
Yes, any vacuum cleaner with a hose attachment can be used. However, a shop vacuum may be more effective in removing lint and debris from the dryer vent system.
What should I do if I notice a burning smell while using my Kenmore dryer?
If you notice a burning smell, stop using your dryer immediately and unplug it. The smell could be due to a lint buildup in the dryer vent, which can potentially cause a fire. Clean your dryer thoroughly and if the smell persists, call a professional.
How can I prevent my clothes from getting stuck in the dryer drum?
Make sure to not overload your dryer. Overloading can cause clothes to get stuck in the drum. Also, checking and cleaning the drum regularly can help prevent this issue.
What kind of detergent should I use to clean the dryer drum?
Use a mild liquid dish soap to clean the dryer drum. Avoid using harsh chemicals, as they can damage the drum’s surface.
Can I use a wire brush to clean the lint filter?
It’s recommended to use a soft brush or your fingers to clean the lint filter. A wire brush might damage the filter’s mesh.


