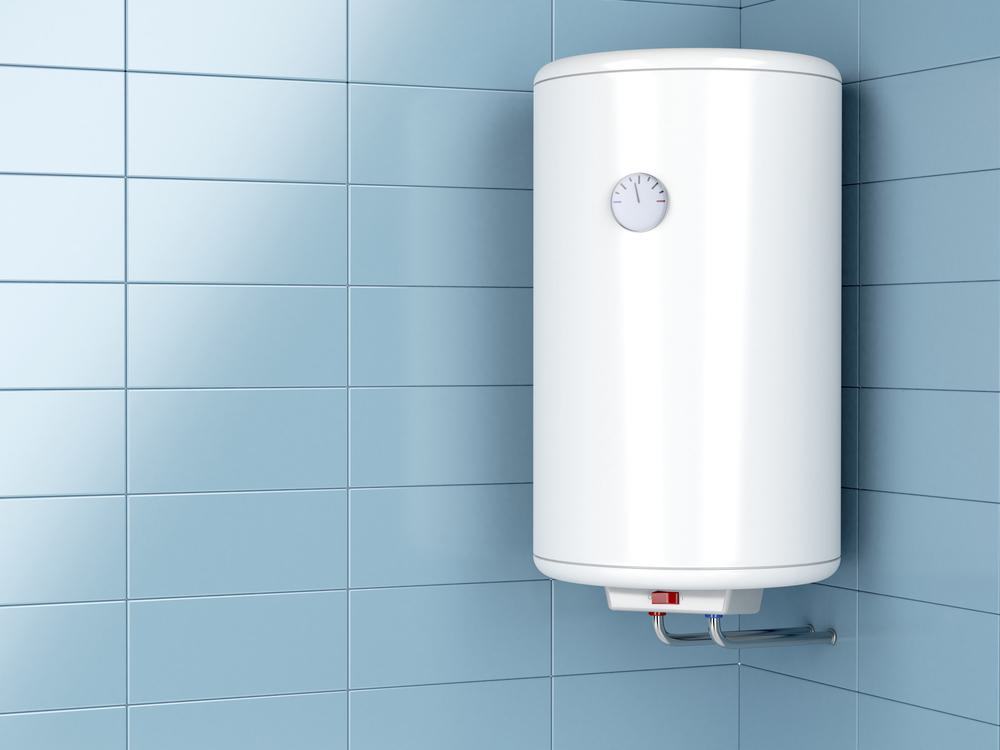
Changing the heating element of a Rheem water heater can seem like a daunting task, but with the right tools, safety precautions, and steps, it can be a relatively straightforward DIY project. This guide will walk you through each step of the process, providing practical tips, common mistakes to avoid, and how to maintain your water heater post-installation.
Changing the heating element in a Rheem water heater involves gathering the necessary tools, turning off the power for safety, draining the water heater, removing the old heating element, installing the new one, and checking for leaks. Regular maintenance is also crucial post-installation. Always remember to contact a professional if you feel uncomfortable performing these tasks yourself.
Gathering Necessary Tools
Before undertaking this project, you’ll need to gather the necessary tools. These include:
- A replacement heating element
- A #2 Phillips screwdriver
- A 1 1/2 inch element wrench for screw-in heating elements or a 3/8 inch socket wrench for flange-mounting heating elements
- A flat blade screwdriver
- Teflon tape
- A voltmeter
- A garden hose
- Rags and towels
Each of these tools plays a crucial role in the process. For example, the voltmeter is used to verify that the power has been disconnected to ensure safety, while the garden hose is used to drain the tank.
Safety Precautions
Safety should always be your priority when working with electrical appliances. Always disconnect the power source before starting any work on the water heater. This can be done by turning off the circuit breaker. You should also wear protective gear, work in a well-ventilated area, and never leave heating elements unattended.
Steps to Replace the Heating Element
Once you have gathered your tools and implemented safety measures, you can start the process of replacing the heating element. Here is a detailed step-by-step guide that walks you through everything from draining the water heater to replacing the heating element and checking for leaks.
Common Mistakes to Avoid
Even with the best intentions, mistakes can happen. Some common mistakes to avoid include not turning off the power, not draining the water heater, using the wrong tools, not checking the thermostat settings, not testing the heating elements before replacement, not ensuring the water heater is full before turning it back on, and not checking for leaks after replacement.
Post-Installation Maintenance
After successfully replacing the heating element, regular maintenance is key to ensure the longevity and efficiency of your Rheem water heater. This includes inspecting the water heater for any leaks, checking all the valves, draining the water heater at least once a year, removing the buildup of mineral sediment, checking the heating element for scale, and replacing the magnesium anode rod every two years or when it shows significant wear.
Changing the heating element in a Rheem water heater is a manageable task when you have the right information. With this guide, you’ll have the knowledge and skills to perform this task safely and efficiently. However, if you ever feel uncomfortable or unsure, don’t hesitate to contact a professional for help.
Frequently Asked Questions
How do I identify the right replacement heating element for my Rheem water heater?
The best way to identify the correct replacement heating element is to refer to your Rheem water heater’s user manual. This will provide the specific part number needed. If you don’t have the manual, you could also check the existing heating element for any identifying information, or contact Rheem customer service for assistance.
How do I know if my Rheem water heater’s heating element needs to be replaced?
If your water heater is not heating water as efficiently as it used to, or if it’s not heating water at all, the heating element may need to be replaced. Other signs of a faulty heating element include a high electric bill (as the heater works harder to heat the water), and water that is too hot or too cold.
How long does it usually take to replace the heating element in a Rheem water heater?
The process of replacing the heating element can take anywhere from 1-2 hours for someone with some basic DIY skills. This includes the time to drain and refill the tank.
What is the purpose of the Teflon tape in this process?
Teflon tape, also known as plumber’s tape, is used to seal pipe threads to prevent leaks. In this case, it would be used on the threads of the new heating element before it is installed into the water heater.
How do I dispose of the old heating element?
Old heating elements should be disposed of according to your local waste disposal regulations. Some areas may have recycling programs for these types of items, while others may require you to dispose of it as hazardous waste due to the electrical components. Always check with your local waste disposal facility for the correct procedures.


