Baking bread at home can be a rewarding experience, but it can also be fraught with challenges. One common issue many home bakers face is their bread rising too much in the oven. This can result in a loaf that’s overly large, has a hollow interior, or collapses after baking. But what causes this to happen, and how can you prevent it? In this article, we’ll explore the reasons behind excessive oven rise and provide practical solutions to help you bake the perfect loaf.
Bread rises too much in the oven primarily due to overproofing, using too much yeast, inappropriate temperatures during proofing and baking, improper kneading and shaping techniques, and over-fermentation. To prevent this, monitor your dough during proofing, use the right amount of yeast, control the temperature during proofing and baking, and develop proper kneading and shaping skills.
Overproofing: When Too Much Rise Isn’t a Good Thing
One of the most common reasons for bread to rise excessively in the oven is overproofing. Overproofing occurs when the dough is allowed to rise for too long before baking. This causes the gluten structure in the dough to weaken and become overstretched, resulting in a dough that’s over-aerated.
When overproofed dough is baked, it can experience an initial surge in oven spring (the rapid rise that occurs in the early stages of baking due to yeast activity and steam production), but then it collapses as the weak gluten structure can’t support the loaf’s weight.
To prevent overproofing, monitor the dough during the proofing stage. A simple poke test can help you determine if the dough is ready for baking. If your finger leaves an imprint that springs back slowly but still leaves a slight indent, the dough is likely proofed properly.
The Role of Yeast
The amount of yeast used in your recipe can also influence how much your bread rises in the oven. Yeast is a key player in the fermentation process, converting the sugars in the dough into carbon dioxide gas, which causes the dough to rise.
However, using too much yeast can cause the dough to rise too quickly and lead to overproofing. On the other hand, using the right amount of yeast ensures a controlled rise, producing a strong dough that can withstand the rigors of baking. As a general rule, you should use between 1% and 1.5% yeast by weight of the flour.
The Impact of Temperature
Temperature plays a crucial role in the rising process of bread dough, both during proofing and baking. Yeast is most active at a temperature range of 90–100°F (33–37.8°C), and its activity doubles for every 18°F (10°C) increase in temperature.
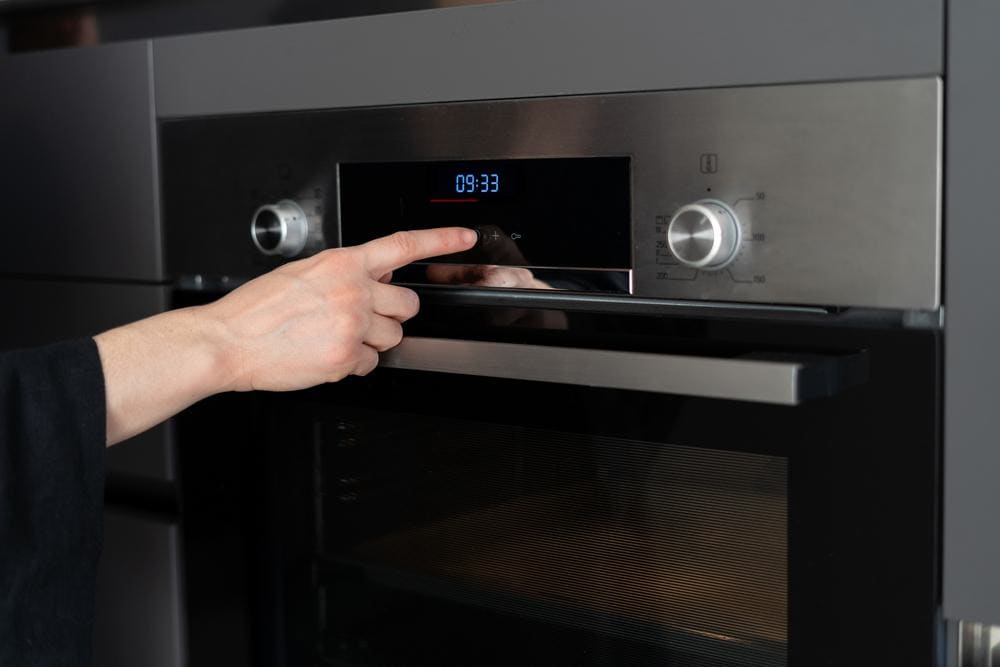
At the baking stage, the ideal oven temperature for baking bread ranges between 350 and 475°F (180 and 246°C). A lower temperature may be suitable for soft-crusted bread, while a higher temperature is better for thick and crusty bread.
Monitoring and controlling the temperature can help prevent your bread from rising too much in the oven. A kitchen thermometer can be a useful tool in helping you maintain the right temperature for your dough.
Kneading and Shaping
The process of kneading and shaping the dough also contributes to the final rise of the bread. Kneading helps to develop the gluten network, which gives the bread structure and allows it to hold the gas bubbles produced during fermentation.
Shaping, on the other hand, helps to build tension in the dough, creating a tight outer skin that allows for a strong oven spring. Proper kneading and shaping techniques can prevent the bread from rising too much in the oven.
The Fermentation Factor
Lastly, the fermentation process can greatly impact the bread’s excessive rising in the oven. The carbon dioxide produced during fermentation expands and causes the bread to rise further. Over-fermenting the dough can lead to a lack of oven spring, therefore it’s essential to have a well-developed gluten network, proper dough strength, and a fully proofed dough.
Conclusion
Bread rising too much in the oven is a common issue faced by many home bakers. However, by understanding the factors that contribute to this problem and making the necessary adjustments, you can prevent excessive oven rise and bake a perfect loaf each time. Whether it’s controlling the proofing time, adjusting the yeast amount, monitoring the temperature, or perfecting your kneading and shaping techniques, each step plays a crucial role in the final rise of your bread. Happy baking!
Frequently Asked Questions
What is the poke test for bread dough?
The poke test is a simple method to determine if your bread dough has risen enough and is ready for the oven. You lightly press your finger about 1/2 inch into the dough. If the indent springs back slowly and leaves a slight visible impression, the dough is properly proofed and ready to bake.
How can I control the temperature of my dough during proofing?
You can control the temperature during proofing by selecting a warm but not hot place in your home. Avoid placing your dough near a hot oven or in direct sunlight. If your home is cold, you can create a warm environment by turning on the oven for a few minutes, then turning it off and placing the dough inside. A kitchen thermometer can be useful to check the dough temperature.
How long should I knead my bread dough?
The kneading time can vary depending on the type of bread you’re making and the method you’re using. Generally, bread dough should be kneaded for about 10 to 15 minutes by hand or 8 to 10 minutes in a stand mixer. The dough should be smooth and elastic when it’s ready.
What happens if I underproof my bread?
Underproofed bread will not have had enough time to create the gas bubbles that give the bread its texture, resulting in a denser, less airy loaf. It may also have a more yeasty flavor, as the yeast hasn’t had sufficient time to consume the sugars in the dough.
Can I use a different type of yeast than what’s called for in my recipe?
Yes, you can substitute different types of yeast, but you’ll need to adjust the quantity and possibly the proofing time. Active dry yeast, instant yeast, and fresh yeast can all be used interchangeably, but they have different levels of potency and may require different amounts to achieve the same rise. Always refer to a reliable conversion chart when substituting yeasts.


