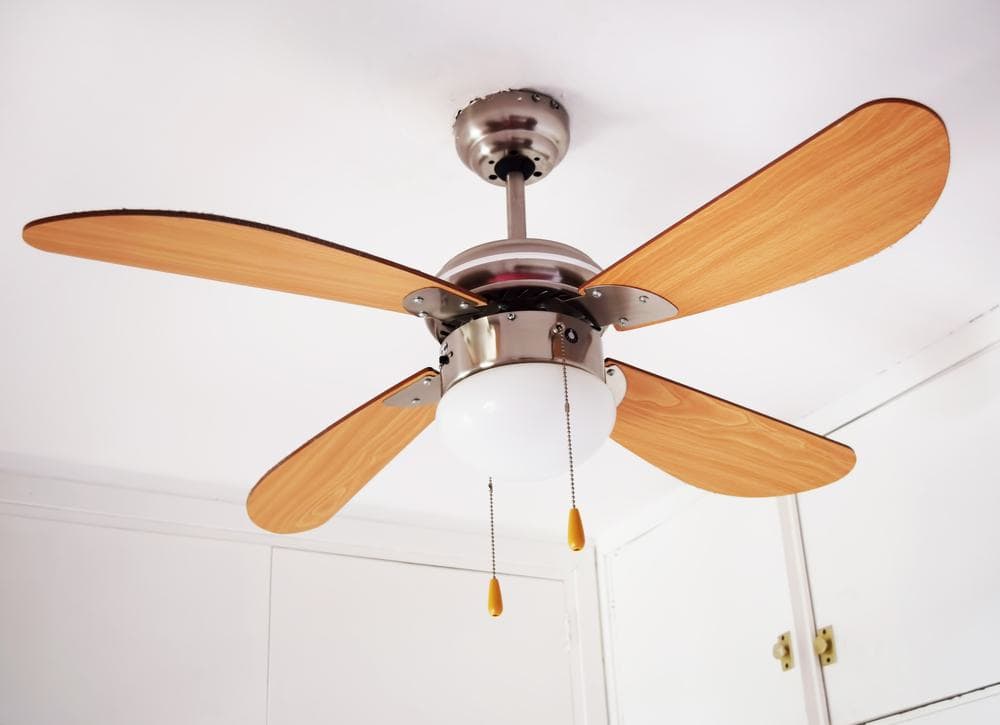
Assembling a ceiling fan may seem like a daunting task, but with the right tools, a little patience, and this comprehensive guide, you’ll be able to assemble a Hunter Ceiling Fan with ease. In this article, we’re going to cover everything you need to know, from the necessary tools and materials, to step-by-step instructions, safety precautions, and troubleshooting common problems.
Assembling a Hunter Ceiling Fan involves gathering necessary tools, turning off the power, installing the ceiling plate, assembling the fan, hanging it, wiring it, attaching the canopy, installing the light kit (if applicable), attaching fan blades, testing the fan, and troubleshooting any issues. Always refer to your specific fan model’s manual for detailed instructions. Safety precautions like turning off the power and using the right tools are crucial. If you encounter problems, seek professional help.
Necessary Tools and Materials
Before beginning the assembly process, gather the following tools and materials:
- Electric drill with a 9/64″ bit
- Standard screwdriver
- Phillips-head screwdriver
- Wrench or pliers
- Ladder (height dependent upon installation site)
- Ceiling fan components (included in the package)
- Remote control kit (if applicable, included with some Hunter ceiling fans or may need to be purchased separately)
Remember, it’s essential to refer to the specific ceiling fan model’s manual for detailed installation instructions. The tools and materials listed above are generally required for most Hunter ceiling fan installations, but the directions for your specific fan model may differ.
Step-by-Step Instructions for Assembly
Follow these detailed instructions to assemble your Hunter Ceiling Fan:
- Turn Off the Power Safety should always be your first priority. Before starting, make sure to turn off the electricity at the main panel to avoid any electrical shock.
- Prepare the Tools Gather all the necessary tools for the installation, such as a screwdriver, pliers, wire strippers, and a drill.
- Install the Ceiling Plate Attach the ceiling plate to the electrical box or support structure using the provided hardware. Make sure to install the rubber bushings as well.
- Assemble the Fan Follow the specific instructions provided in your ceiling fan’s manual for assembling the fan. This may include attaching the blades, motor housing, and light kit (if applicable).
- Hang the Fan Attach the fan to the ceiling plate using the provided hardware. Ensure that the fan is securely fastened and that there is a minimum distance of 7 feet between the bottom edge of the fan blades and the floor, and at least 30 inches from the blade tips to the nearest wall or obstruction.
- Wire the Fan Connect the fan’s wires to the corresponding wires in the electrical box, following the wiring instructions provided in your fan’s manual. Use wire nuts to secure the connections and wrap them with electrical tape.
- Attach the Canopy Install the canopy over the ceiling plate and secure it with the provided screws.
- Install the Light Kit (if applicable) If your fan includes a light kit, follow the manufacturer’s instructions to install it.
- Install the Fan Blades Attach the fan blades to the fan motor using the provided screws and washers.
- Test the Fan Turn the power back on and test the fan to ensure it is functioning correctly. Check for any wobbling or noise, and make any necessary adjustments.
Remember to refer to your specific ceiling fan model’s manual for detailed installation instructions, as the directions may vary slightly between different models.
Safety Precautions
While assembling your Hunter Ceiling Fan, it’s crucial to take safety precautions to avoid injuries. Here are some tips to keep in mind:
- Always turn off the power before beginning the installation.
- Use the right tools for the job to prevent accidents.
- Wear protective gear, such as gloves and safety glasses.
- Make sure your ladder is stable before climbing on it.
- Don’t force parts together; they should fit easily if you’re assembling the fan correctly.
Troubleshooting Common Problems
Despite your best efforts, you might encounter some problems while assembling your Hunter Ceiling Fan. Here are some common issues and how to resolve them:
- Fan is wobbling: This could be due to the fan blades being unbalanced. Try adjusting the blades or check if any screws are loose.
- Fan is not working: Check if the circuit breaker has tripped or if there’s an issue with the wiring.
- Remote control is not working: Make sure the batteries are not dead and that the dip switches on both the fan and the remote match.
Remember, if you’re unsure about any steps or encounter any problems you can’t resolve, it’s best to consult a professional.
Conclusion
Assembling a Hunter Ceiling Fan can be a straightforward task with the right guidance. Remember to always prioritize safety, follow the manufacturer’s instructions, and don’t hesitate to seek professional help if needed. With this comprehensive guide, you’ll have your Hunter Ceiling Fan assembled and ready to cool your space in no time!

