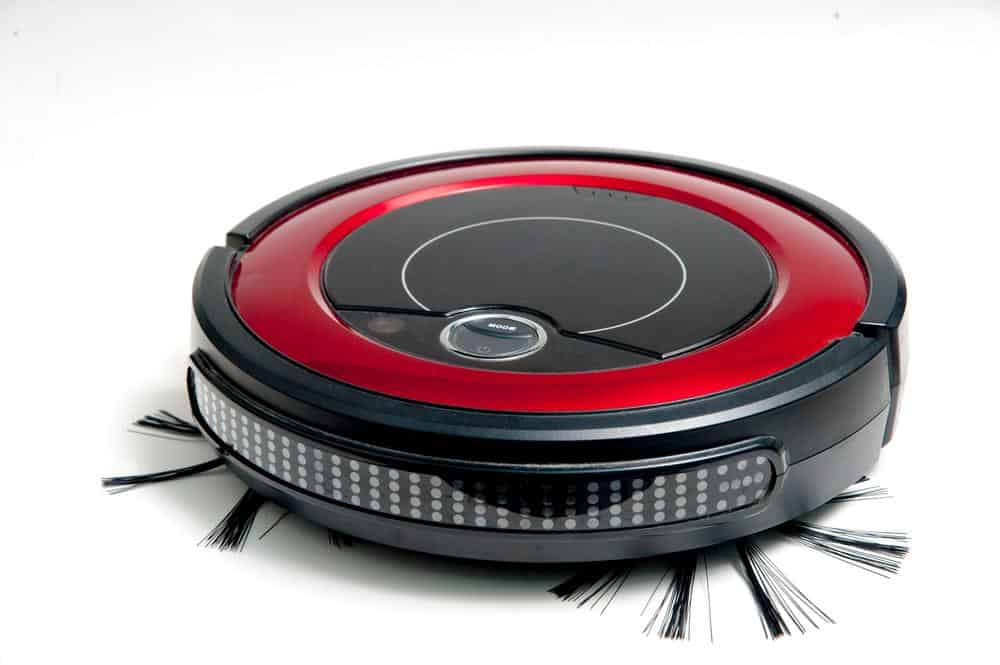
Roomba vacuums have revolutionized home cleaning, making it convenient and hassle-free. They come with advanced features such as creating and updating maps of your home’s layout for efficient cleaning. In this comprehensive guide, we will explore how to update a Roomba map, the importance of updating it, common issues encountered, and tips for efficient updating.
To update a Roomba map, open the iRobot Home App on your phone, go to Settings and tap on Cleaning Preferences. Select Reset Map under Advanced Settings. Ensure your Roomba is plugged in and turned on, then press the Power button on your Roomba. On the iRobot Home App’s home screen, click on Setup, choose a room, and press Start Mapping. Your Roomba will begin the mapping process. Remember, it may take at least 2 cleaning cycles for your Roomba to create a clear map of the area.
What is a Roomba map?
A Roomba map is a visual representation of your home’s floor plan created by the Roomba robot vacuum as it navigates and cleans your living space. This map is generated using advanced navigation technology, such as vSLAM (Visual Simultaneous Localization & Mapping). Roomba maps allow the robot vacuum to efficiently navigate your home, avoiding obstacles, and ensuring complete coverage of the floor area.
Why is it important to update a Roomba map?
Updating the Roomba map is essential when there are changes in your home’s layout, such as moving furniture or adding new rooms. Keeping the Roomba map updated ensures that the robot vacuum can effectively navigate and clean your home, providing the best possible cleaning experience.
How to update a Roomba map?
To update a Roomba map, follow these simple steps:
- Open the iRobot Home App on your phone.
- Go to Settings and tap on Cleaning Preferences.
- Select Reset Map under Advanced Settings.
- Make sure your Roomba is plugged in and turned on.
- Press the Power button on your Roomba.
- On the iRobot Home App’s home screen, click on Setup.
- Choose a room and press Start Mapping. Your Roomba will start the mapping process.
Remember, it may take at least 2 cleaning cycles for your Roomba to create a clear map of the area. Once the mapping is complete, you can customize the map by adding dividers and labeling rooms in the iRobot Home App.
Roomba models with map updating feature
The Roomba models that have the feature to update the map include the i3, i3 Plus, i4, i4 Plus, s9, j7, and i7. A firmware update added smart mapping to the Roomba i3, i3 Plus, i4, and i4 Plus models, allowing them to learn your home’s floor plan and be directed to clean specific rooms using the iRobot Home app or a voice assistant like Amazon’s Alexa or Google’s Assistant.
Tips for efficient map updating
To make the process of updating a Roomba map more efficient, consider the following tips:
- Prepare your home: Tidy up your space by picking up anything that might tangle up the robot, putting away obstacles like shoes, and ensuring the bot has access to all floor surfaces.
- Start from the charging dock: Begin the mapping process with the Roomba in its charging dock to avoid confusion and inaccurate maps.
- Perform multiple mapping runs: Roomba may need 3-5 mapping runs to create a complete and accurate map of your home. You can speed up this process by sending the bot out multiple times in one day or scheduling it to clean every morning for a few days until the map is generated.
- Use the iRobot Home App: After completing the mapping runs, customize the map by creating rooms, zones, and no-go areas using the iRobot Home App.
Common issues and solutions
Updating a Roomba map is generally a straightforward process, but you may encounter some common issues such as the map not updating or the Roomba not navigating properly. If your Roomba map is not updating automatically, you can try going to “History” in the iRobot Home App, tap the three dots, and tap “Update my smart map”.
Benefits of regularly updating a Roomba map
Regularly updating a Roomba map offers several benefits:
- Enhanced navigation: An updated map allows your Roomba to better navigate your home, avoiding obstacles and cleaning more efficiently.
- Customized cleaning: An updated map allows you to tailor your cleaning by sending your Roomba to clean specific areas of your home.
- Adaptability to changes: If you reposition furniture or make other changes to your home layout, an updated map ensures that your Roomba can still navigate effectively.
- Improved smart home integration: Regularly updated maps can help smart home devices, such as lighting, thermostats, and security cameras, better understand their physical environment and operate more efficiently.
In conclusion, updating a Roomba map is an essential part of maintaining your robot vacuum’s performance. By understanding how to update the map and addressing any issues that may arise, you can ensure that your Roomba continues to provide efficient and effective cleaning.
Frequently Asked Questions
What if my Roomba model doesn’t have the map updating feature?
If your Roomba model doesn’t have the map updating feature, it will still clean your home effectively. However, it won’t be able to remember the layout of your home or be directed to clean specific rooms.
How often should I update my Roomba map?
You should update your Roomba map whenever there are significant changes in your home layout, such as moving furniture or adding new rooms. If your home layout remains the same, there is no need for frequent updates.
Why is my Roomba not creating a map?
If your Roomba is not creating a map, ensure that it’s a model with the mapping feature. Also, check that it has completed at least 2 cleaning cycles, which are needed to create a clear map. If the problem persists, try resetting the map and starting the mapping process again.
Can I use my Roomba without using the iRobot Home App?
Yes, you can use your Roomba without the iRobot Home App. However, using the app provides additional features such as customizing cleaning schedules, viewing cleaning history, and updating and customizing the Roomba map.
Can I use multiple Roombas in one home?
Yes, you can use multiple Roombas in one home. Each Roomba will create and update its own map. However, remember to name each robot distinctly in the iRobot Home App to avoid confusion.
What are “no-go” areas and how can I set them?
“No-go” areas are zones where you don’t want your Roomba to clean. You can set these areas in the iRobot Home App by drawing a box around the area on the map. This feature is useful for protecting fragile items or keeping the Roomba out of certain rooms.

