Shrinky Dinks, a favorite creative plaything since the 1970s, are sheets of polystyrene that shrink to about one-third their original size and nine times their thickness when heated in an oven. They are a fun and versatile material for crafters of all ages, allowing you to create everything from jewelry to keychains to decorative items. In this comprehensive guide, we will walk you through the process of how to shrink Shrinky Dinks in the oven.
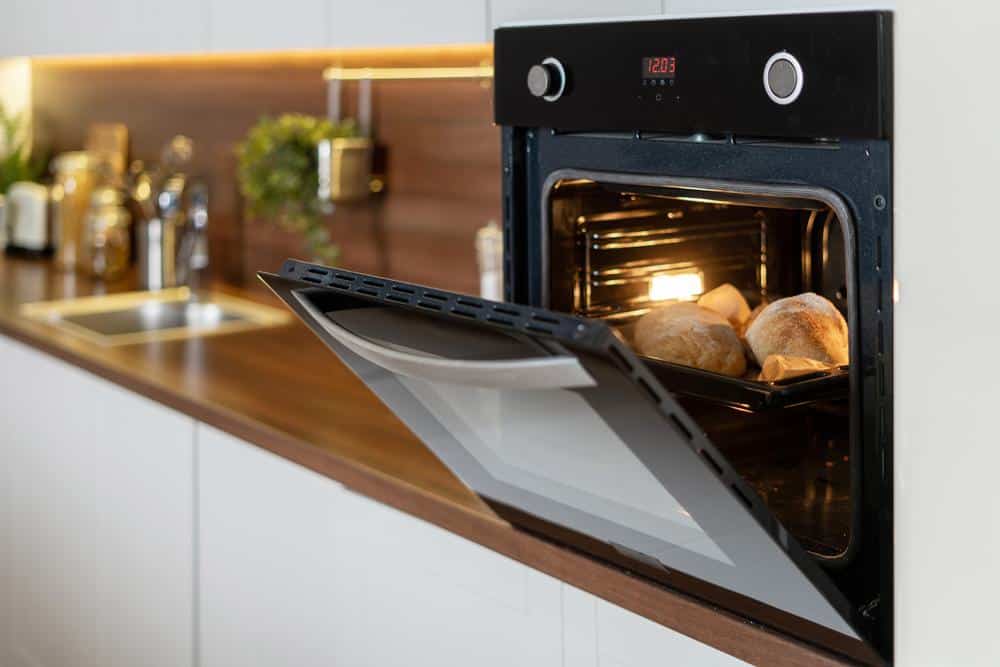
To shrink Shrinky Dinks in the oven, first preheat your oven to 325°F (163°C). Place your designed and cut Shrinky Dinks on a parchment paper-covered baking sheet. Bake for 1-3 minutes on the middle rack of the oven. The Shrinky Dinks will curl up and then flatten. Once they lay flat, allow an additional 30 seconds of baking time. Let them cool completely before handling.
What are Shrinky Dinks?
Shrinky Dinks were invented in 1973 by Betty Morris and Kate Bloomberg, two housewives in Brookfield, Wisconsin. They are sheets of polystyrene, a type of plastic, that can be cut into shapes and colored with permanent markers or colored pencils. When heated, the sheets shrink and become thicker, allowing you to create durable, miniature designs.
Preparing Shrinky Dinks for Shrinking
Before you can shrink your Shrinky Dinks, you need to prepare them. Here’s how:
- Create your design: Draw, trace, or copy an image onto your Shrinky Dinks plastic sheet. You can use colored pencils on the rough side of the sheet, and permanent markers or ink on the smooth side.
- Cut out your design: Using a pair of household scissors, cut out your design. Remember, the design will shrink to about one-third of its original size, so plan accordingly.
- Punch holes (optional): If you want to create a keychain, jewelry, or any other item that requires a hole, make sure to punch the hole in your design before baking.
Baking Shrinky Dinks
Now that you have prepared your Shrinky Dinks, it’s time to shrink them in the oven. Follow these steps:
- Preheat your oven: Set your oven to 325°F (163°C).
- Prepare a baking sheet: Place a sheet of parchment paper on a baking sheet or cookie sheet to prevent the Shrinky Dinks from sticking.
- Arrange your designs: Place your Shrinky Dinks designs, colored side up, on the parchment paper-covered baking sheet.
- Bake: Place the baking sheet on the middle rack of the oven and bake for 1-3 minutes. Watch the Shrinky Dinks as they shrink. They will curl up and then flatten out. Once they lay flat, allow an additional 30 seconds of baking time.
Safety Precautions
As with any activity involving an oven, safety should be your top priority. Here are some safety precautions to follow:
- Use a conventional oven or toaster oven: Shrinky Dinks should not be baked in a microwave oven.
- Adult supervision: If children are involved in the activity, an adult should supervise the cutting and baking process.
- Use oven mitts: When placing the tray in the oven and removing it, use oven mitts to protect your hands from the heat.
- Avoid touching the Shrinky Dinks immediately after baking: The plastic will be very hot when it comes out of the oven. Let it cool completely before handling.
Creative Ideas for Using Shrunken Shrinky Dinks
The possibilities for using shrunken Shrinky Dinks are endless. Here are some creative ideas to get you started:
- Jewelry: Create unique earrings, necklaces, and bracelets.
- Keychains: Use a hole punch before baking to create a hole for the keychain.
- Magnets: Glue a small magnet to the back of your Shrinky Dink.
- Pins: Attach a pin back to create a custom brooch or pin.
- Gift tags: Personalize your presents with custom gift tags.
- Ornaments: Create holiday ornaments for your tree.
In conclusion, shrinking Shrinky Dinks in the oven is a simple and fun activity that offers endless creative possibilities. Remember to follow the safety precautions, and most importantly, have fun!
Frequently Asked Questions
Can I use any type of oven to shrink Shrinky Dinks?
No, you should only use a conventional oven or a toaster oven to shrink Shrinky Dinks. Microwaves should not be used as they can damage the plastic and create a safety hazard.
How long does it take for Shrinky Dinks to cool down after baking?
It usually takes a few minutes for Shrinky Dinks to cool down after baking. It’s important to wait until they are completely cool before handling to avoid any potential burns.
Can I use any type of markers or pencils to color in my Shrinky Dinks?
It’s best to use permanent markers or colored pencils on Shrinky Dinks. Regular markers may not adhere to the plastic as well, causing the color to fade or rub off.
What happens if I forget to punch a hole in my Shrinky Dinks before baking?
If you forget to punch a hole in your Shrinky Dinks before baking, it will be difficult to create one afterward. The plastic becomes much thicker and harder once it’s been heated, making it nearly impossible to punch a hole without damaging the design.
Can I reheat Shrinky Dinks if they don’t shrink completely the first time?
Yes, if your Shrinky Dinks don’t shrink completely or evenly the first time, you can reheat them. Just be sure to watch them closely to prevent over-shrinking or burning.


