If you’ve ever wondered how to shrink plastic in the oven, you’ve come to the right place. This comprehensive guide will walk you through the process step-by-step, with plenty of helpful tips and tricks along the way. Whether you’re interested in creating unique DIY crafts or simply want to understand the science behind this fascinating process, we’ve got you covered.
To shrink plastic in the oven, you first need to ensure it’s #6 plastic or polystyrene. Draw your design on the plastic with permanent markers, cut it out, and punch a hole if you want to make a charm or keychain. Preheat your oven to 325 degrees Fahrenheit, place the plastic on a parchment-lined baking sheet, and bake for 2-3 minutes, watching closely as it curls up and then flattens. Let it cool before handling. Always remember to follow safety measures and avoid common mistakes.
What Type of Plastic Can Be Shrunk in the Oven?
The type of plastic that can be safely shrunk in the oven is #6 plastic, also known as polystyrene. This type of plastic is commonly used in food packaging, such as salad containers or cookie trays. If you’re unsure what type of plastic you have, check the recycling symbol usually found on the bottom or side of the product. The number inside the symbol will tell you what type of plastic it is.
Step-by-Step Process of Shrinking Plastic in the Oven
Here’s the process you need to follow to shrink plastic in the oven:
- Preparation: Gather your materials, which include a flat piece of #6 plastic, permanent markers, scissors, a sheet pan, and parchment paper.
- Design: Draw your designs on the plastic using permanent markers. Remember that the plastic will shrink to about 1/3 of its original size, so make your designs larger than you want the final product to be.
- Cutting: Cut out your designs using scissors. If you want to make a charm or keychain, remember to punch a hole in your design before baking.
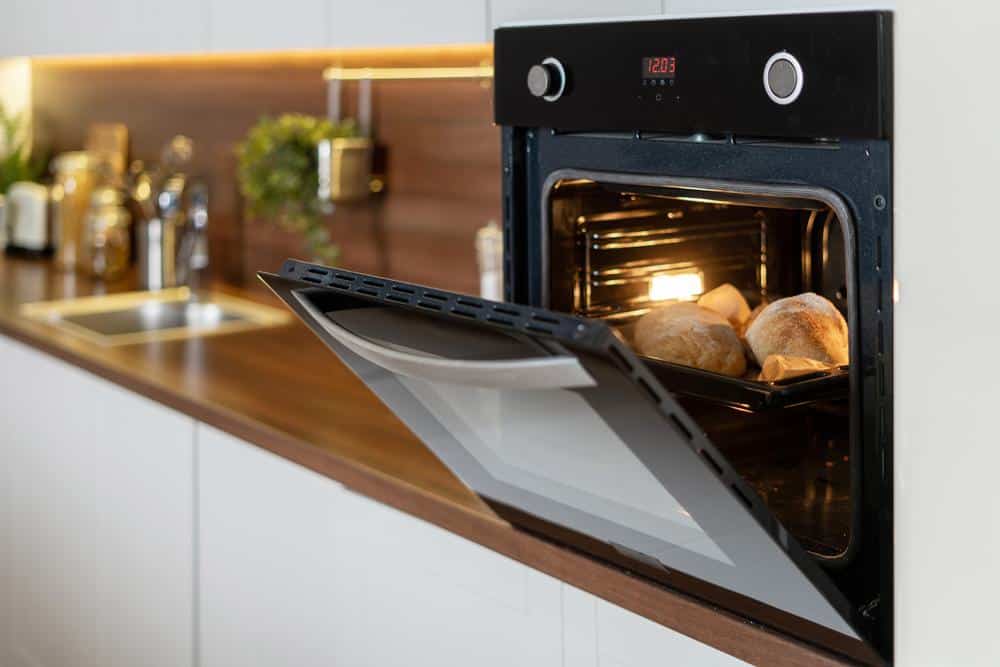
- Preheat: Preheat your oven to 325 degrees Fahrenheit (163 degrees Celsius).
- Bake: Arrange your plastic pieces on the sheet pan lined with parchment paper. Bake the plastic for 2-3 minutes. Keep a close eye on the plastic because it will curl up and then flatten out as it shrinks.
- Cool: Once the plastic has flattened, remove it from the oven. Let it cool before handling.
Safety Measures to Consider
When shrinking plastic in the oven, always remember these safety measures:
- Use oven mitts or heat-resistant gloves when handling hot trays or cookie sheets.
- Work in a well-ventilated area or open a window to allow any fumes to escape.
- Do not leave the oven unattended while the plastic is shrinking.
- Do not use a microwave oven to shrink plastic.
Common Mistakes to Avoid
To ensure a successful shrinking process, avoid these common mistakes:
- Using the wrong type of plastic. Only use #6 plastic or polystyrene.
- Not using a protective layer on the baking sheet. The plastic can stick to the sheet, making it difficult to remove.
- Overbaking the plastic. Keep a close eye on the plastic as it shrinks to prevent it from burning or sticking to itself.
Repurposing Shrunken Plastic
Once you’ve mastered the art of shrinking plastic, the possibilities for repurposing are endless. You can use your shrunken plastic pieces to create unique jewelry, keychains, decorative items, and accessories.
Shrinking plastic in the oven is a fun and creative way to repurpose plastic waste. With a little practice, you can create your own unique crafts and accessories. Just remember to follow the safety guidelines and avoid common mistakes to ensure a successful outcome. Happy crafting!
Frequently Asked Questions
Can I use any other type of plastic apart from #6 for this process?
No, only #6 plastic or polystyrene can be safely shrunk in the oven. Using other types of plastic can release harmful fumes and may not shrink properly.
What kind of markers should I use to draw on the plastic?
You should use permanent markers to draw on the plastic. Other types of markers may not adhere to the plastic surface properly and the colors may fade or rub off after the shrinking process.
How can I prevent the plastic from curling up too much in the oven?
The plastic will naturally curl up as it shrinks, but it should flatten out again by the end of the baking time. If it doesn’t, you can use a spatula or another flat object to gently flatten the plastic while it’s still hot (be sure to wear oven mitts). However, be careful not to force it as this can cause the plastic to crack or tear.
How can I make sure the hole in my charm or keychain doesn’t close up during the shrinking process?
To ensure the hole doesn’t close up, make it larger than you want it to be in the final product. Remember, the plastic will shrink to about 1/3 of its original size, so adjust the size of the hole accordingly.
How should I clean up after shrinking plastic in the oven?
Once you’ve finished and the plastic has cooled down, you can clean up any residue left on the baking sheet with warm soapy water. Always ensure the oven is turned off and cooled down before cleaning it. If you’ve used parchment paper, there should be minimal cleanup required.


