When you depend on your Frigidaire washer to keep your clothes clean, any malfunction can throw a wrench in your laundry routine. One of the most critical components of your washer is the timer. It controls most of the operations of the washer: water level, tub filling and emptying, length of cycles, and cycle setting sequences. If the timer fails, it can disrupt the entire washing process. This article will provide a comprehensive guide on how to replace a timer on a Frigidaire washer.
Replacing a timer on a Frigidaire washer involves first identifying the signs of a faulty timer, like the washer stopping mid-cycle or not completing a spin cycle. You’ll need tools like a Phillips screwdriver, flat blade screwdriver, and a socket and ratchet. After safely disconnecting the washer, access the timer and remove it by unscrewing the cover plate and disconnecting the wires. Install the new timer by attaching the electrical wires, pushing the timer switch into place, screwing it in, and replacing the cover plate. Test the new timer to ensure it’s functioning correctly.
Signs That Indicate the Need to Replace the Timer
Before we dive into the process of replacing the timer, it’s essential to understand the signs that indicate a faulty timer. Here are some common symptoms that suggest the need for timer replacement:
- The washer won’t start or stops mid-cycle.
- The timer doesn’t advance.
- The timer shows an incorrect time display.
- The washer is stuck in a cycle.
- The washer doesn’t complete a spin cycle.
If you notice any of these signs, it’s recommended to call a professional for repairs. However, if you have the necessary technical experience, you can test the timer using a multimeter. If the timer is indeed faulty, it should be replaced with a new one.
Tools Needed for Timer Replacement
Before you start the replacement process, gather all the necessary tools. These include:
- Phillips Screwdriver
- Flat Blade Screwdriver
- Socket and Ratchet or Nut Driver
- Knife
- Tape
Disconnecting the Washer Safely
Safety should always be your priority when working with electrical appliances. Here’s how to safely disconnect your washer before starting the timer replacement:
- Turn off the power by unplugging the washer from the wall outlet.
- Turn off the water supply that’s connected to the washer.
- Remove any remaining water in the hoses by turning the machine on for a warm wash for about 30 seconds, and then switching the setting to spin.
- After ensuring that all the water has been drained, detach the hoses from the washer.
- Remove the control knob. The process can vary depending on your washer model.
Accessing the Timer
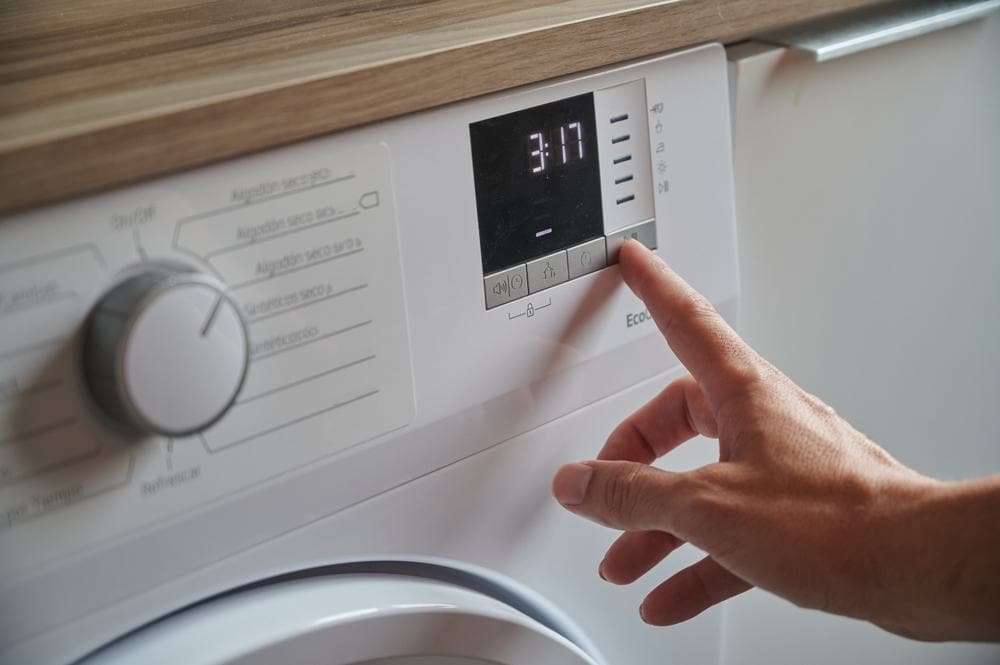
Accessing the timer on a Frigidaire washer involves interacting with the timer knob on the control panel of the machine. To set the timer, you need to rotate the knob to the desired setting. After setting the timer, confirm that the setting is correct.
Removing the Old Timer
Removing the old timer involves a few steps:
- Disconnect the power from your circuit breaker to ensure safety.
- Unscrew and remove the cover plate from the wall to expose the timer switch.
- Carefully unscrew and disconnect the wires connected to the timer switch.
- Unscrew the mounting screws holding the timer switch in place and gently pull it out from the wall.
Installing the New Timer
Now that you’ve removed the old timer, it’s time to install the new one. Here’s how:
- Attach the electrical wires to the timer switch, following the instructions and wiring diagram that came with it.
- Push the timer switch into the box so the flanges on the switch are flush with the wall and aligned with the screw holes in the electrical box.
- Screw the switch to the box with the provided screws.
- Attach the cover plate, and screw it in place.
- Turn the power back on by flipping the circuit breaker on.
- Test the switch to make sure it’s working properly.
Verifying the Successful Installation
After installing the new timer, it’s essential to verify that it’s functioning correctly. Test the timer’s functionality manually and observe its operation. Ensure that it starts and stops as expected and runs for the correct duration. Also, monitor the timer’s performance over time to ensure consistent operation.
In conclusion, replacing a timer on a Frigidaire washer can be a complex task, but with the right tools and a step-by-step guide, it’s manageable. If you’re unsure about any step in this process, consider seeking help from a professional to avoid damaging your washer or voiding any warranties.
Frequently Asked Questions
What is the role of a timer in a Frigidaire washer?
The timer in a Frigidaire washer controls most of the operations of the washer including water level, tub filling and emptying, length of cycles, and cycle setting sequences.
Can I replace the timer on my Frigidaire washer myself?
Yes, you can replace the timer on your Frigidaire washer yourself if you have the necessary technical experience. However, if you’re unsure about any step in this process, it’s recommended to seek help from a professional to avoid damaging your washer or voiding any warranties.
What tools do I need for timer replacement on a Frigidaire washer?
The tools needed for timer replacement include a Phillips Screwdriver, Flat Blade Screwdriver, Socket and Ratchet or Nut Driver, Knife, and Tape.
How do I disconnect my washer safely before starting the timer replacement?
To disconnect your washer safely, you need to turn off the power by unplugging the washer from the wall outlet, turn off the water supply connected to the washer, remove any remaining water in the hoses, and then detach the hoses from the washer.
How do I verify the successful installation of the new timer?
After installing the new timer, you should verify its functionality manually and observe its operation. Ensure that it starts and stops as expected and runs for the correct duration. Also, monitor the timer’s performance over time to ensure consistent operation.


