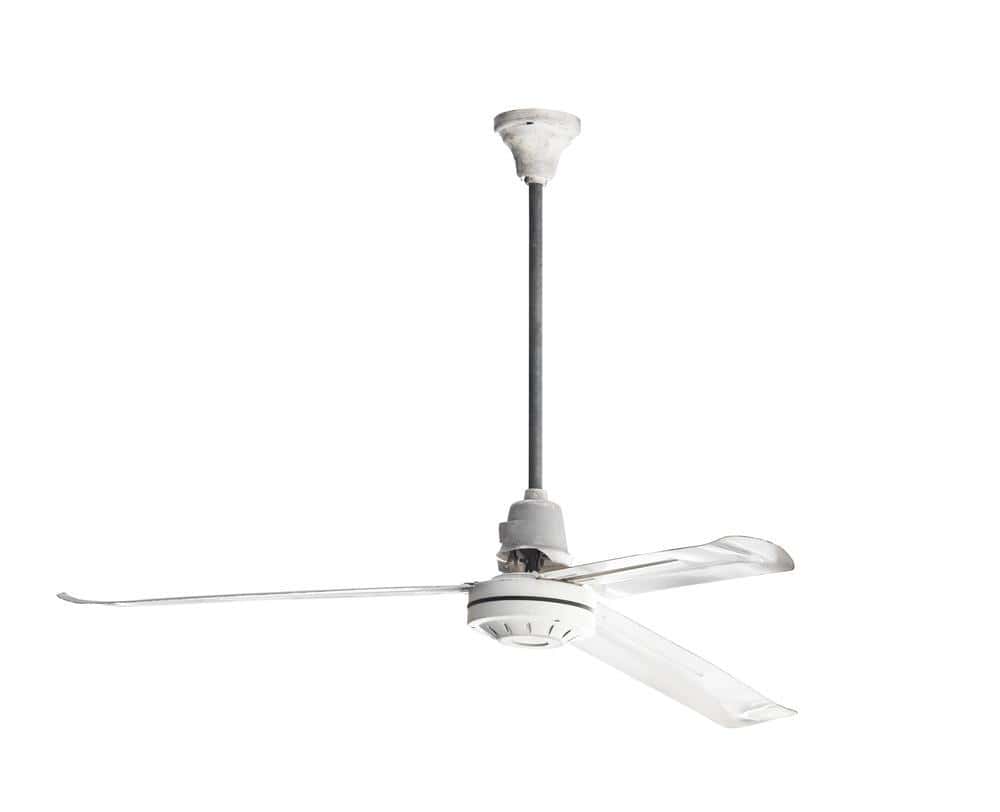
When it comes to home improvement, one task that might come up is replacing a ceiling fan. Specifically, let’s delve into how to replace a Hunter Ceiling Fan. Hunter is a reputable brand known for its high-quality, stylish, and energy-efficient ceiling fans, but like any piece of equipment, there comes a time when it needs to be replaced. This could be due to old age, constant repairs, motor failure, or simply a desire for a new style. Whatever the reason, this comprehensive guide will walk you through the process step by step.
To replace a Hunter Ceiling Fan, first, ensure the power is off and gather your tools. Remove the old fan by unscrewing the fan blades and light fixture, disconnecting the wires, and removing the mounting bracket. Install the new fan by connecting the wires, attaching the fan blades, and securing the fan to the ceiling. Test the fan to ensure it’s working correctly. Always remember to consult the fan’s manual for specific instructions and safety precautions.
Safety Precautions
Before beginning the replacement process, it’s crucial to take some safety precautions. Firstly, ensure the power to the ceiling fan is turned off at the circuit breaker or fuse box to avoid any electrical hazards. Secondly, gather all the necessary tools such as a screwdriver (either flathead or Phillips head), pliers, wire stripper, wire nuts, step ladder or sturdy stool, voltage tester, and masking tape. Thirdly, wear appropriate personal protective equipment (PPE), such as gloves and eye protection, to minimize the risk of injury during the replacement process. Lastly, always adhere to the steps and procedures outlined in the manual or instructions when replacing components.
Removing the Old Fan
Start by using a screwdriver to unscrew the fan blades from the brackets. If your fan has a light fixture, use a screwdriver to remove the light kit assembly piece from the fan motor housing. Once the blades and light fixture are removed, allow the fan to hang from the hinge and disconnect the fan wires from the ceiling wires. Unscrew the mounting bracket from the ceiling and carefully lower the fan body. If a safety chain connects the fan to a ceiling joist, unhook it to detach the fan.
Installing the New Fan
With the old fan removed, it’s time to install the new Hunter ceiling fan. Depending on your ceiling height and preference, you can choose between Low Profile, Standard, or Angled mounting. Connect the wires from the fan to the wires from the ceiling, following the color-coding provided in the manual. Use wire nuts to secure the connections and ensure they are tight. Attach the fan blades following the instructions provided in the manual, then turn the power back on and test the fan to ensure it operates correctly. If the fan has a remote control, follow the instructions to pair the remote with the fan.
Maintenance Tips
To prolong the life of your newly installed Hunter Ceiling Fan, regular maintenance is necessary. This includes cleaning the fan blades, fan body, and light fixture regularly, oiling the fan if necessary, checking the fan’s balance, tightening any loose parts, and changing the ceiling fan direction with the changing seasons.
Common Challenges
During the replacement process, you may encounter some common problems or challenges. These can include difficulty sourcing the required materials and equipment, issues with older equipment, time constraints, inaccurate problem identification, or accidental damage to components during the repair process. However, by clearly identifying the problem, gathering relevant information, analyzing the collected data, proposing a solution, testing it, implementing the solution, and documenting the repair process, you can effectively troubleshoot and overcome these challenges.
Conclusion
Replacing a Hunter Ceiling Fan may seem like a daunting task, but with the right tools, safety precautions, and guidance, it’s an achievable DIY project. Always remember to refer to the model-specific manual for accurate instructions and consult a certified, professional electrician if you encounter any issues during the replacement process. By doing so, you can enjoy a fresh, new Hunter Ceiling Fan that enhances your home’s comfort and style.
For more information on Hunter Ceiling Fans, visit the Hunter Fan website. For additional assistance with installation or if you prefer professional installation, Hunter has a partnership with HomeAdvisor, where you can hire a qualified pro.
Frequently Asked Questions
What if my Hunter Ceiling Fan does not have a light fixture?
If your Hunter Ceiling Fan does not have a light fixture, the removal process is simplified. You only need to unscrew the fan blades and disconnect the fan wires from the ceiling wires. Then, unscrew the mounting bracket from the ceiling and carefully lower the fan body.
How do I know which type of mounting to choose for my new Hunter Ceiling Fan?
The type of mounting for your new Hunter Ceiling Fan depends on your ceiling height and personal preference. Low Profile mounting is suitable for rooms with low ceilings, Standard mounting is ideal for rooms with high ceilings, and Angled mounting is perfect for rooms with sloped or vaulted ceilings.
Can I replace a Hunter Ceiling Fan by myself?
Yes, replacing a Hunter Ceiling Fan is an achievable DIY project. However, it’s important to follow safety precautions and refer to the model-specific manual for accurate instructions. If you encounter any issues during the replacement process, it’s recommended to consult a certified, professional electrician.
How often should I perform maintenance on my Hunter Ceiling Fan?
Regular maintenance is necessary to prolong the life of your Hunter Ceiling Fan. It’s recommended to clean the fan blades, fan body, and light fixture regularly, oil the fan if necessary, check the fan’s balance, tighten any loose parts, and change the ceiling fan direction with the changing seasons. The specific frequency may depend on your fan’s usage and environmental factors, but a good rule of thumb is to perform a check-up every 3-6 months.
Can I install a light fixture on my Hunter Ceiling Fan after installation?
Yes, many Hunter Ceiling Fans are light-kit compatible, which means you can add a light fixture after the initial installation. However, make sure to consult the fan’s manual or contact Hunter’s customer service to ensure compatibility and get instructions for this process.


